Projects -> Tesla

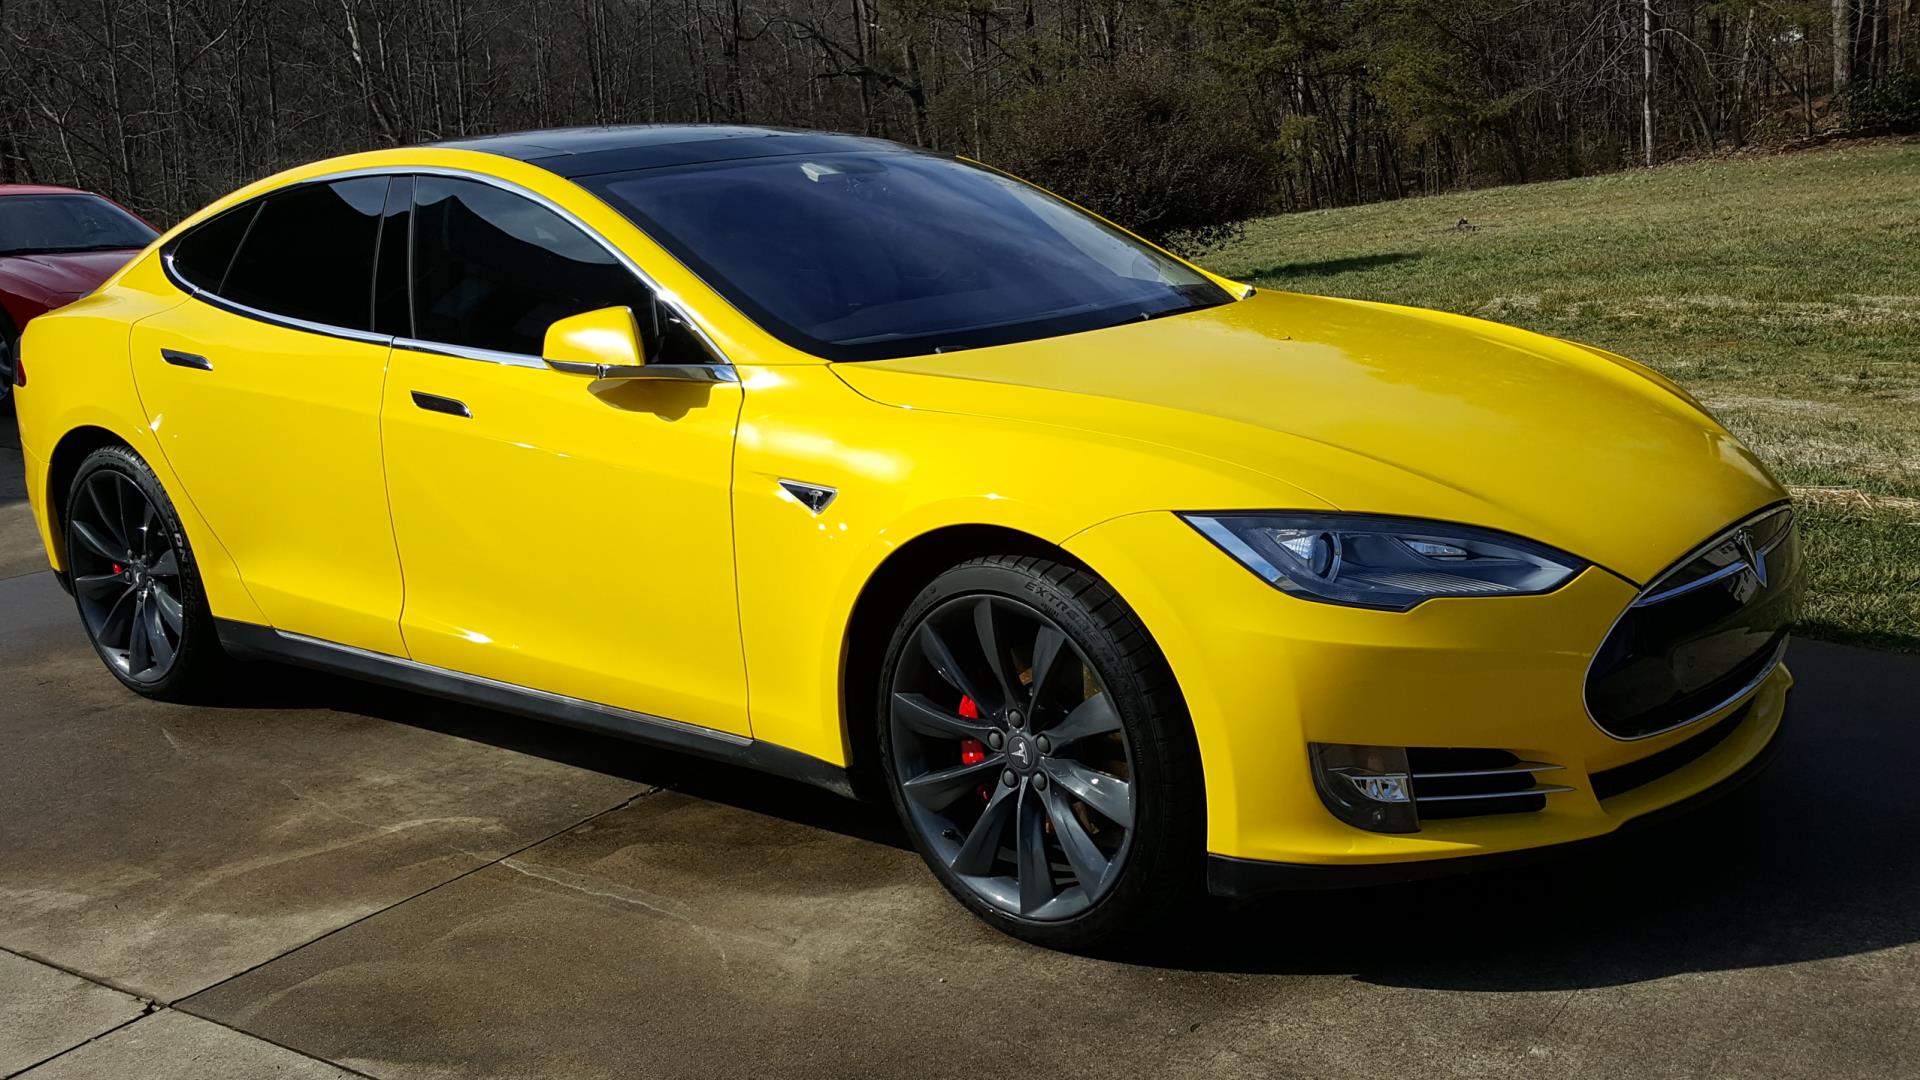
A lot of you probably recognize my wife's yellow-wrapped P85.
So, a couple of months ago I decided that I would look into attempting to retrofit everything needed to make my my wife's 2014 P85 (VIN P28xxx) autopilot capable. Several people said I was crazy, that it would never work, it would take way too much time and effort, would cost more than just trading in towards a new car with autopilot, and all sorts of nay-saying from multiple people. I’m not one to be easily discouraged, however.
Suffice it to say, it’s been a heck of a project. But most importantly, a completely successful one and my wife is now the proud owner of the very first “classic†Model S to be retrofitted with full autopilot hardware.

(most images here can be clicked for higher resolution versions)
I posted a couple of videos on my Youtube channel this week hoping that someone would pick up on the fact that my wife’s car shouldn’t be able to do the things I was showing… ")
A few points to get out there right now...
First, don’t expect this to open the floodgates for people to start retrofitting autopilot on to older Model S. This was a pretty crazy project to take on, and honestly I’m not going to do it again. It requires the ability to modify the vehicle’s internal configuration and the ability to calibrate and VIN-burn various modules once they’re installed and wired, none of which I am disclosing methods for accomplishing, sorry. 
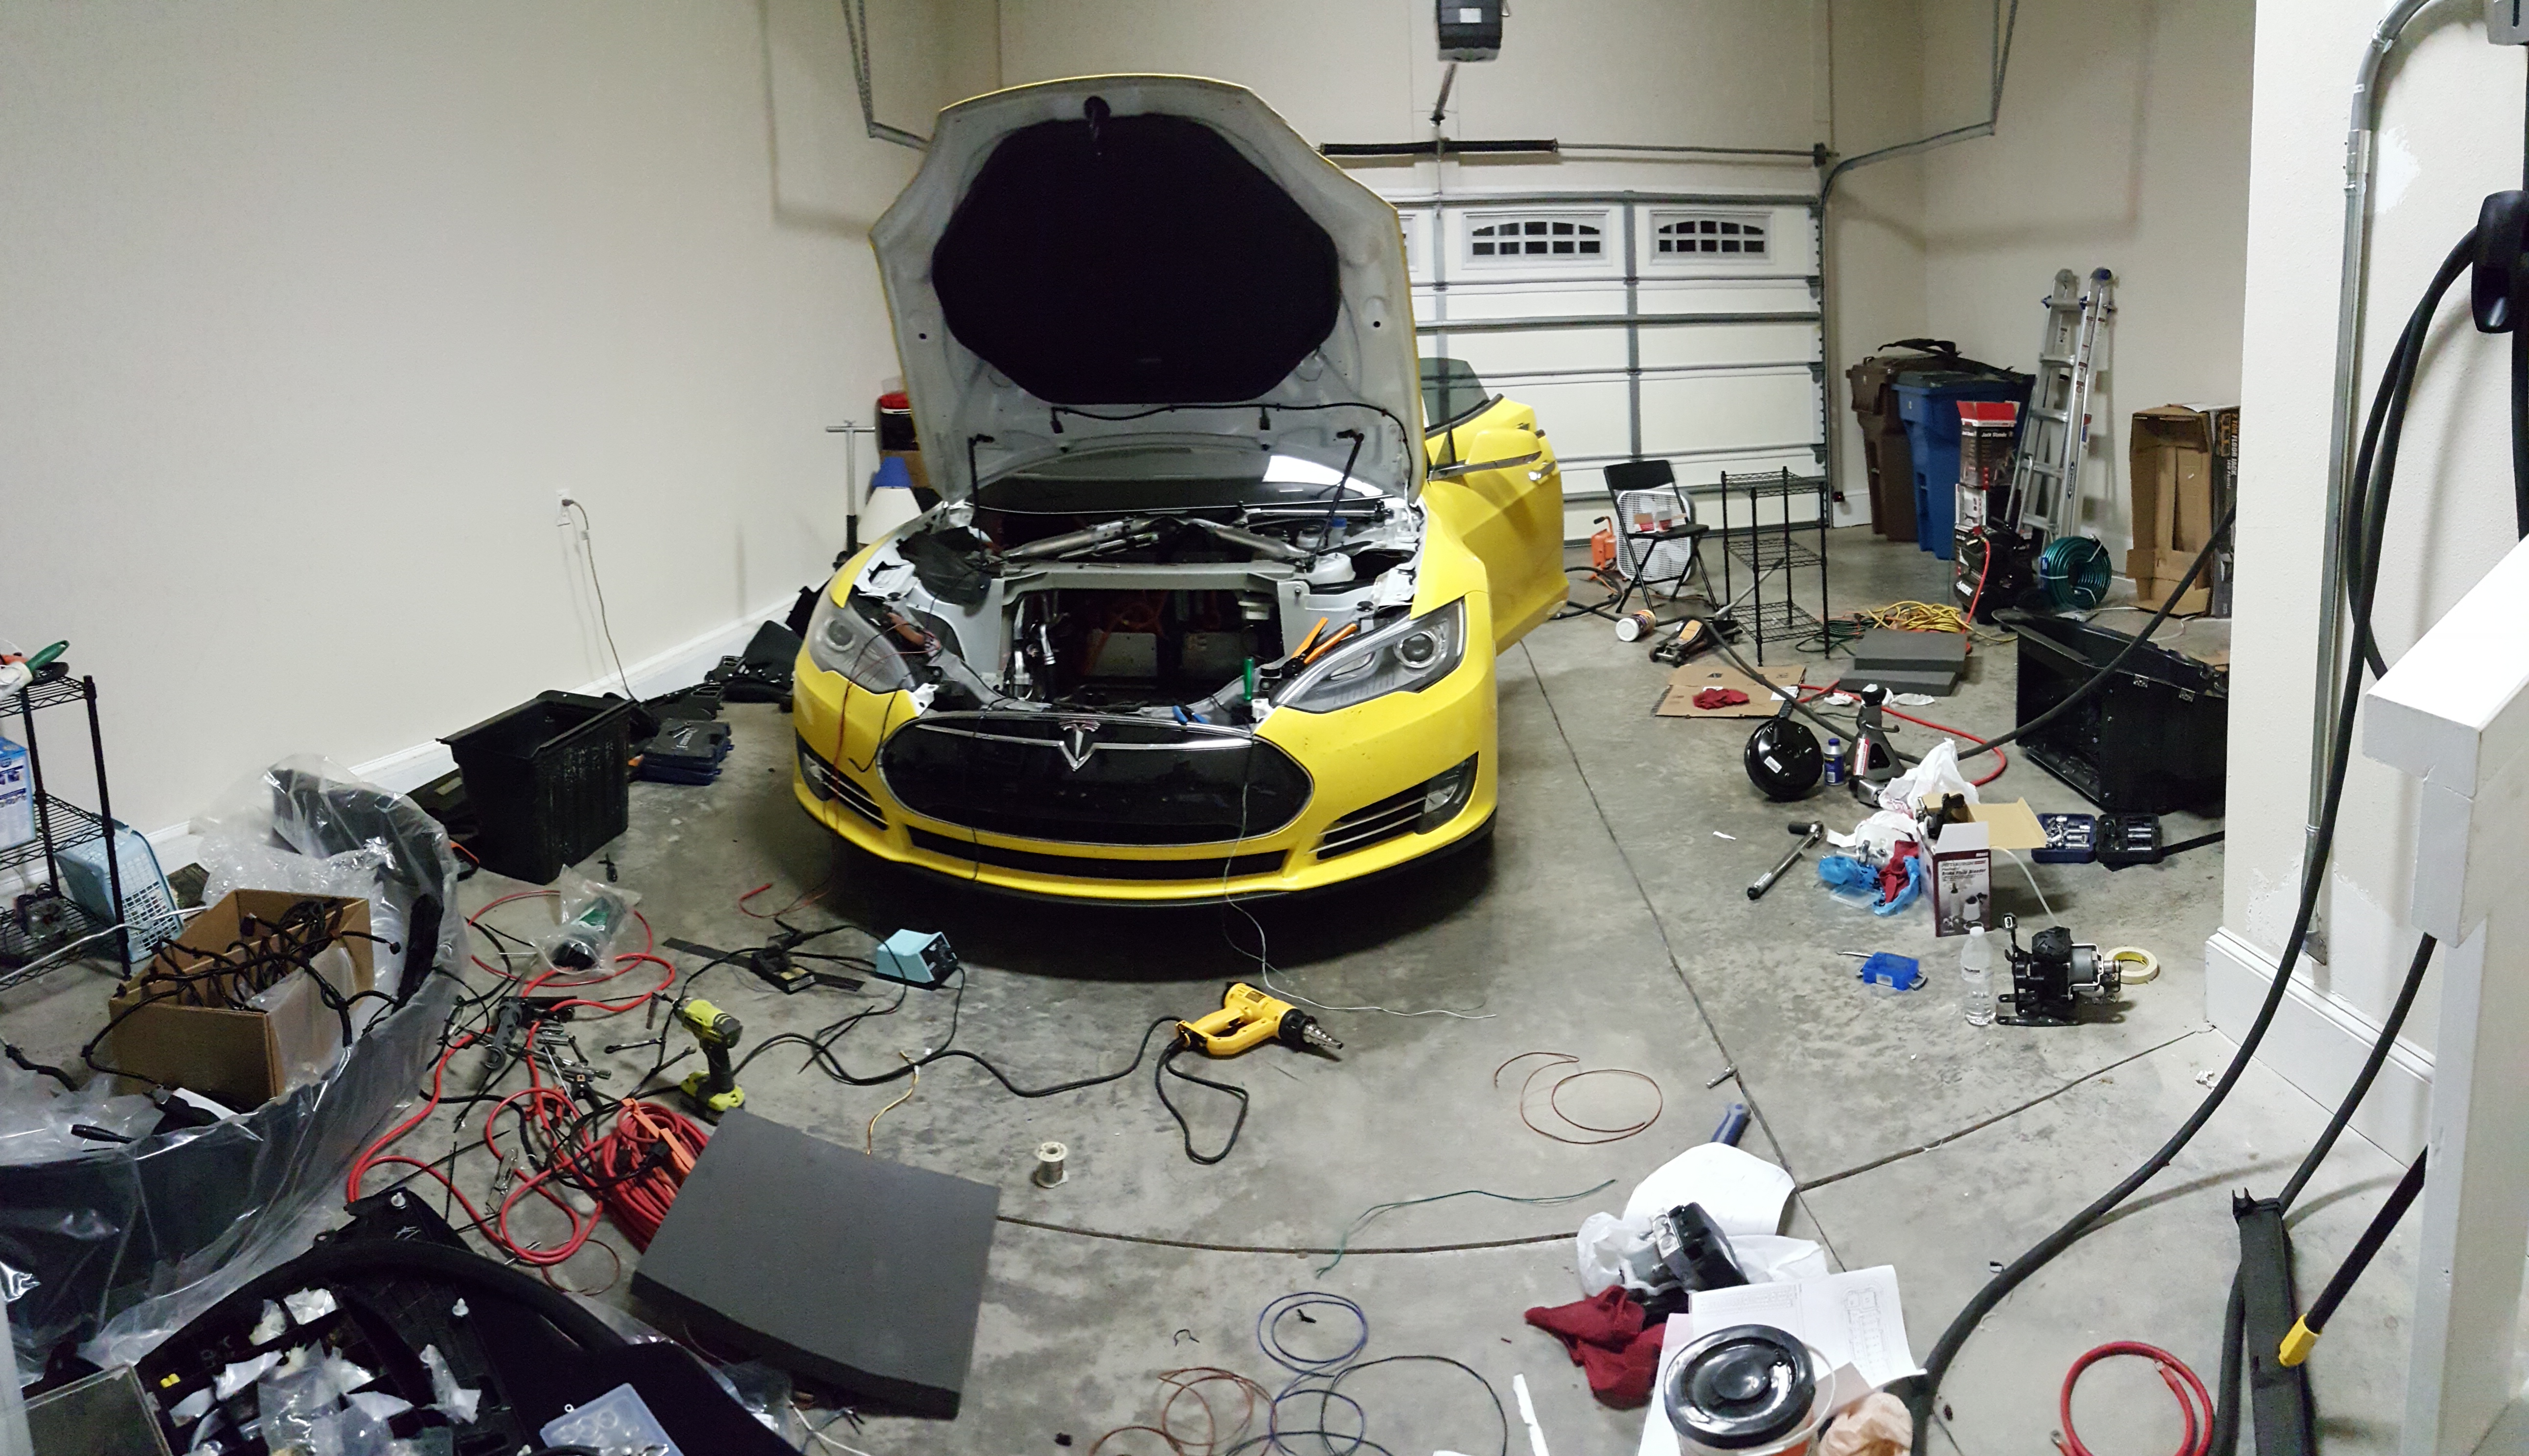
Next, this project took me roughly 50 hours of labor working on the actual car, spread over about a week. This doesn’t include the hours spent planning everything I was going to do. I spent many hours going over the wiring diagrams and comparing my wife’s P85 to my P85D. I went over every possible detail before even starting to gather parts to be as certain as possible that this would work with her car when I was done. I also spent hours making custom wiring harnesses, tracking down some of the oddball connectors needed, and laying things out in detail before beginning work.
Finally, this project does have some warranty implications for sure, the extent of which I probably don’t even know. Basically nothing I’ve added to the car will be covered by or be able to be worked on by Tesla service. To them, this is a 2014 P85 that is pre-autopilot. If anything goes wrong with anything related to my changes (and there are a LOT of changes) then I’m on my own. Fortunately none of the major components needed to be changed or modified, like the motor and battery. So legally, my warranty is intact on the important stuff. Overall, I’m unsure how Tesla is going to react to this, if at all.
So, what all did I have to do to the car?
After the planning stages I started acquiring the parts needed to make it happen. Some I was able to order from Tesla directly, others I was able to get through salvage channels. I also worked on my custom wiring harnesses for the various items I was adding or replacing.
The summary: Replaced the steering control stalks, steering wheel buttons, instrument cluster, brake booster, ABS/ESP (traction control module),all four wheel speed sensors, windshield, rear view mirror, parking sensor ECU, all of the parking sensors and parking sensor wiring, the entire rear bumper cover, and thermal controller module. Added the front radar and all related mounting, the forward camera assembly. I also modified the front bumper cover and wheel arch liners to accommodate the new ultrasonic sensors.
The details:
The first thing I did was replace the instrument cluster. My wife’s car had the older lower resolution instrument cluster. This unit was not compatible with autopilot, so it had to be replaced. Here's a resolution comparison before and after.

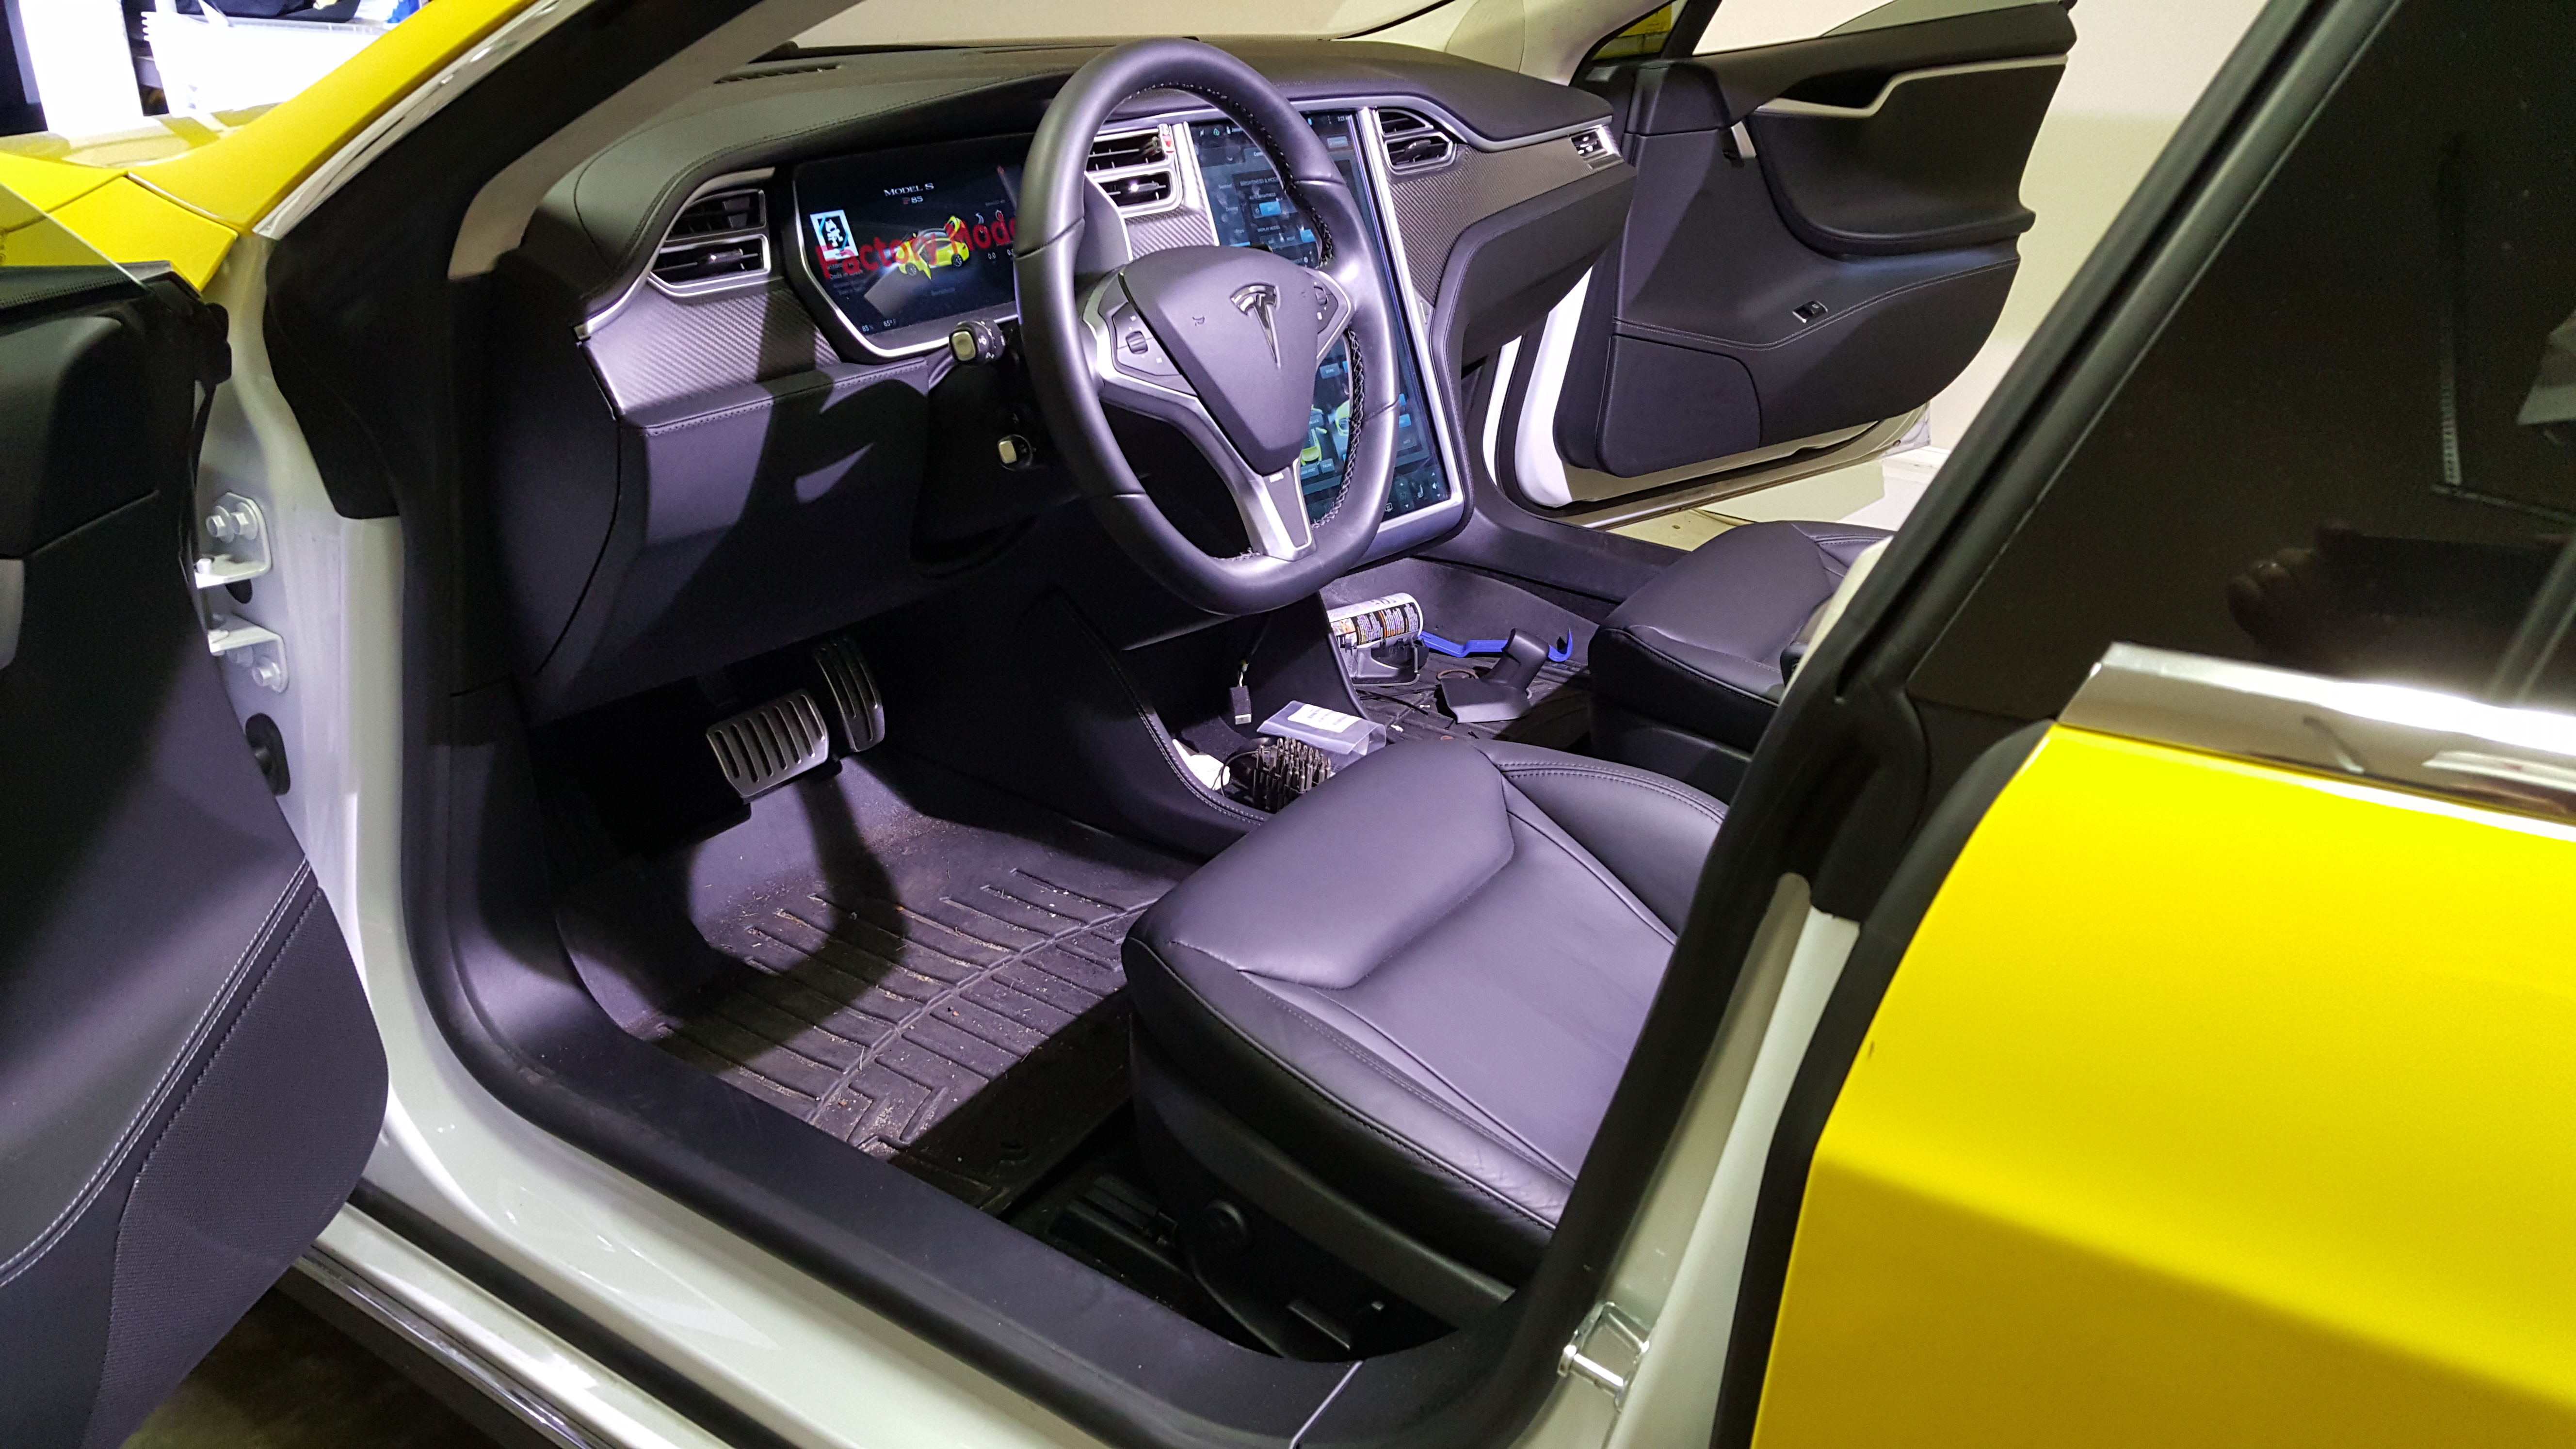
While I did that and had the dash open, I replaced the steering controls. The “classic†Model S’s have what I consider the backwards control stalks where the cruise control stalk is on top and the blinker is on the bottom. Autopilot needs the newer one which has the cruise stalk on the bottom and has the adjustment for the adaptive cruise control. To do this I also had to replace the steering wheel button controls since the wiring for these changed. This required transplanting the controls from a salvage steering wheel, which had a blown airbag, into my wife’s steering wheel.

I also had to replace the thermal control module, which sits behind the 17†touchscreen (CID) module. This might seem odd, but based on data from the firmware updater I determined that the car would not accept most of the required autopilot updates without the newer thermal control module. This was mostly plug and play, it was just a pain to access. They look pretty much the same physically inside (new left, old right) except the newer one has a conformal coating and the old one does not.

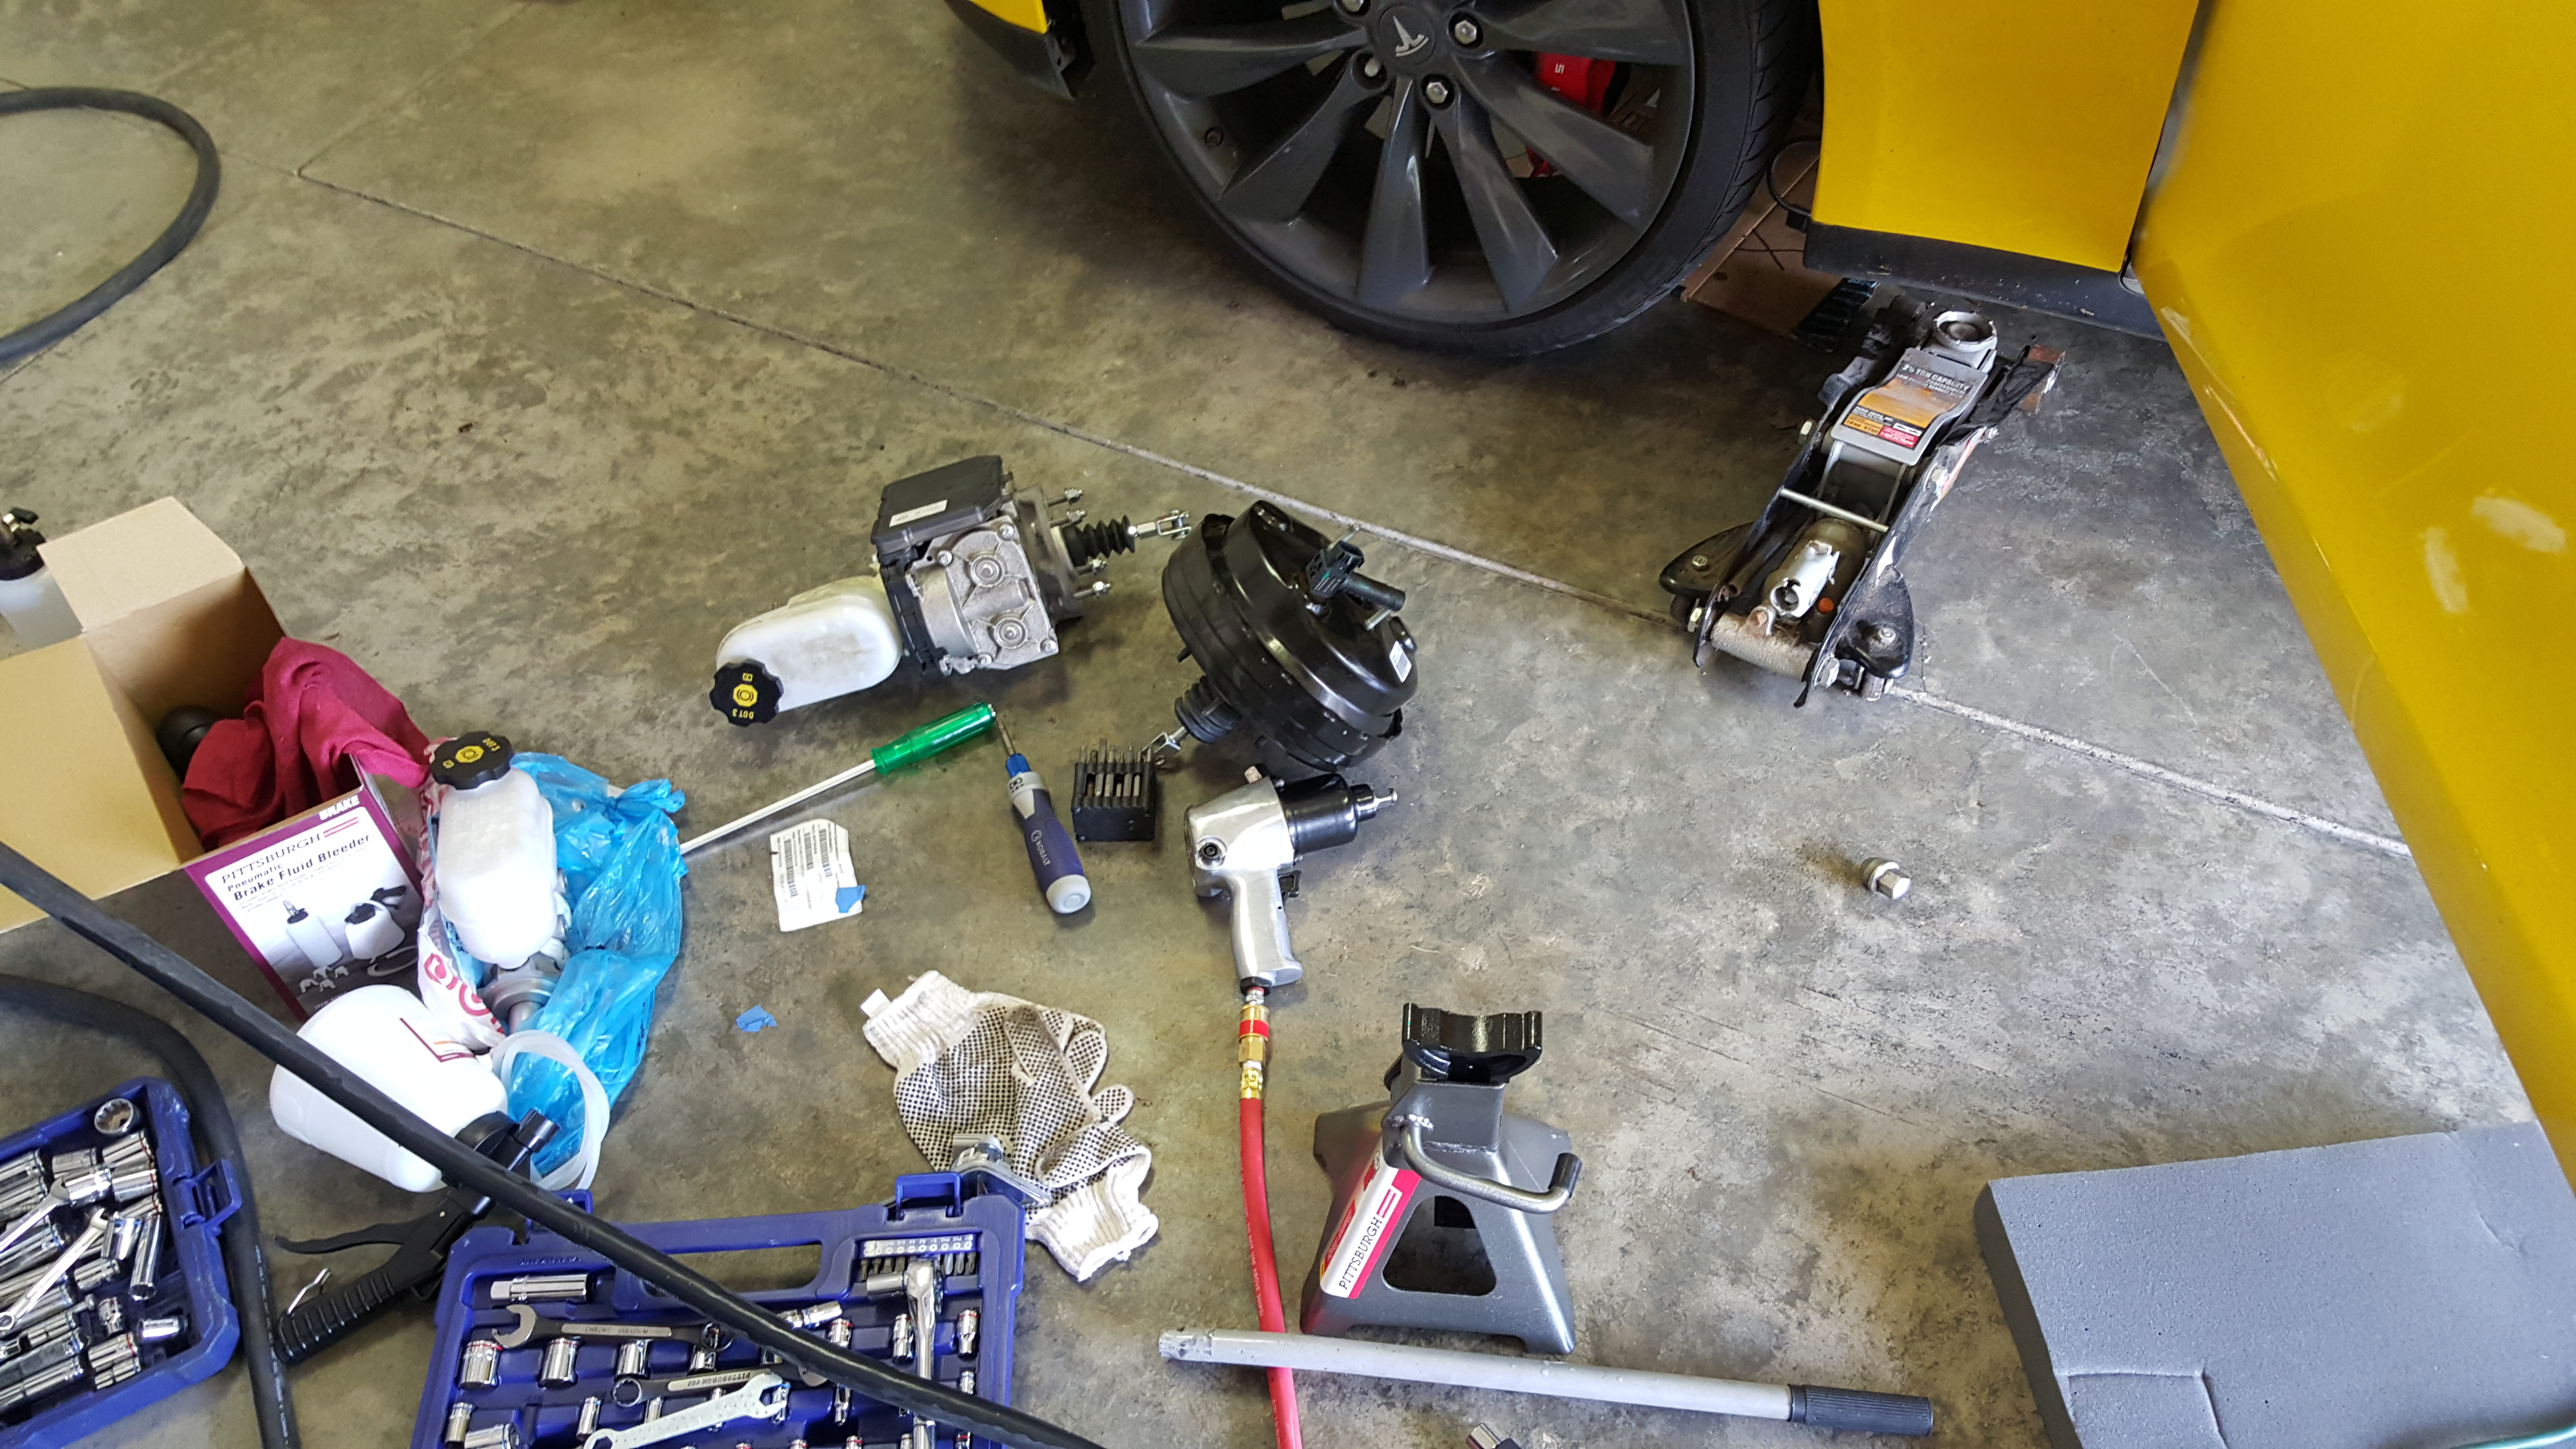
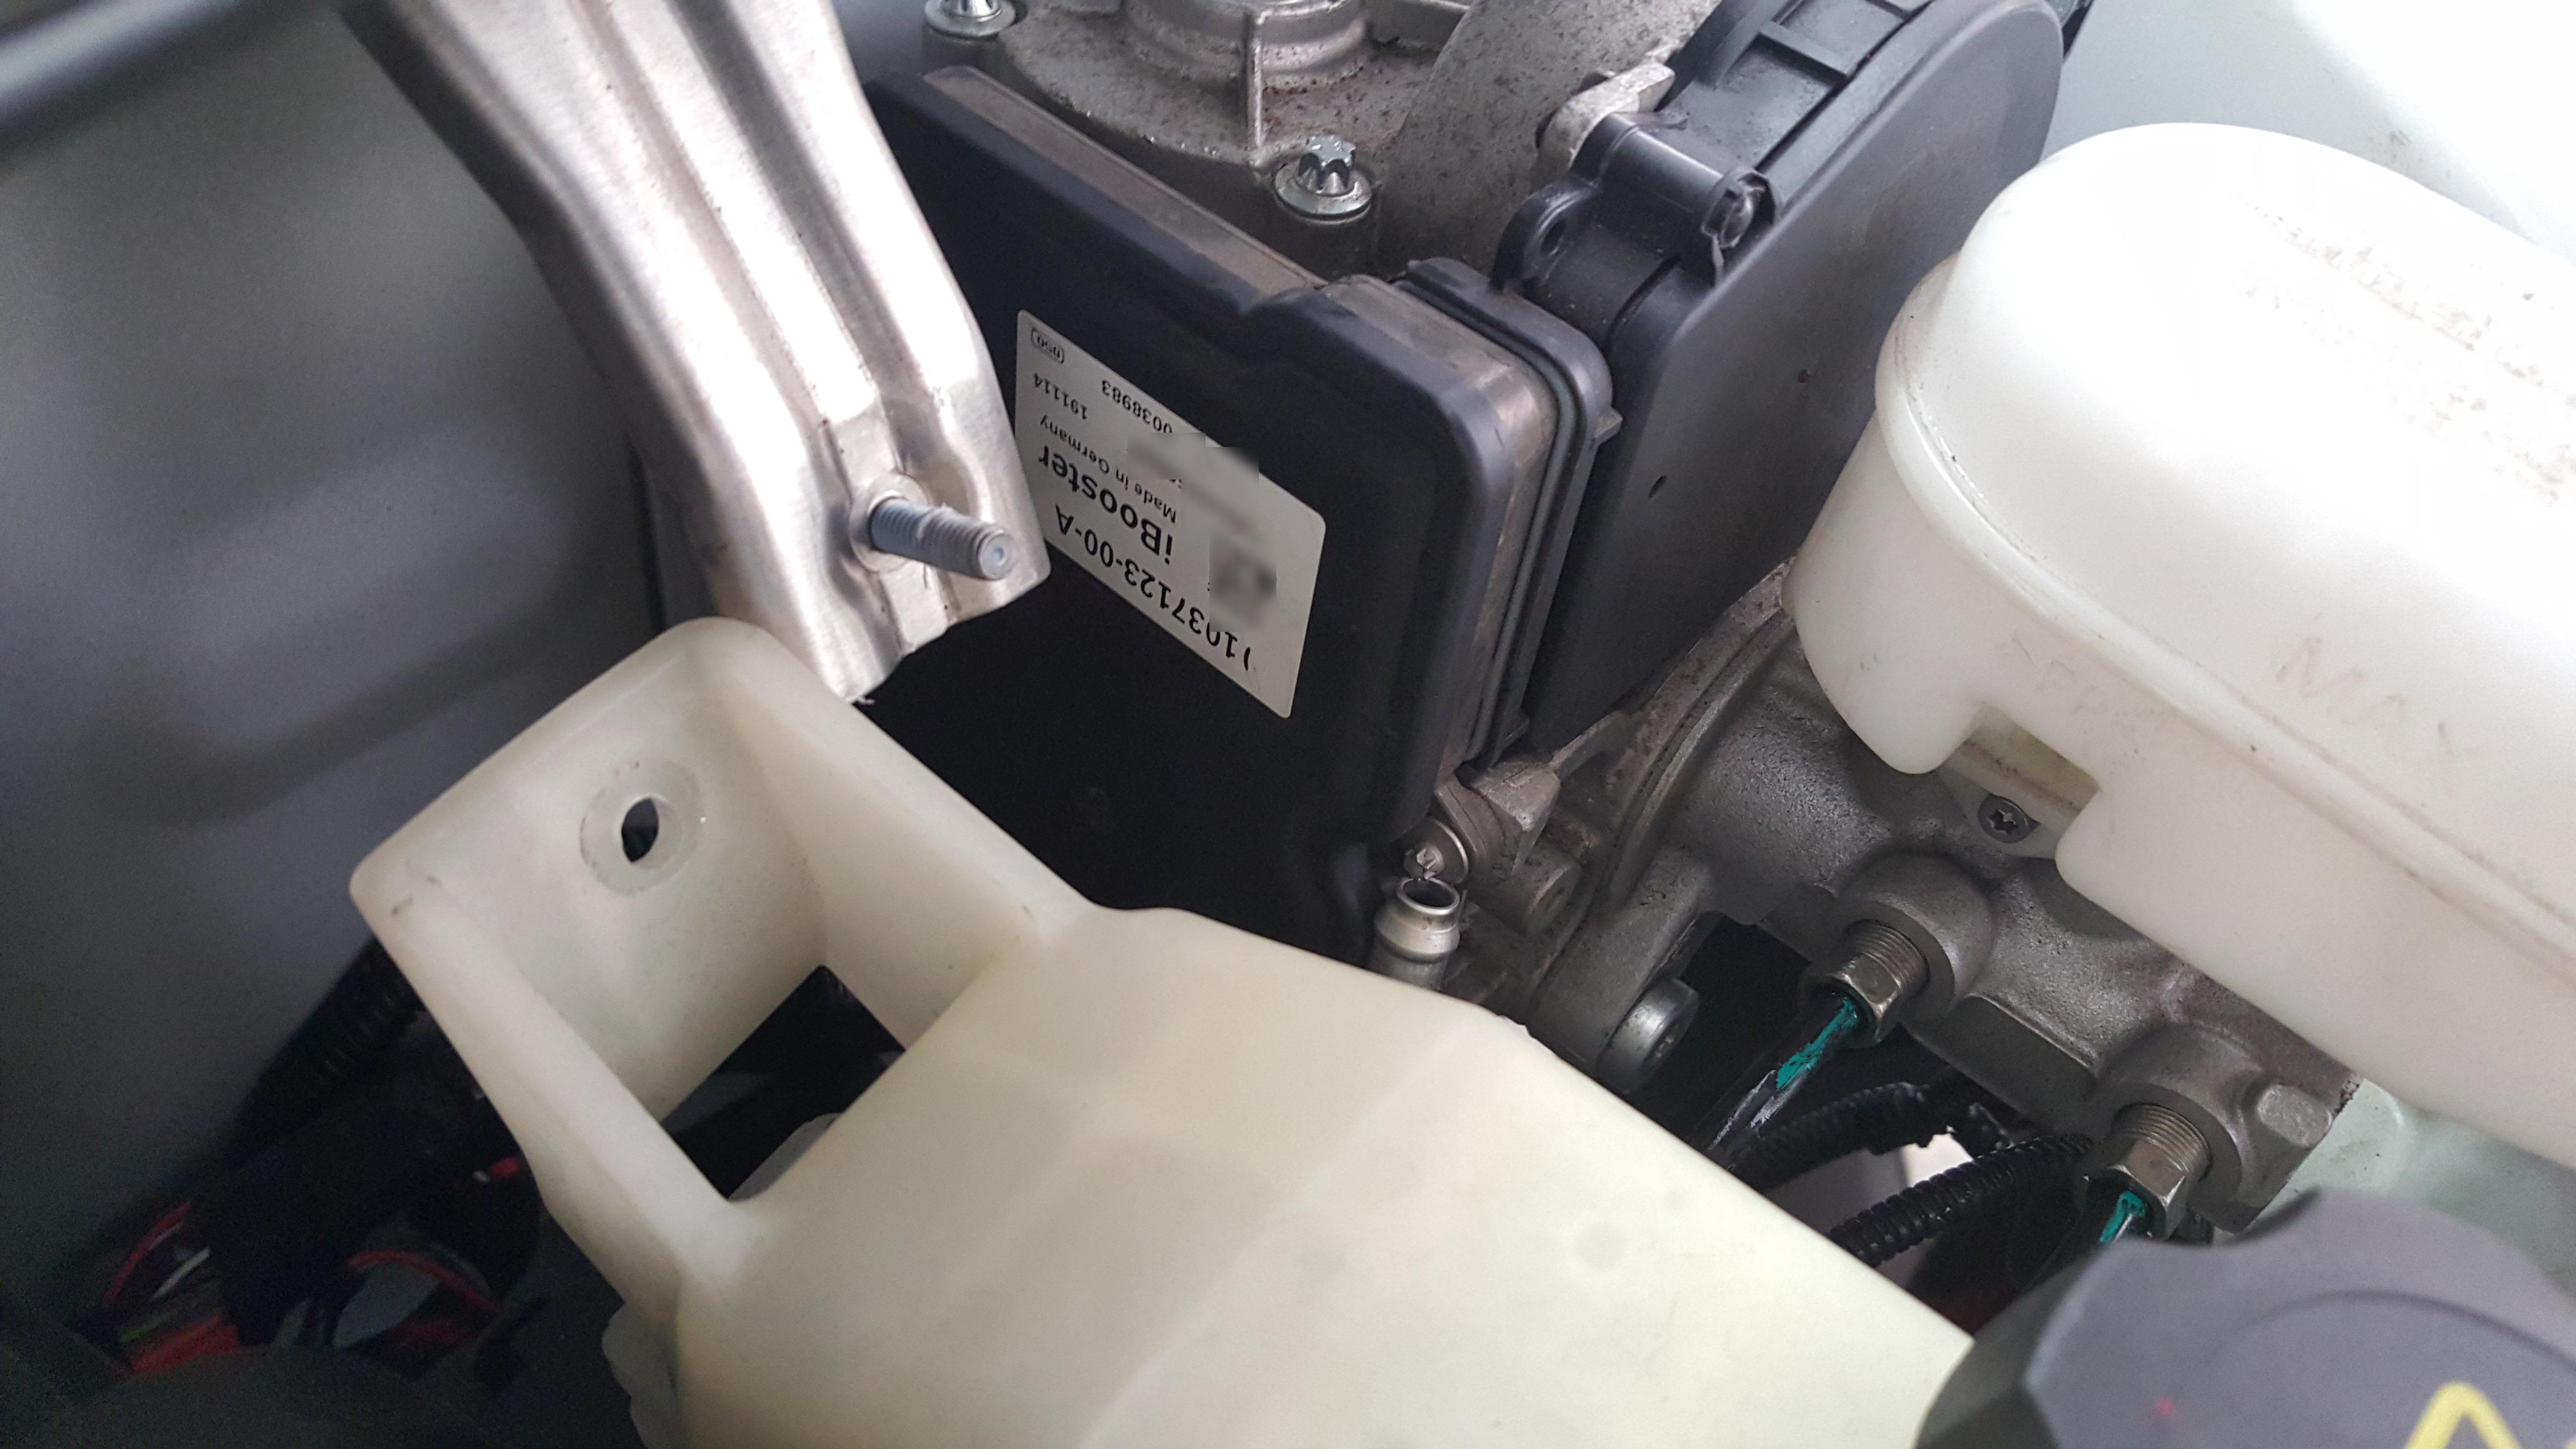
With most of the interior changes done, I replaced the vacuum assisted brake booster with the Bosch iBooster. To do this this I had to also upgrade the ABS/ESP (traction control) module. And to do *that* I had to upgrade all four wheel speed sensors. I had to modify the wiring harness a bit to get the iBooster connected into the two CAN buses it requires, along with several 12V power connections. I was able to remove the vacuum pump and piping. This was a super annoying process. To remove the old vacuum booster required removing so many unrelated items to gain access. It took me several hours to accomplish that part alone. Afterward I went around to each wheel, removed it, replaced the wheel speed sensor with the upgraded one, and bled the brake calipers.
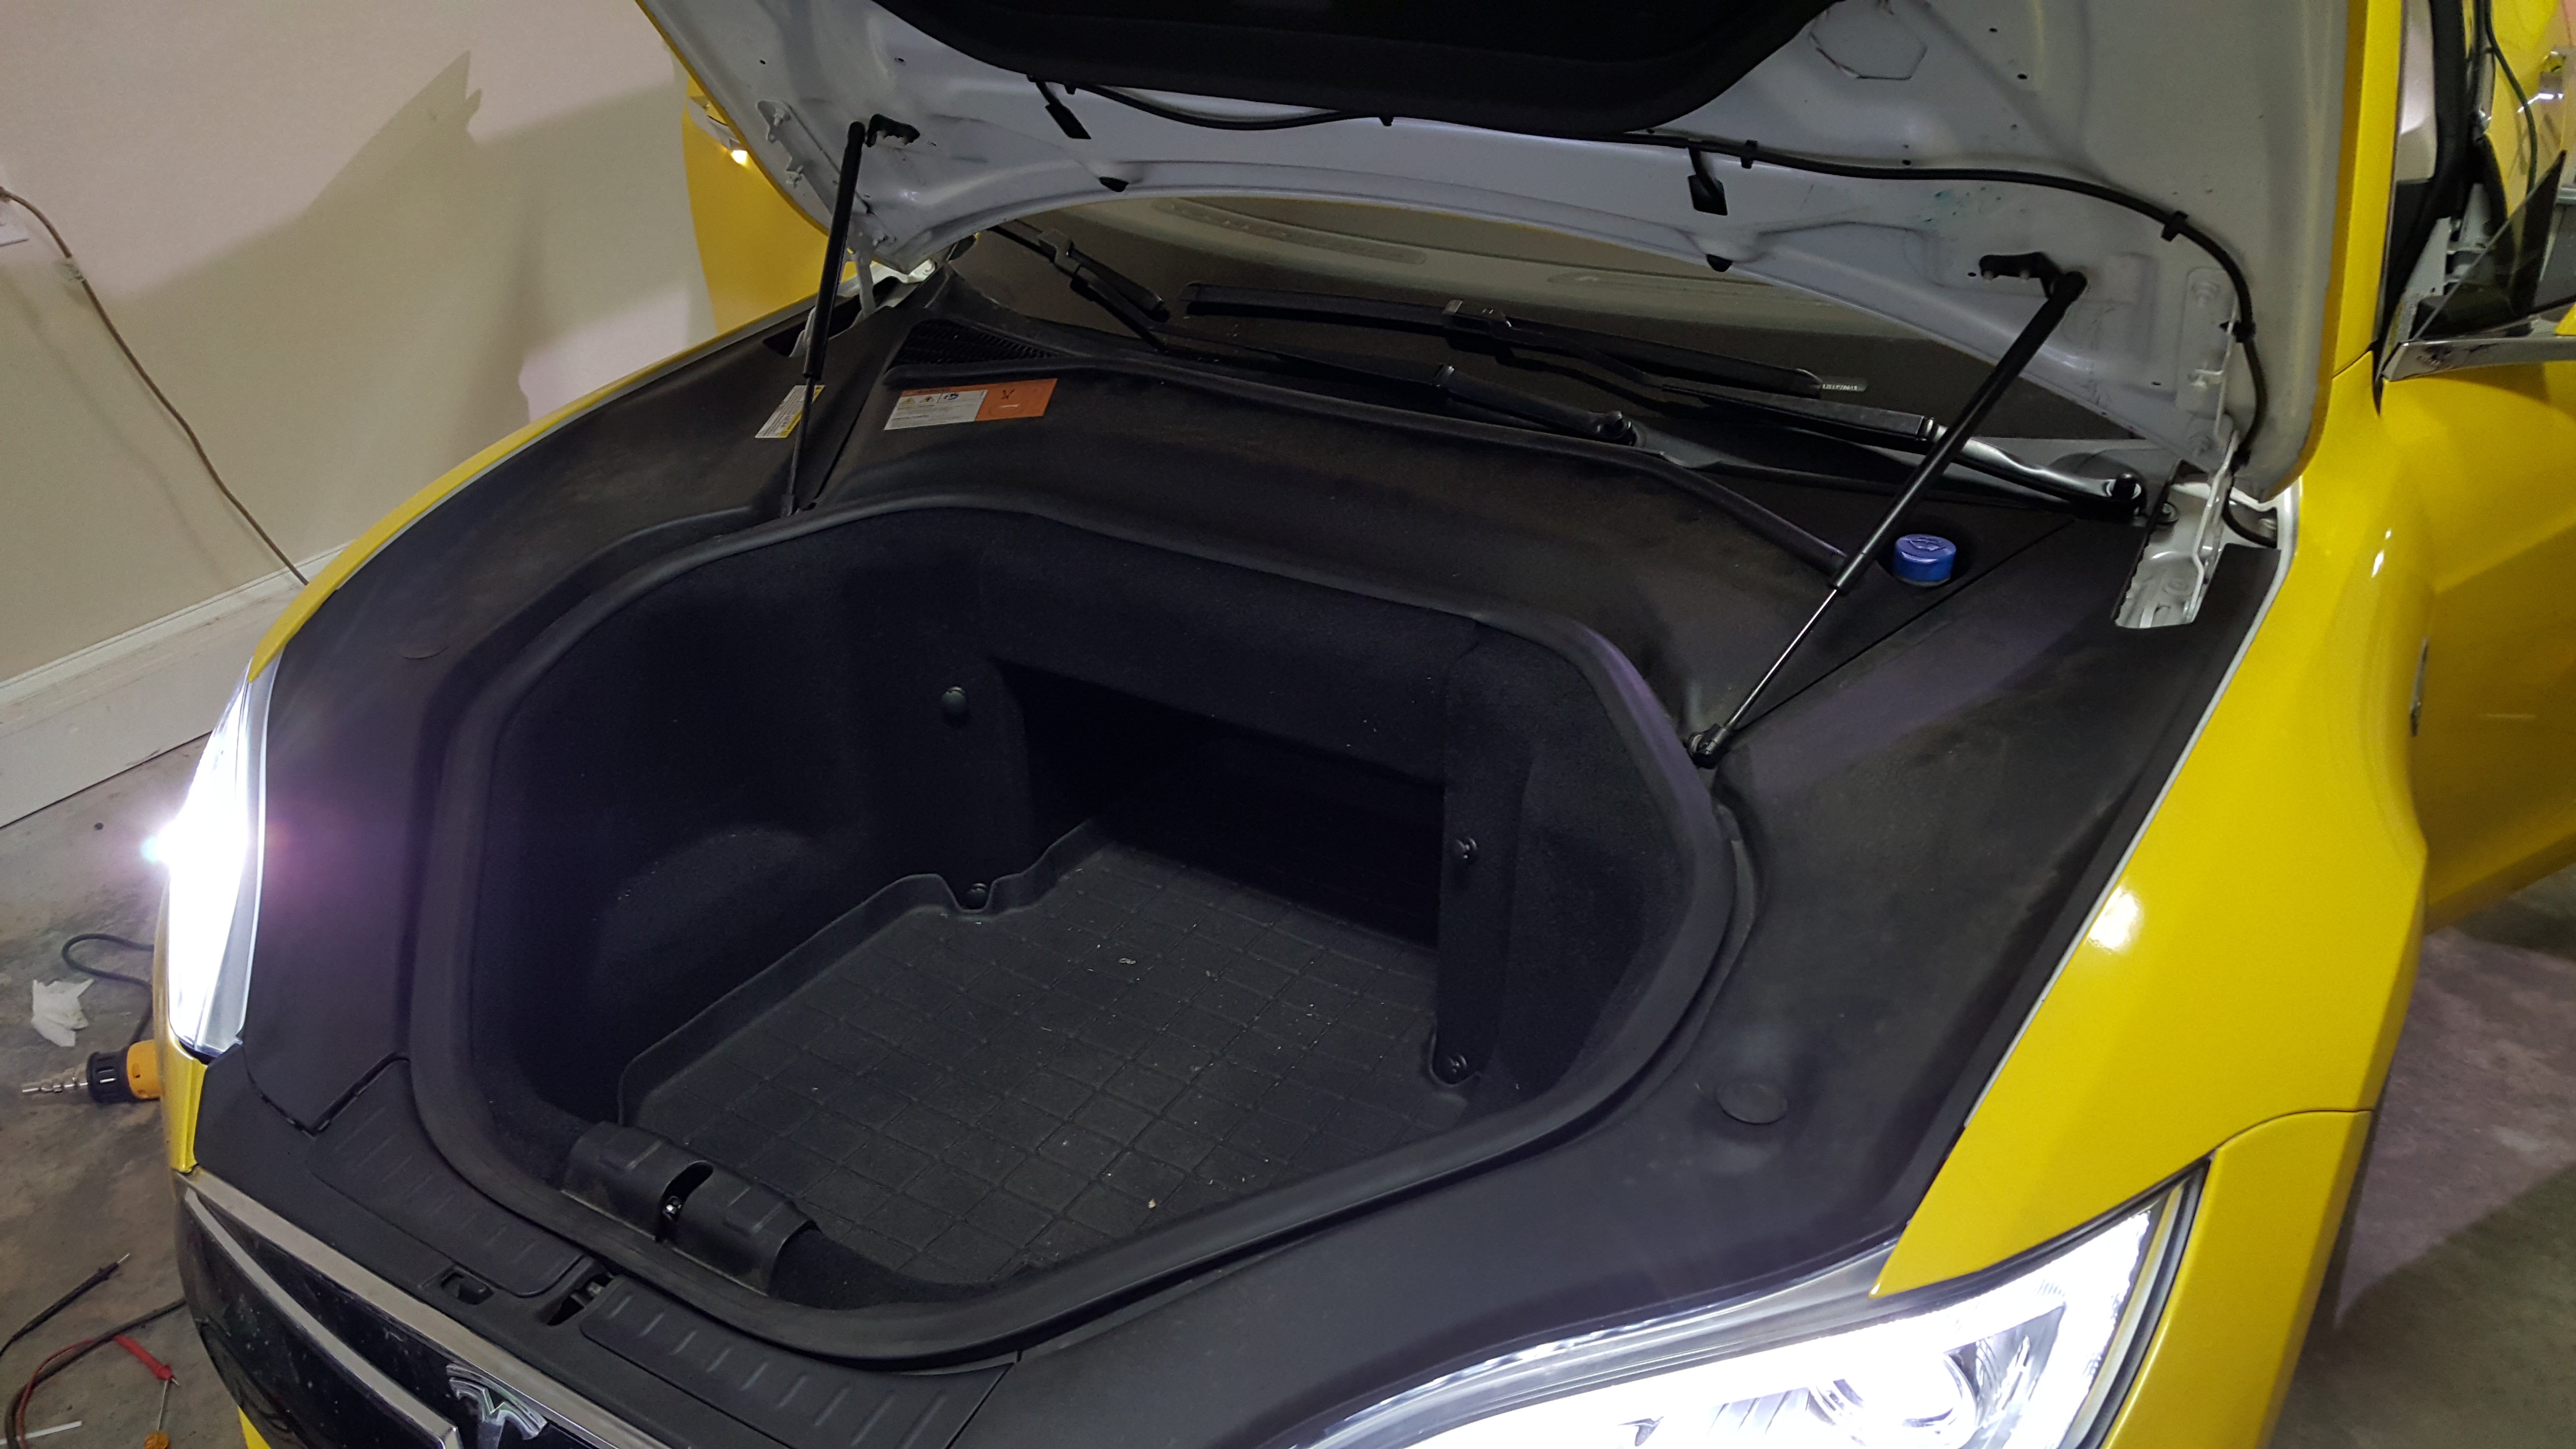
Since everything I’m adding requires some amount of 12V power, I decided to just add a completely new junction box and run a high-amp feed to it from the 12V battery junction box. This way I can have everything properly fused and in one place without modifying and fuse boxes. I ended up mounting it where the vacuum pump used to be, under the frunk.
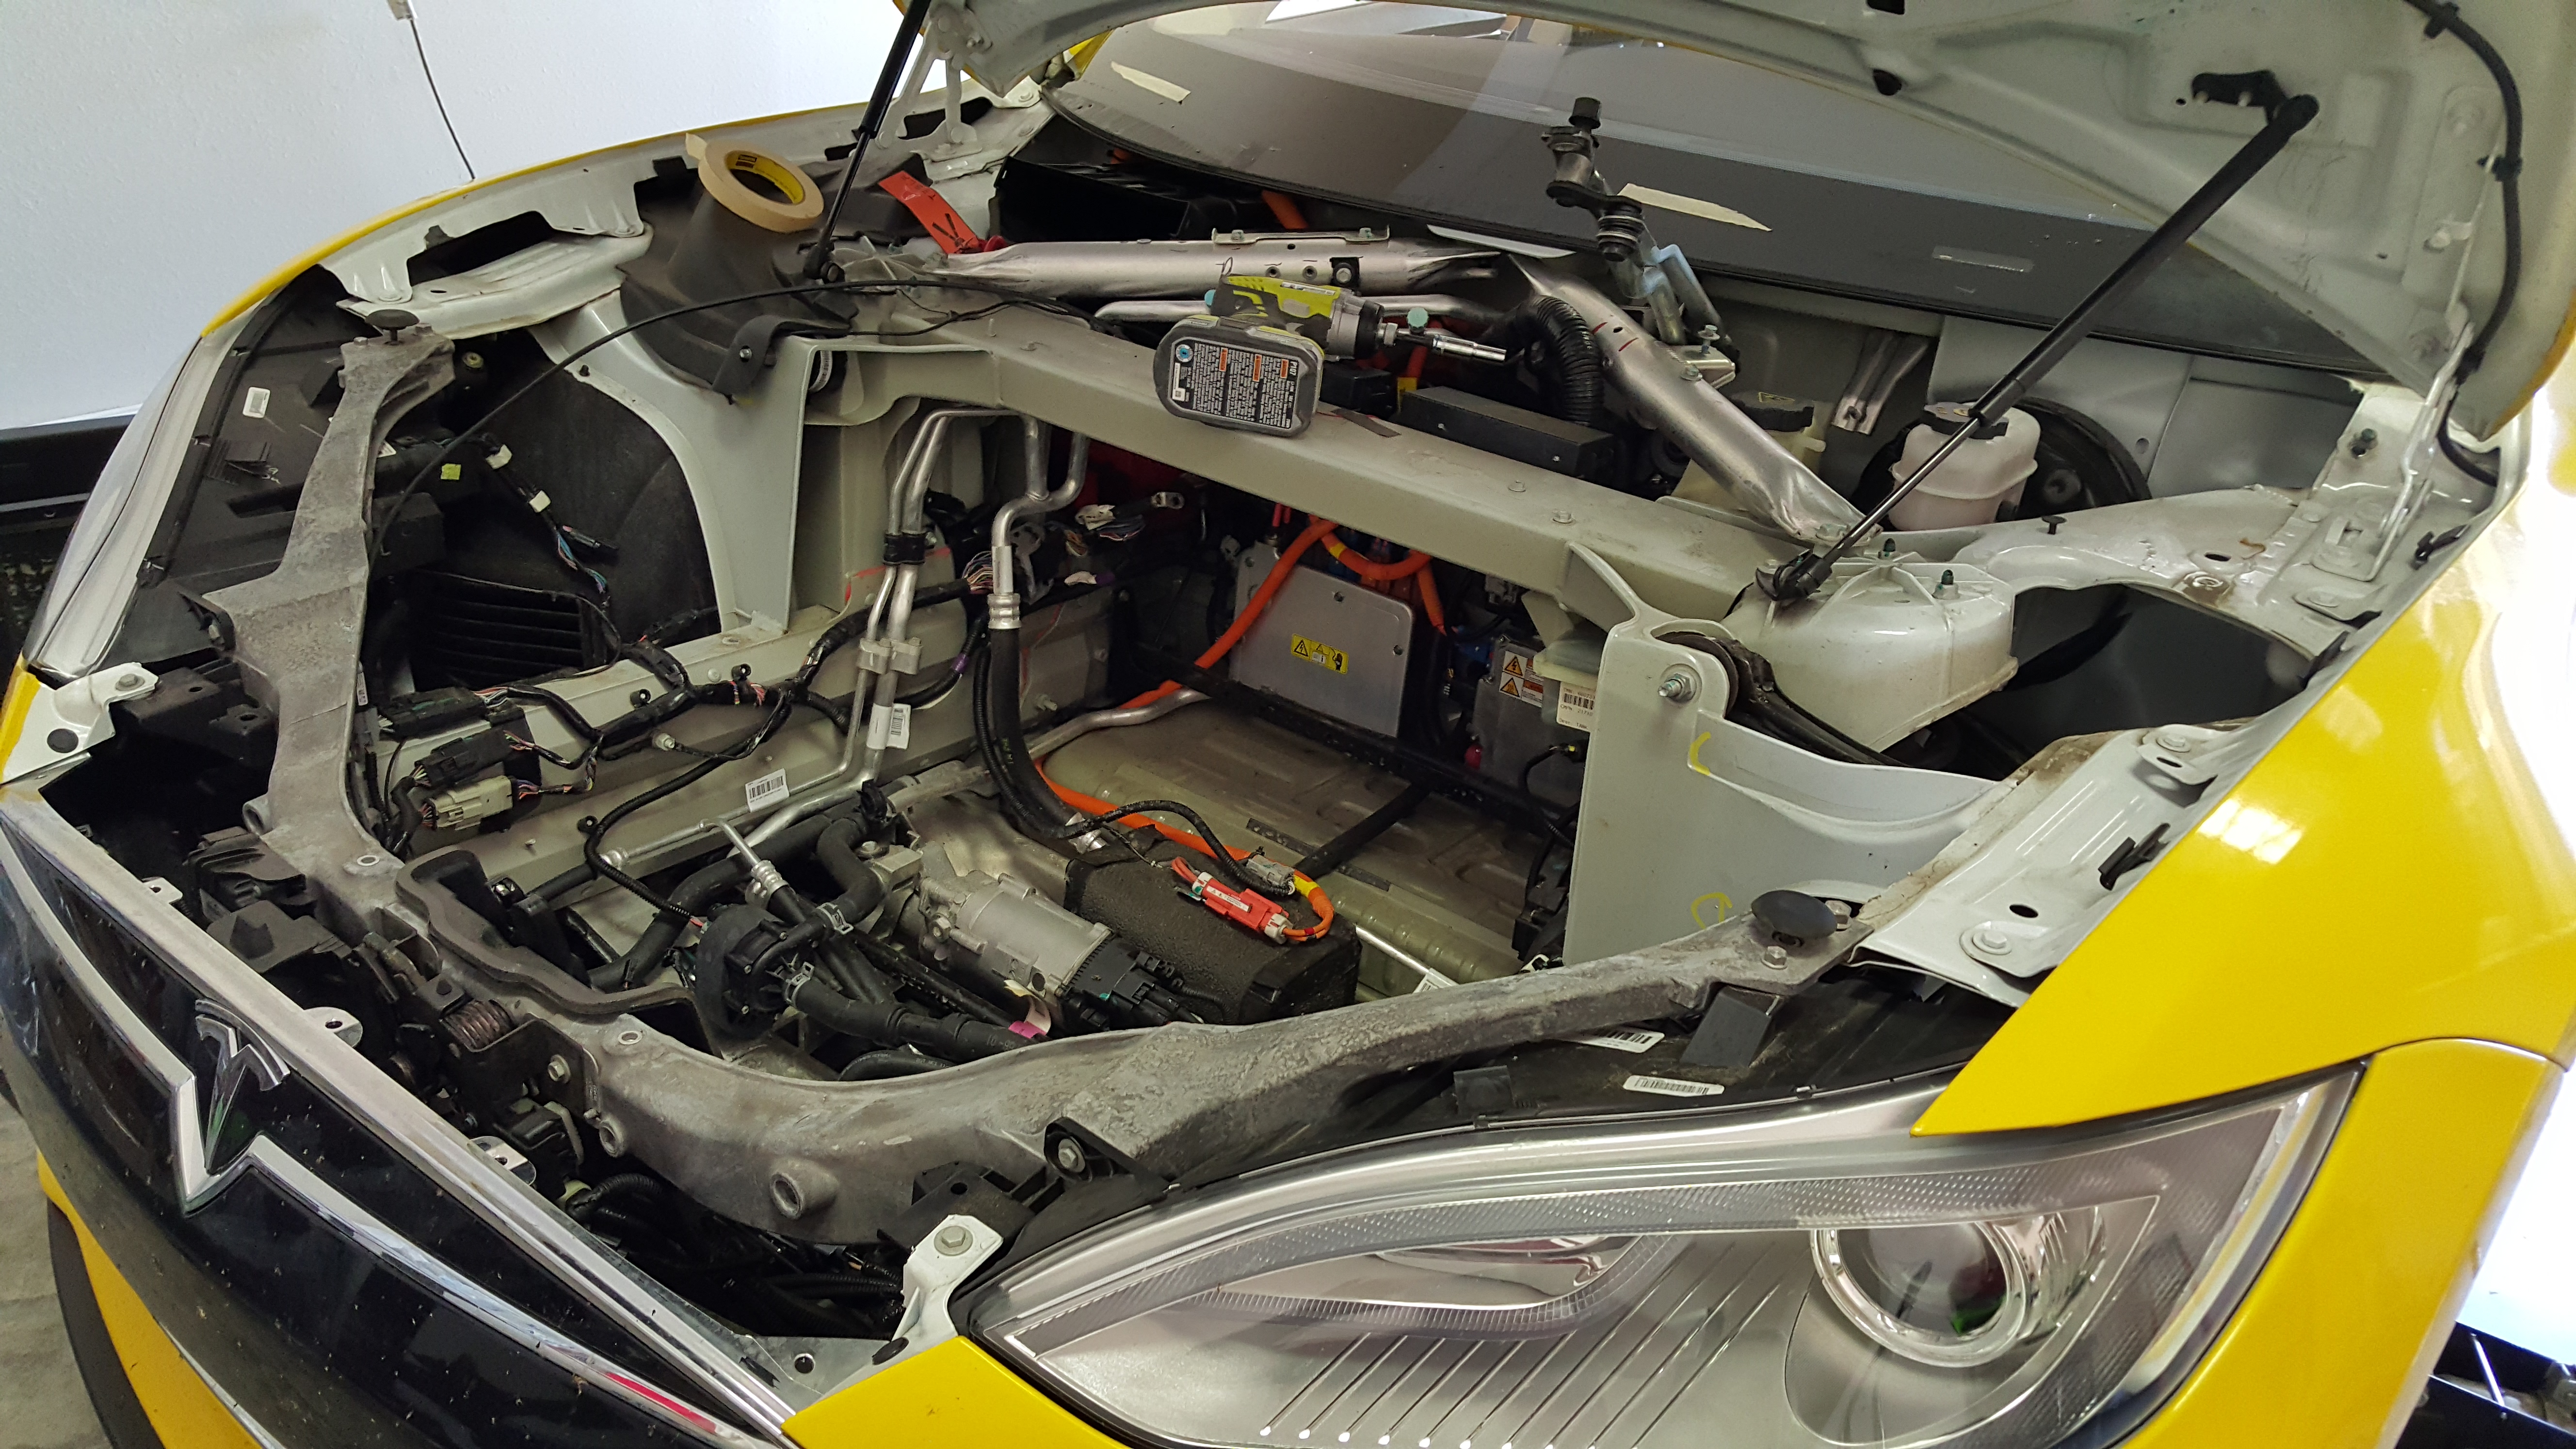
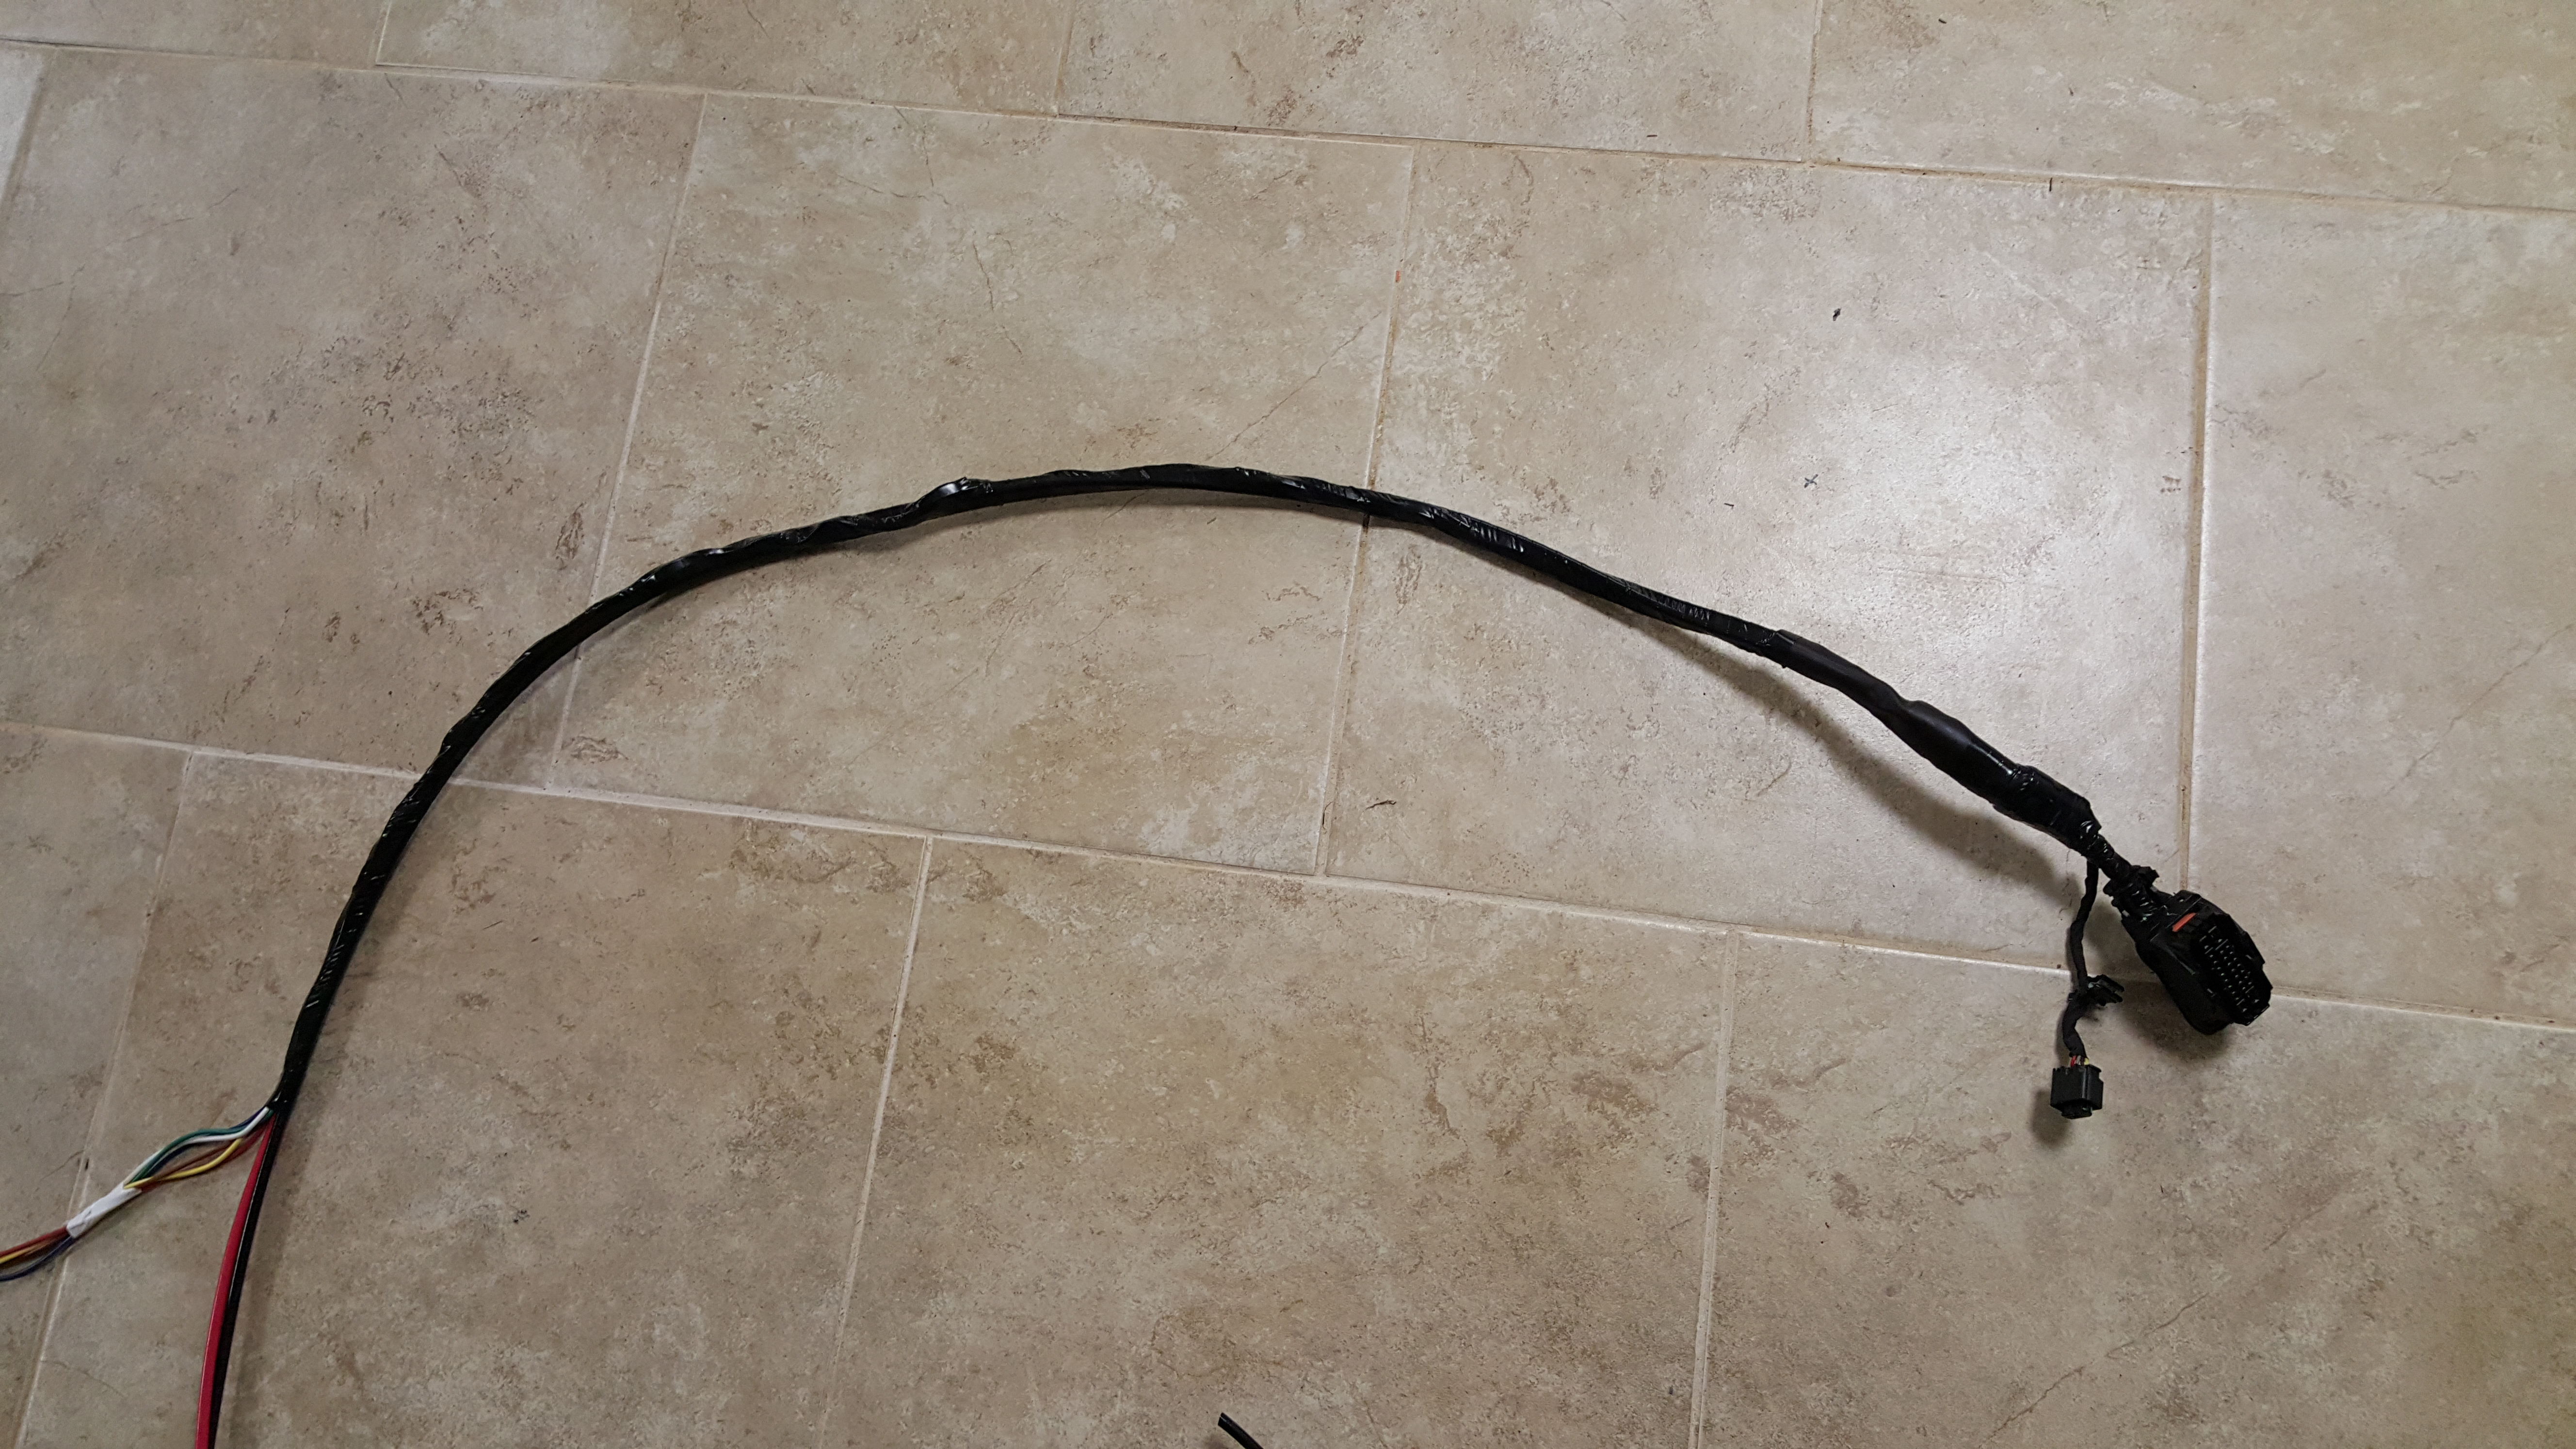
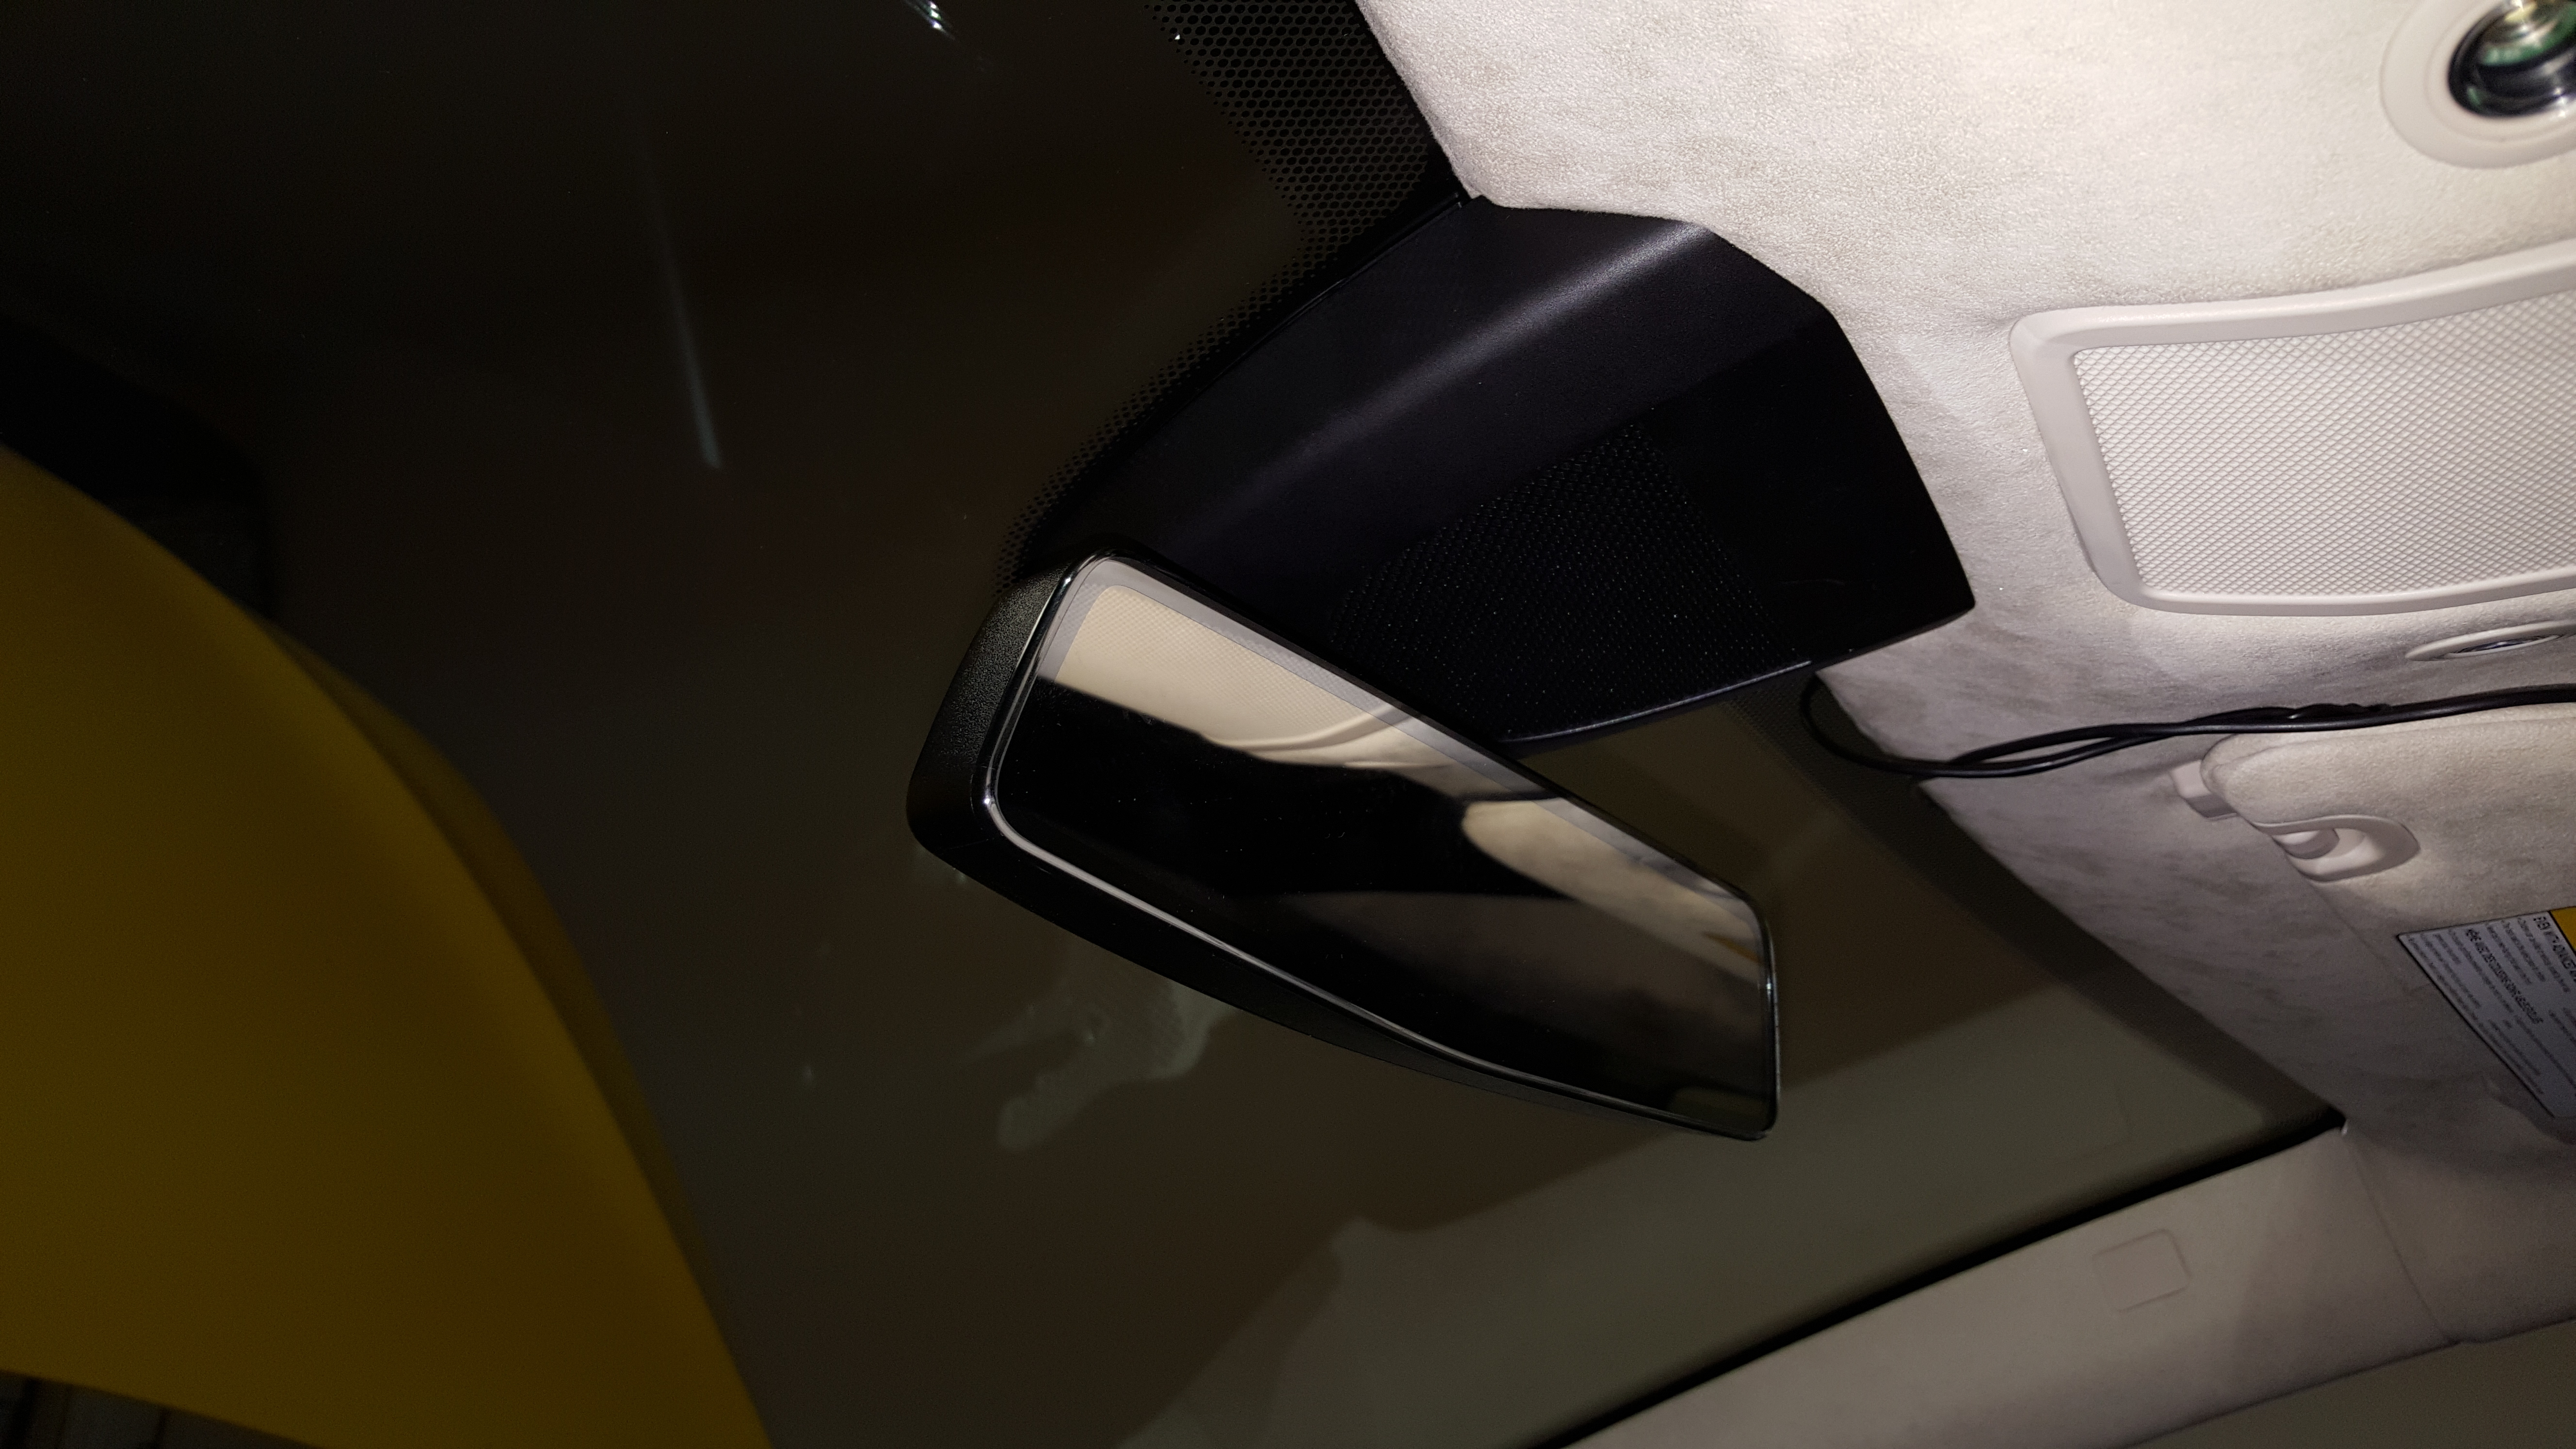
Next, I replaced the windshield with one for an autopilot car since it includes the mounting bracket for the forward camera. To do this I had to cut back some of the headliner so the camera would fit. It turns out that the headliner on the P85 was lower by a hair (about an eighth of an inch or so) than my P85D. So, I heated the edges around the opening I made for the camera in order to get it to bow inward a bit. This part also required replacing the rear view mirror, which, while it requires the same connections, had a different connector. I ended up snipping the connector off of the old mirror to make an adapter using a connector for the new mirror, which worked out well. I ran the wiring from the camera and the camera defogger up to the frunk area and left it unconnected for the time being. While I had the area accessible, I also ran some new wiring that would be use for the new parking sensors from the frunk area to the trunk where the parking sensors ECU mounts.
At this point I had the interior of the car put completely together, car was drivable, and I had one new feature: indefinite hill hold. All of that work for hill hold! ")

2016-05-04 08.16 - Hill hold works
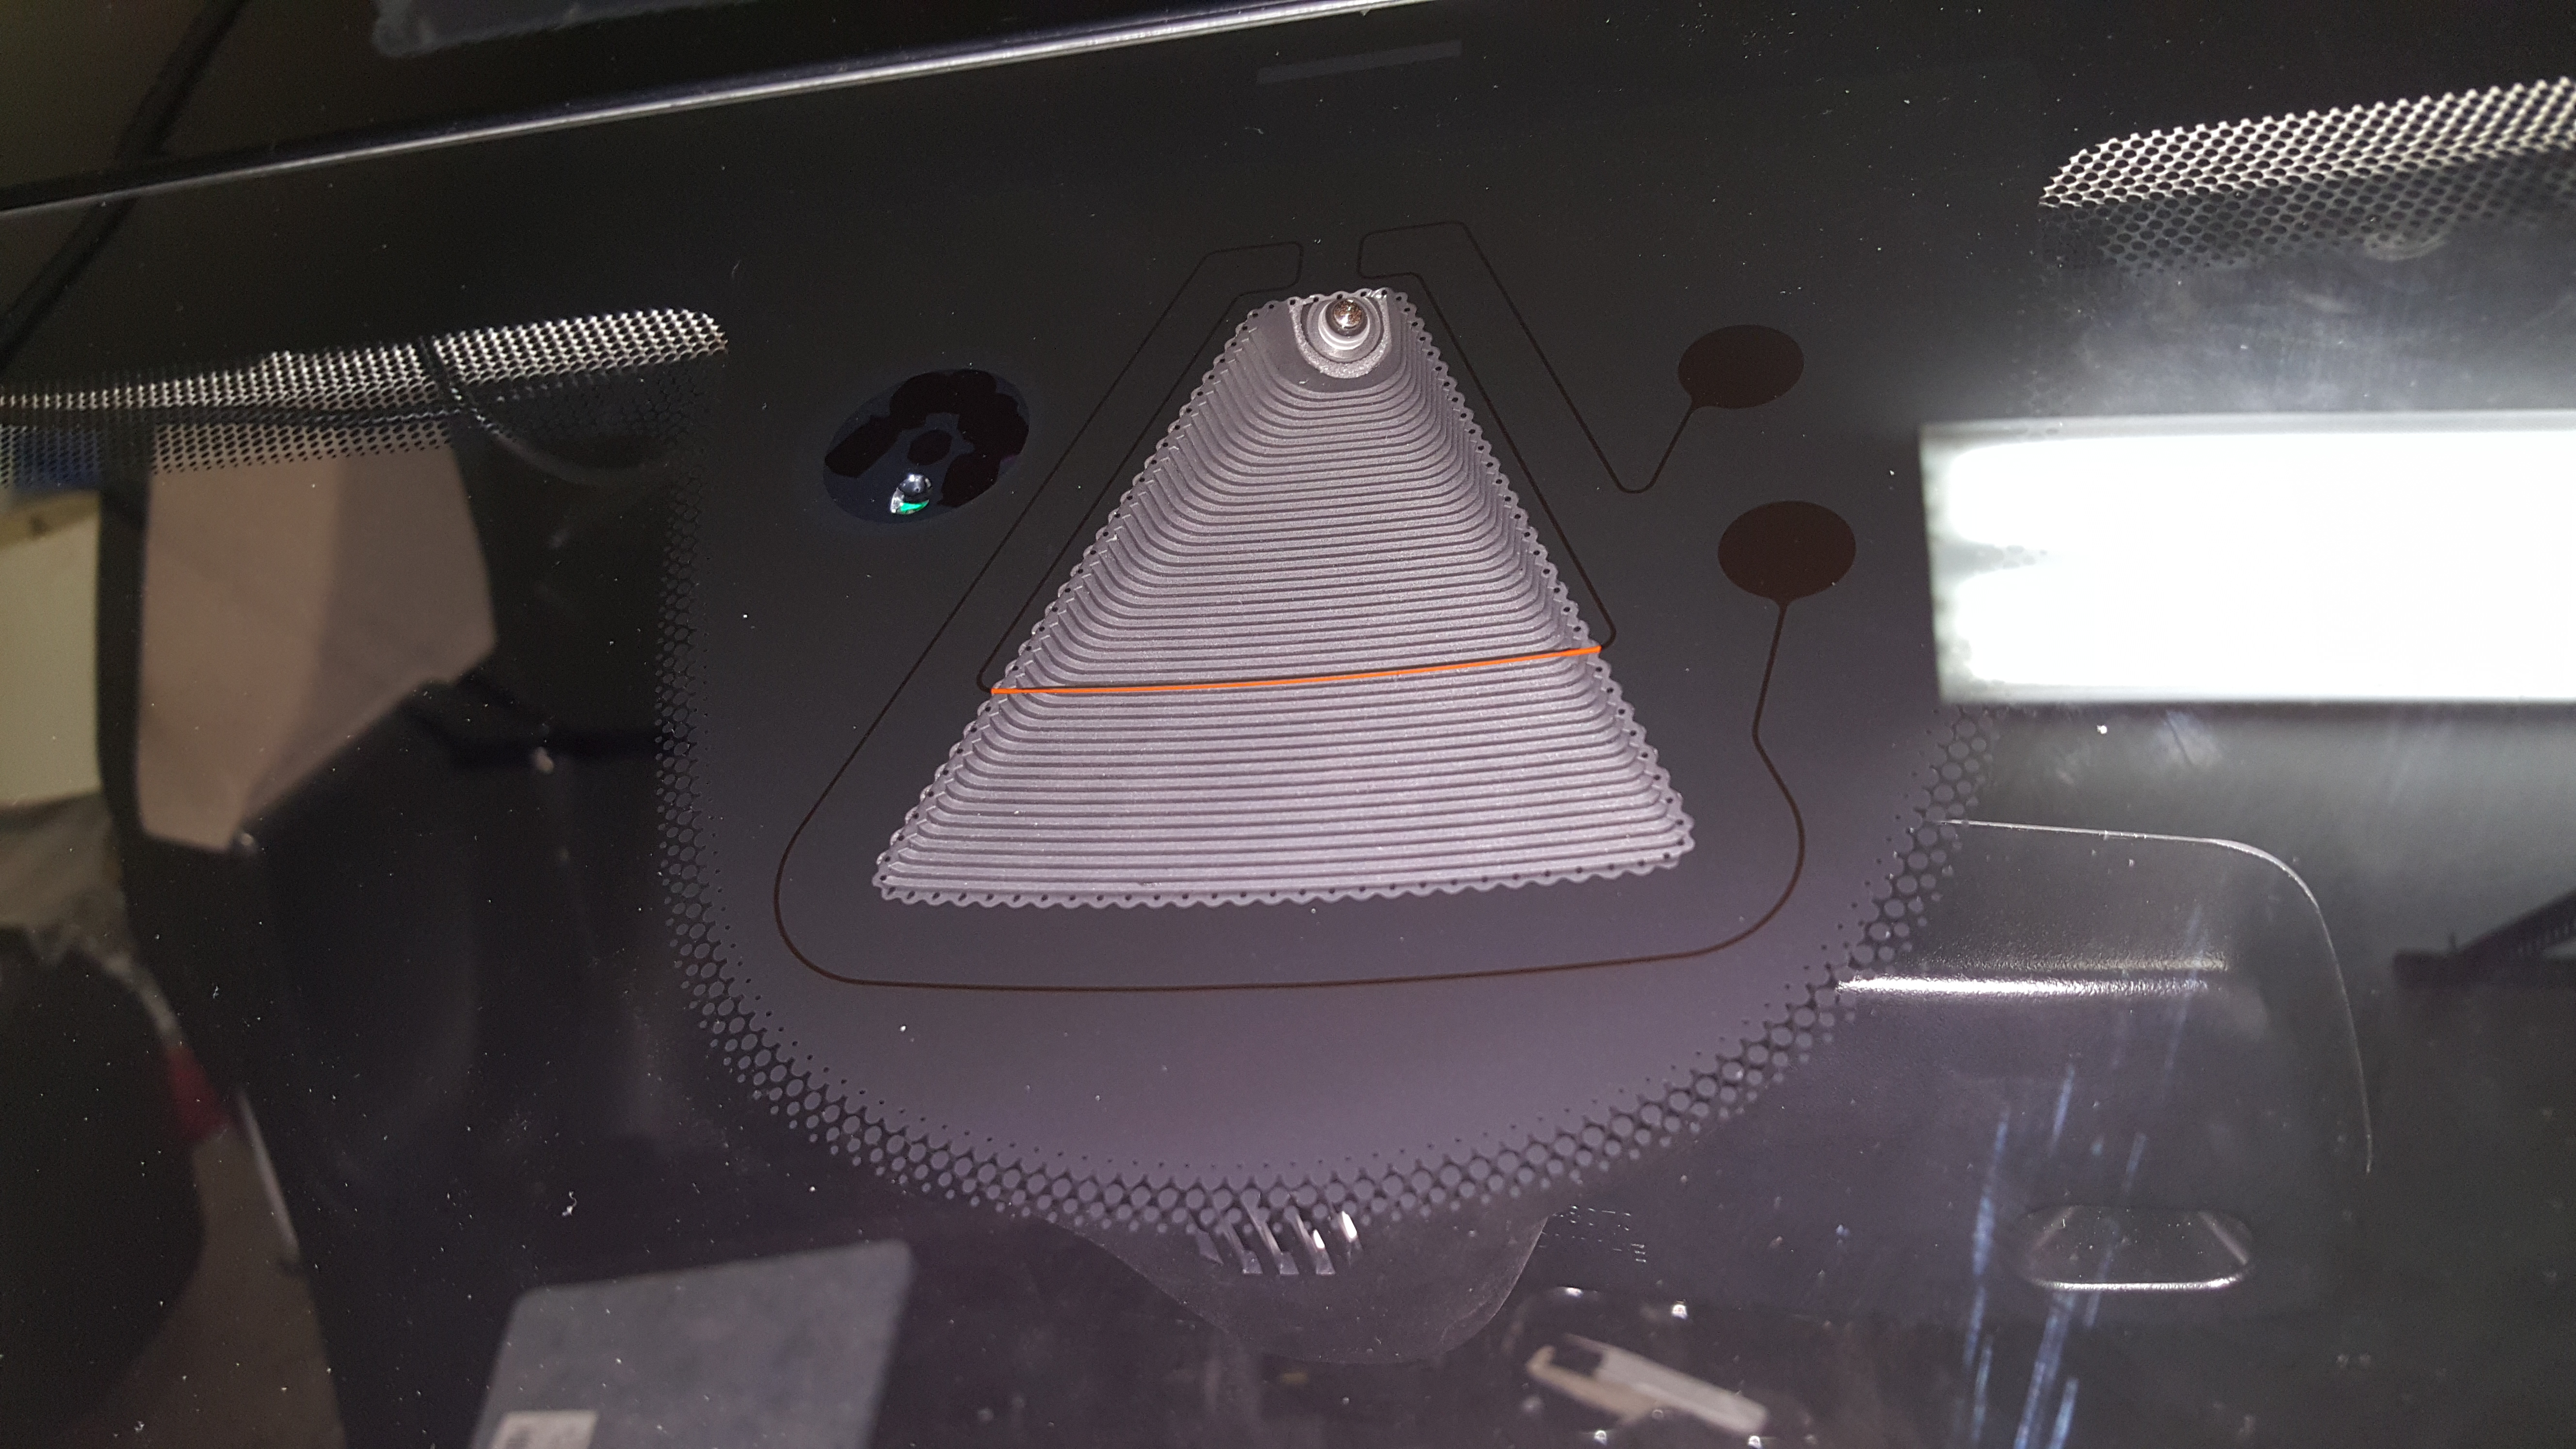
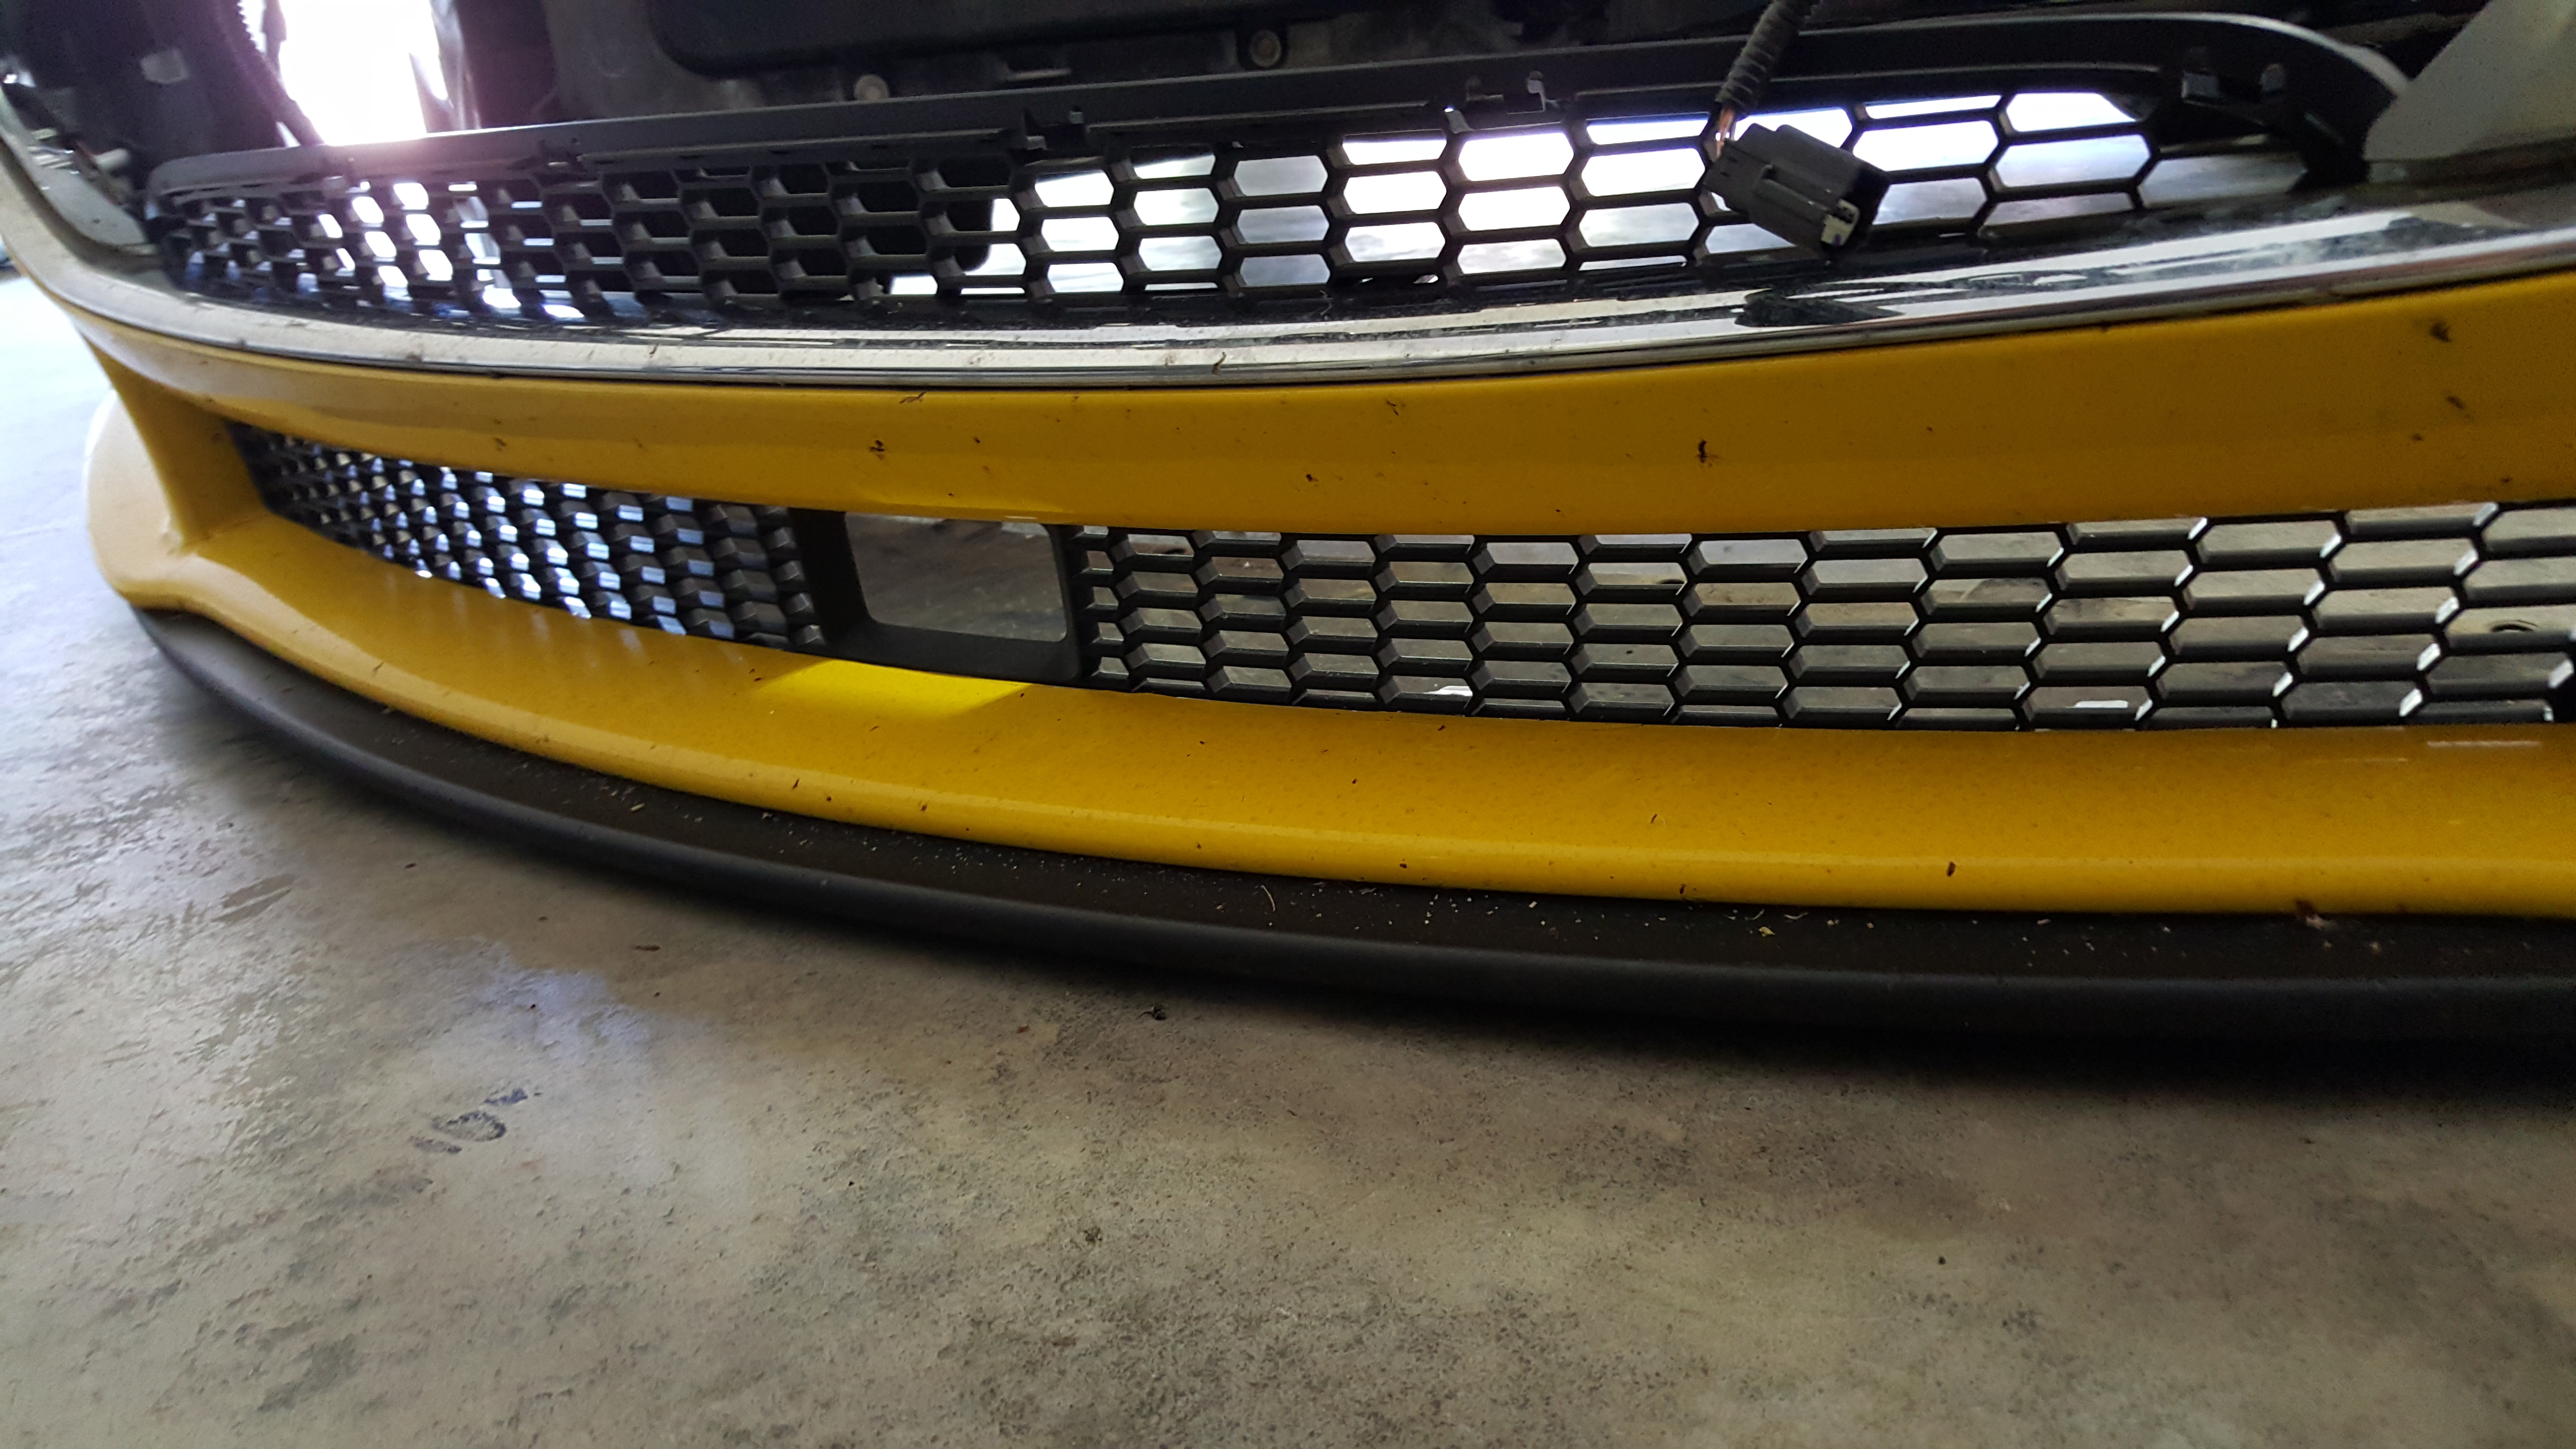
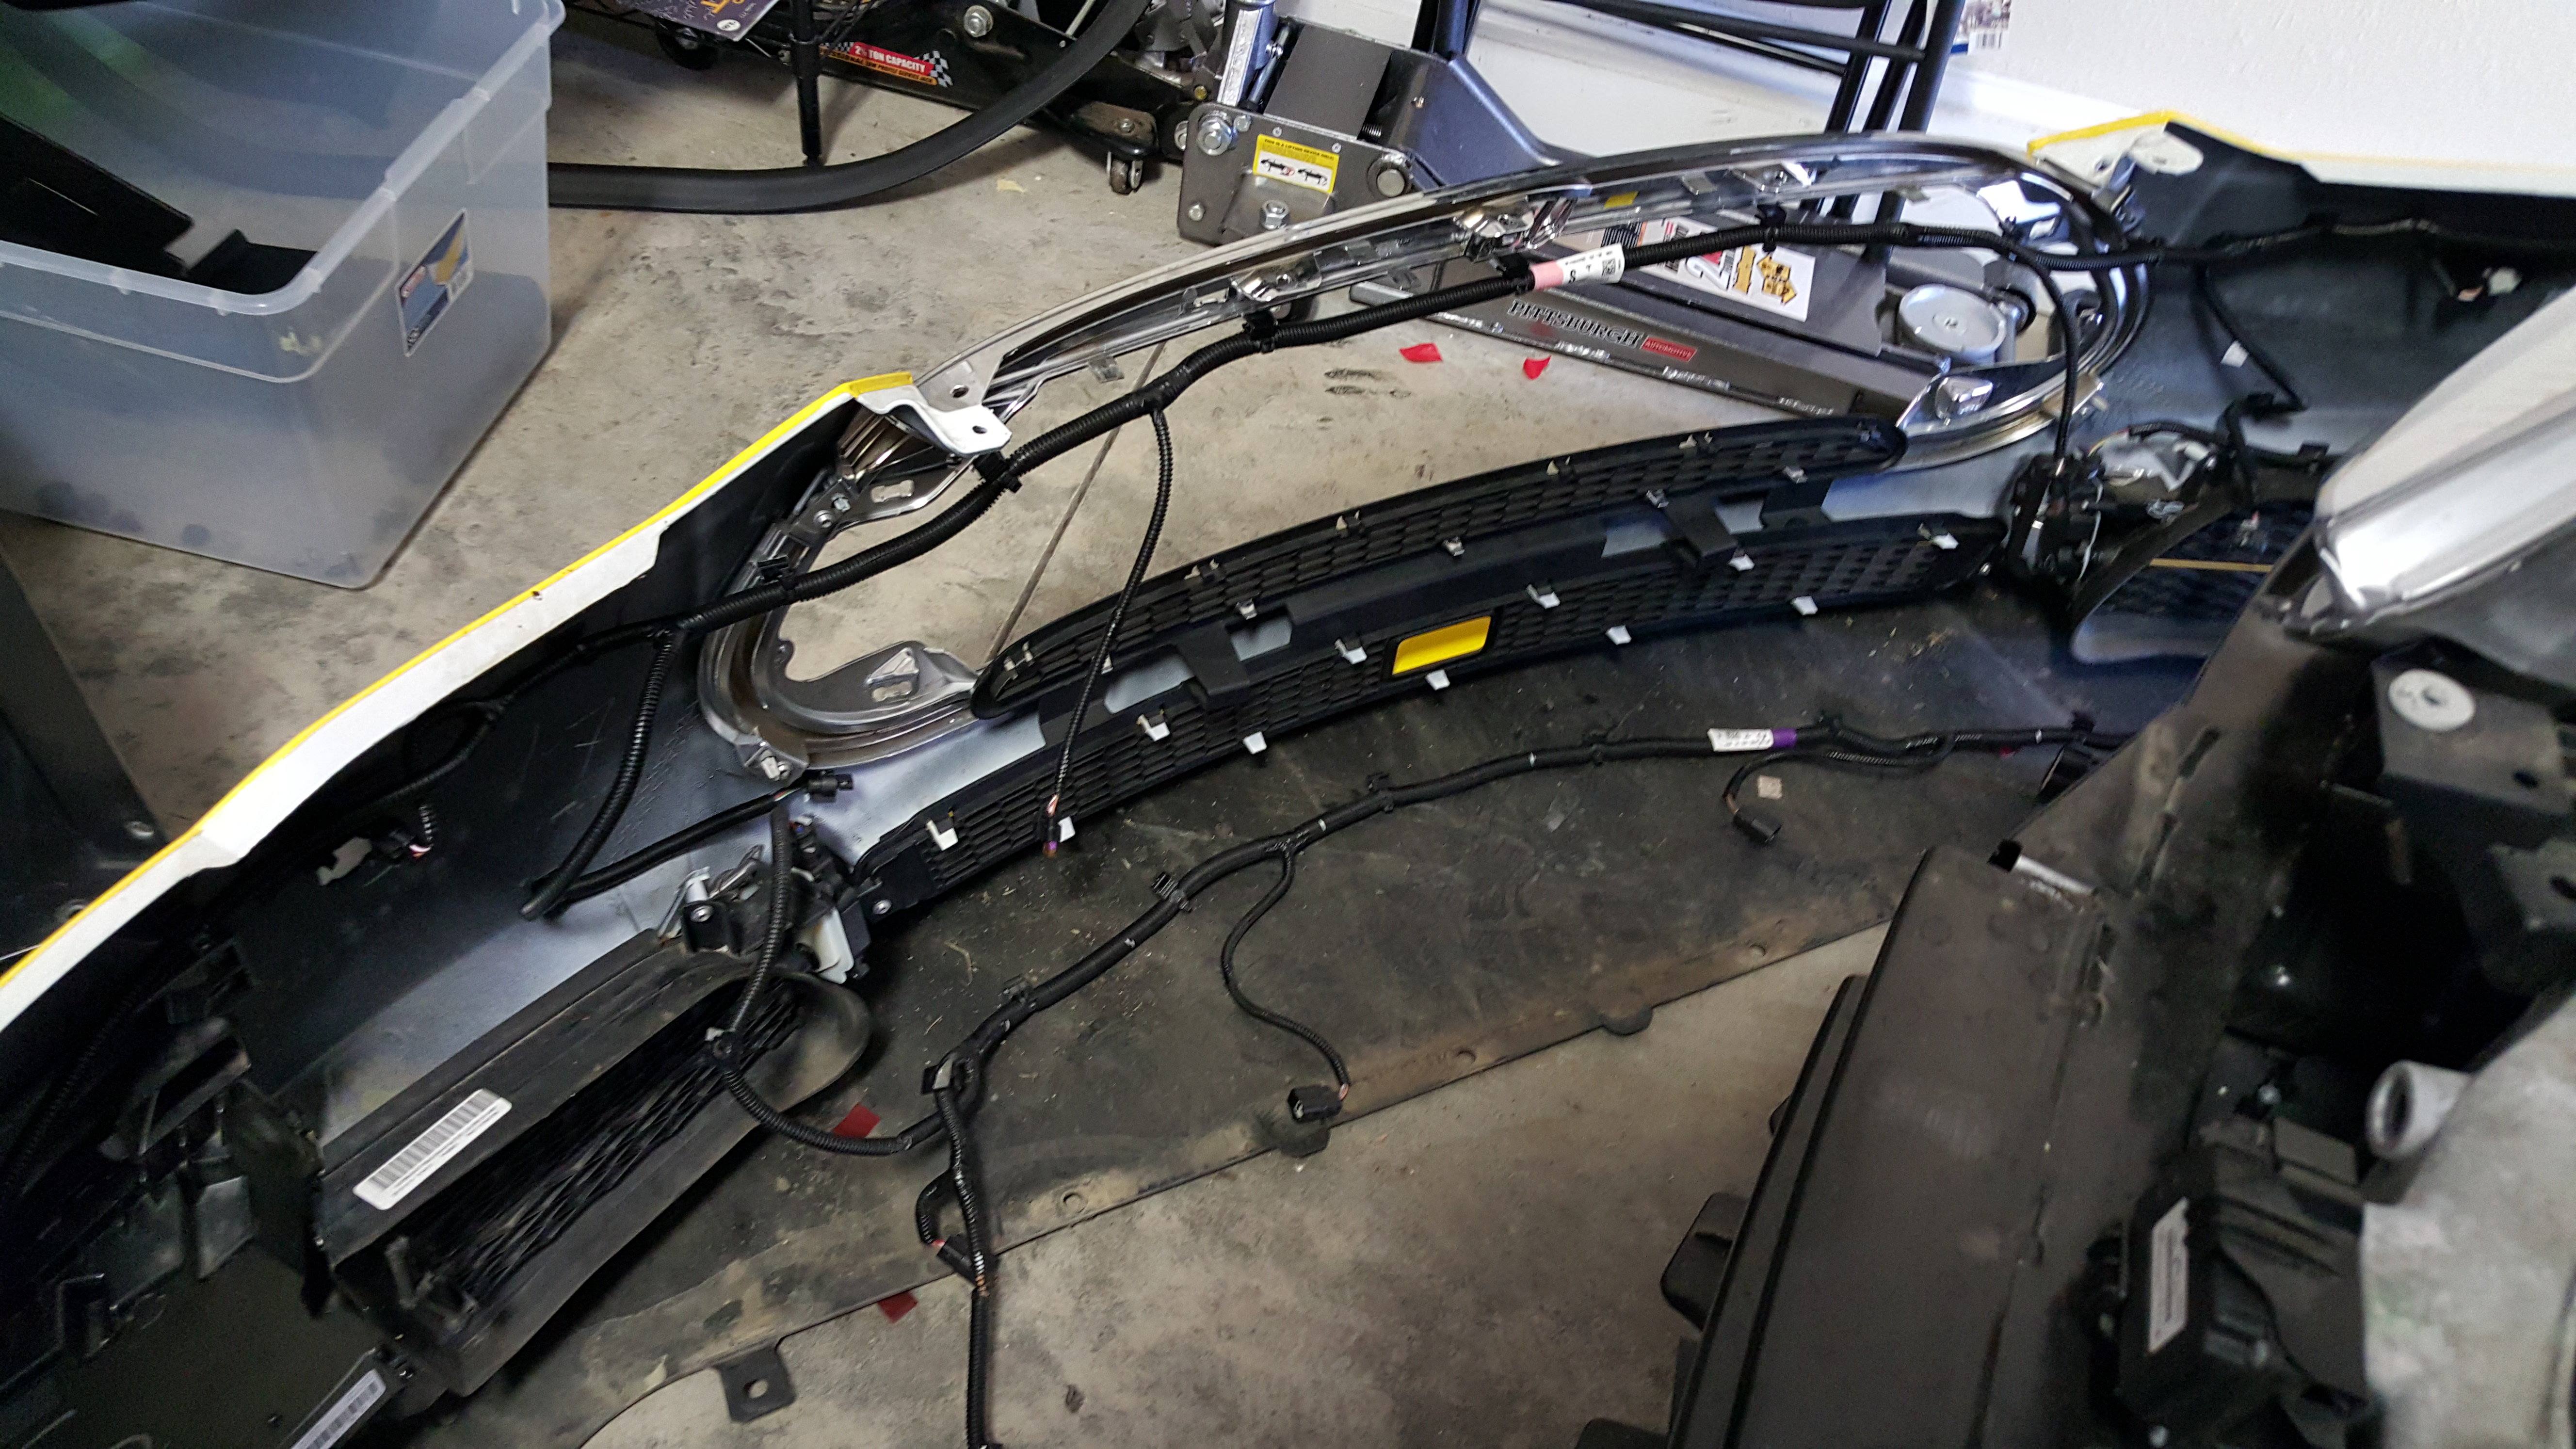
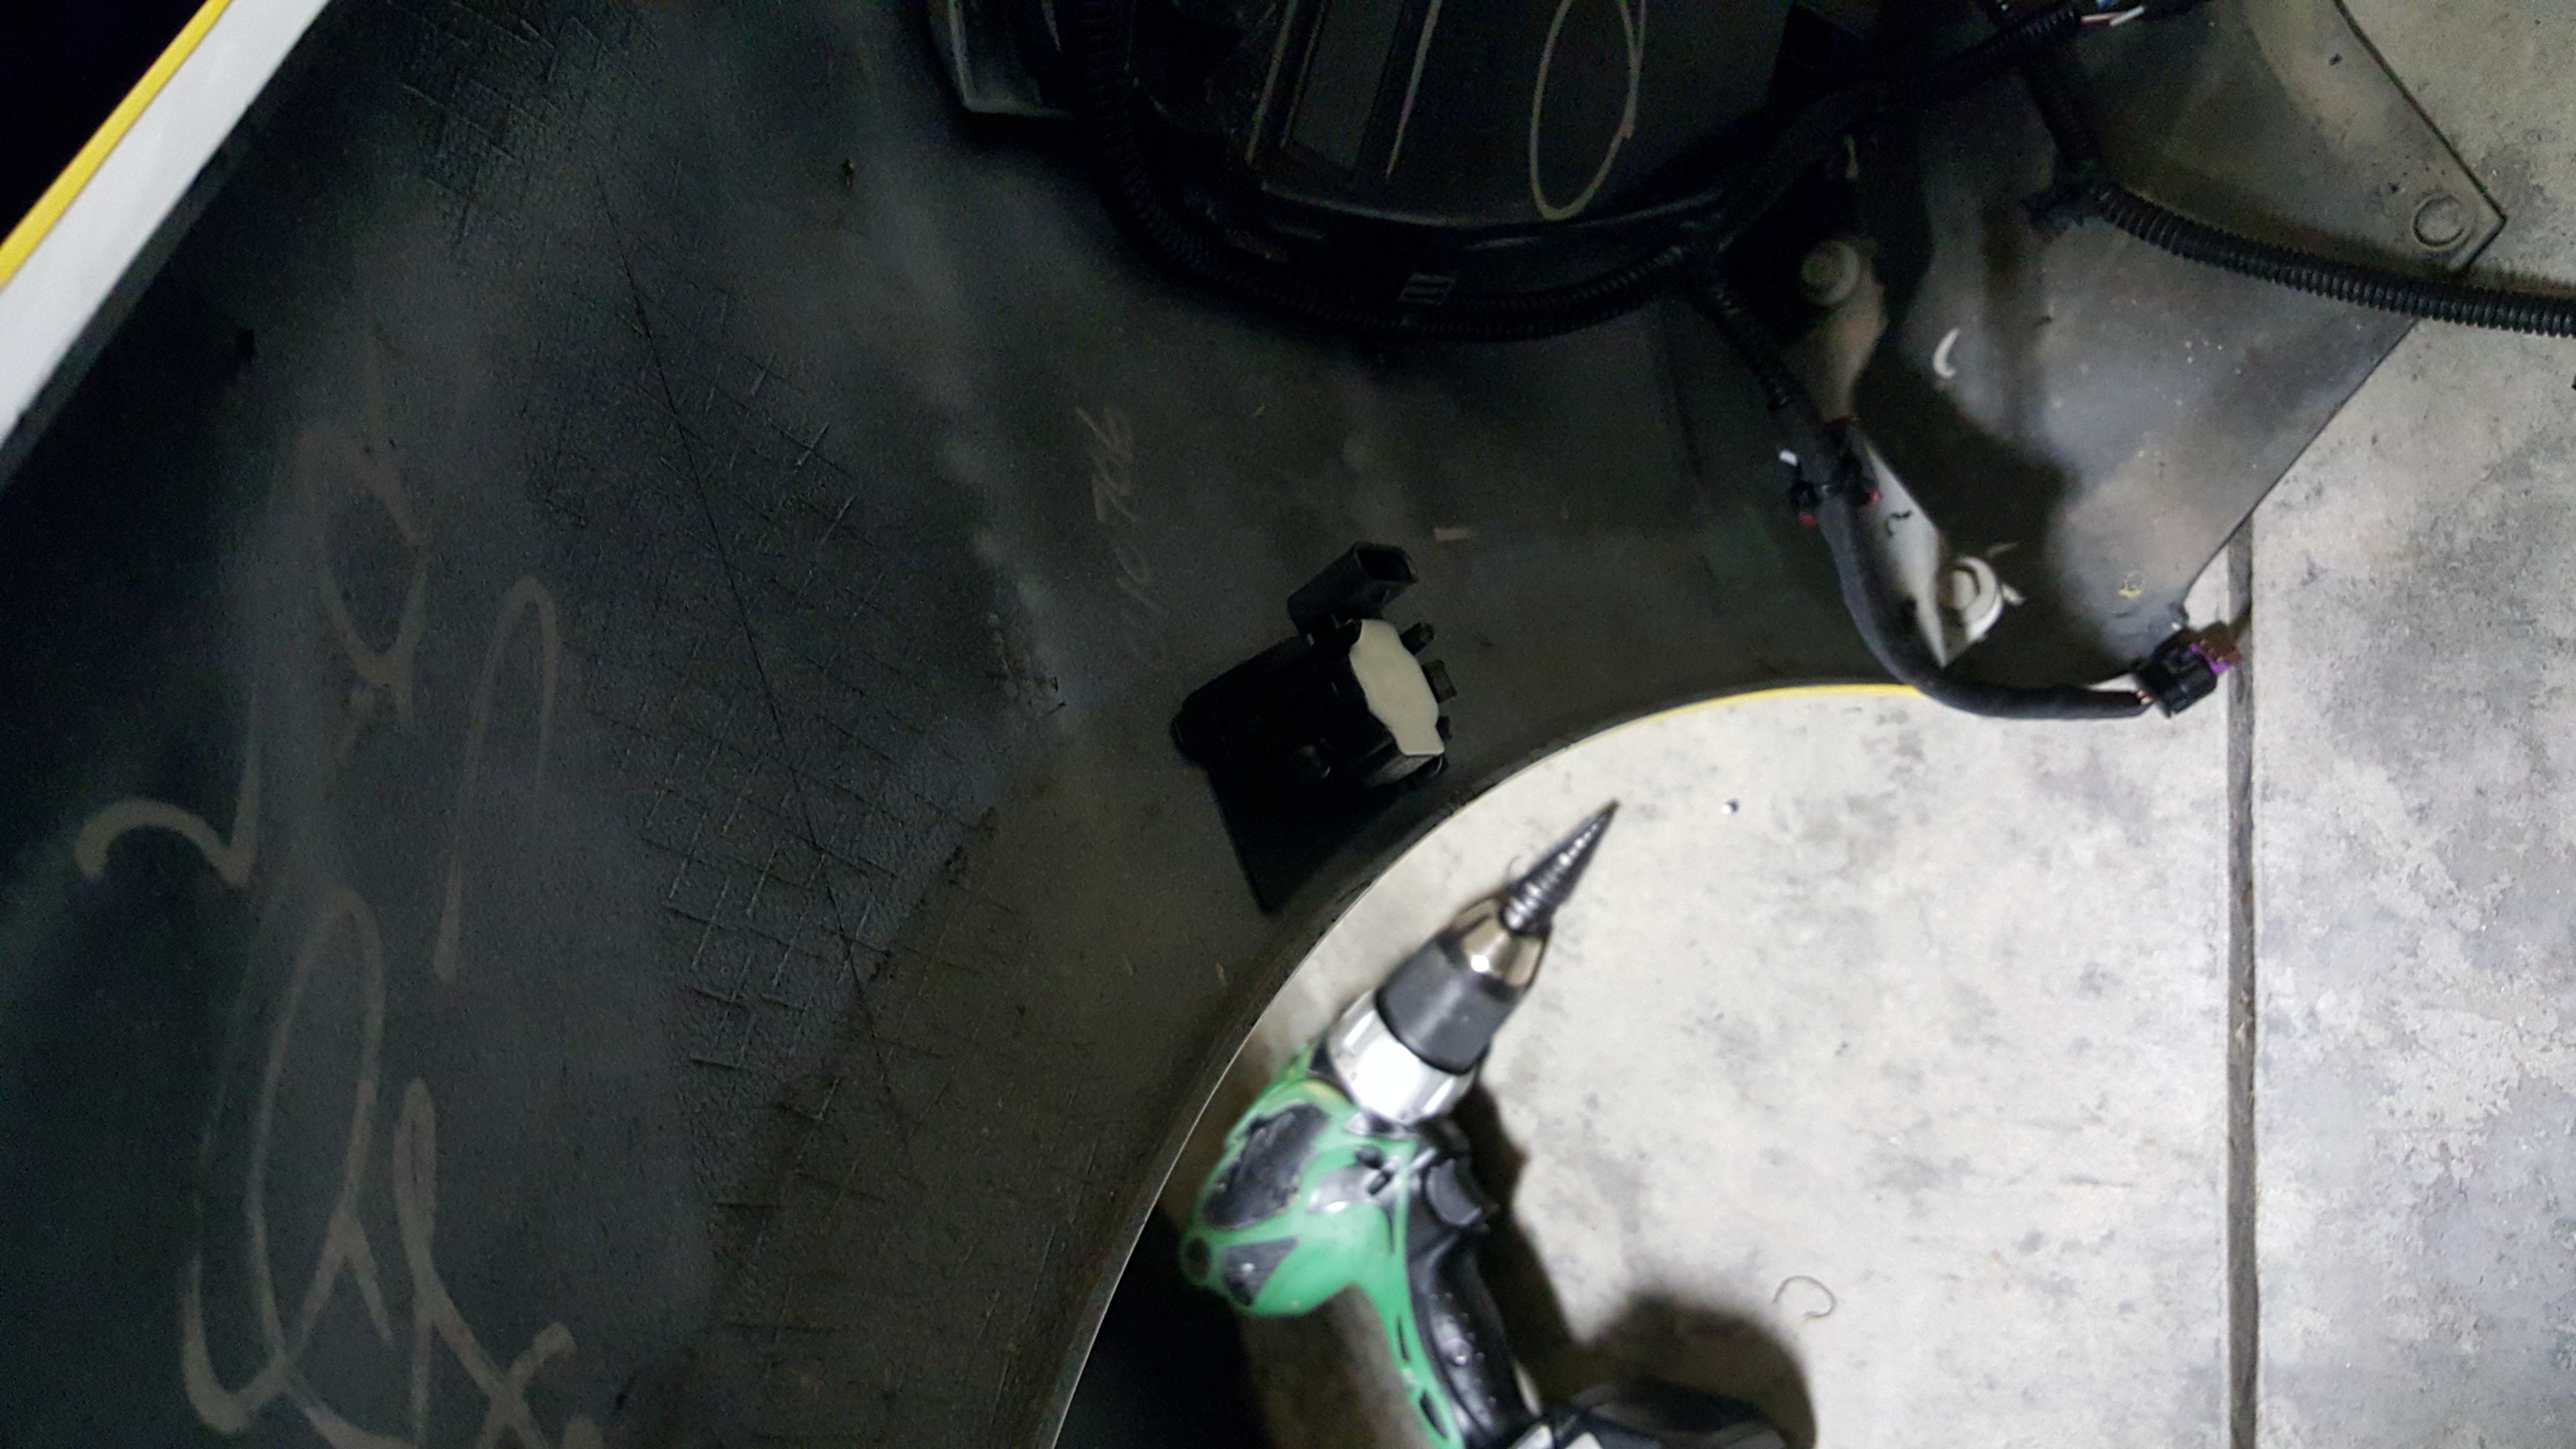
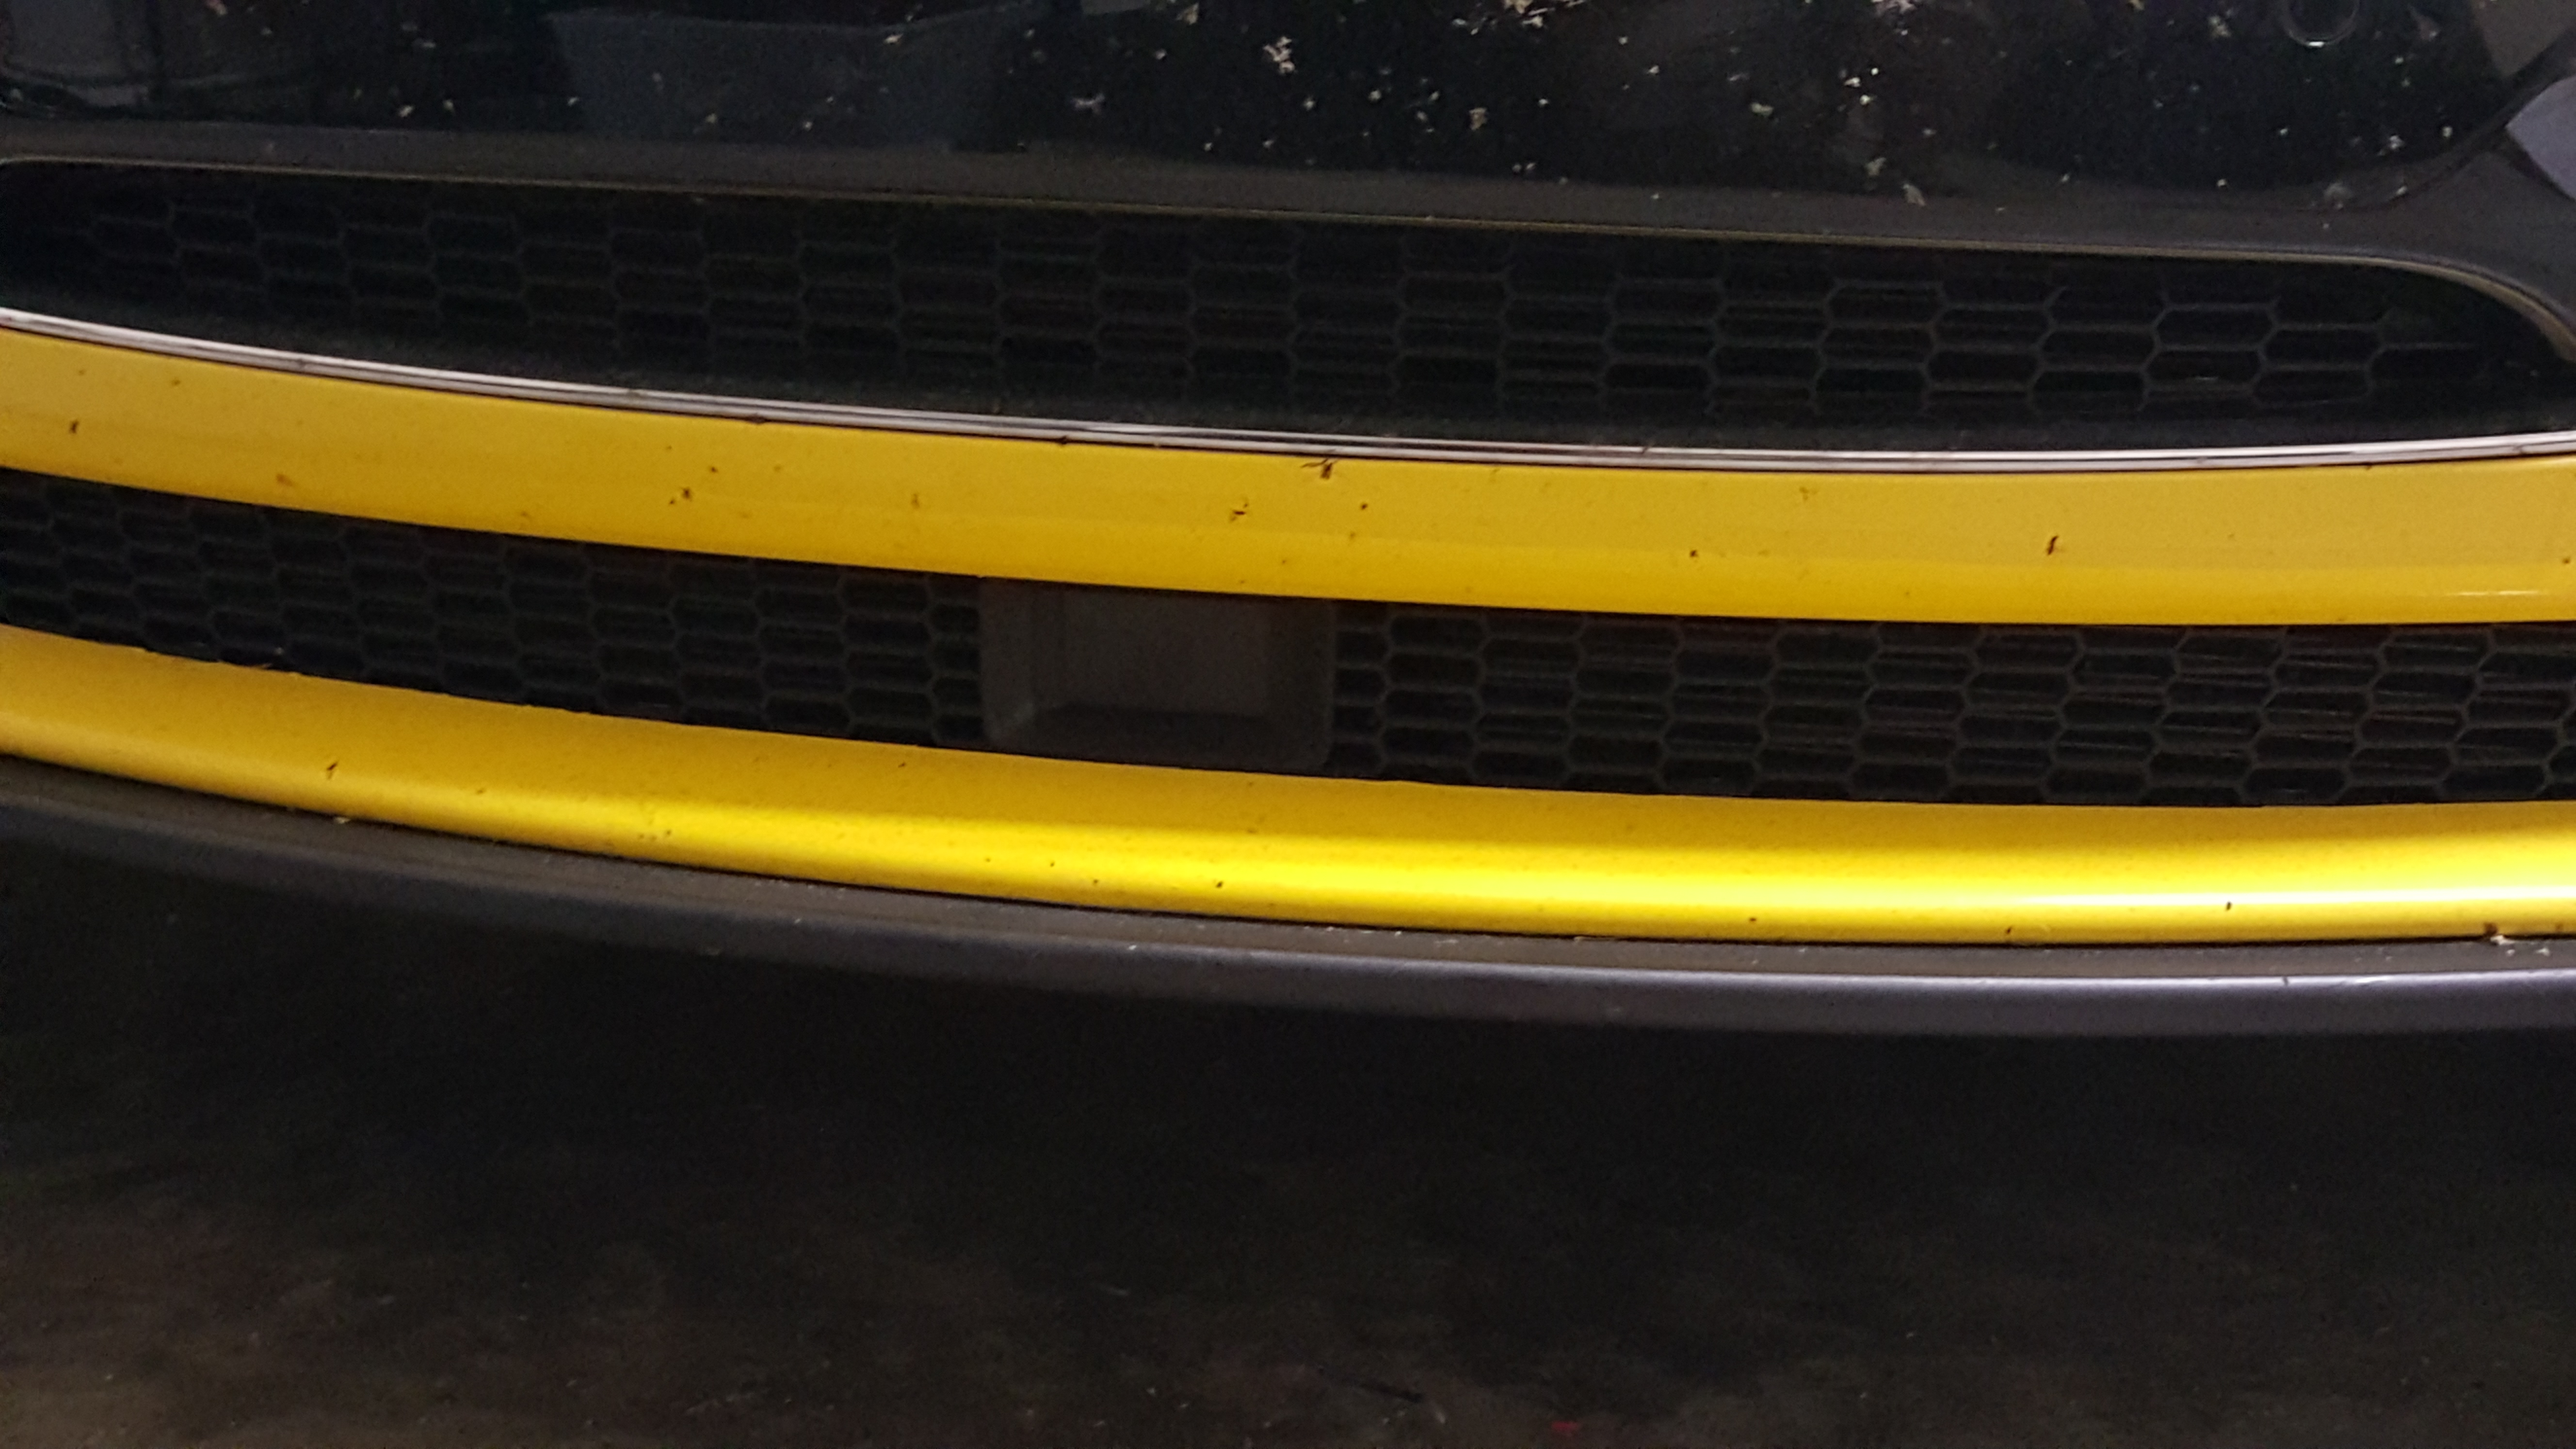
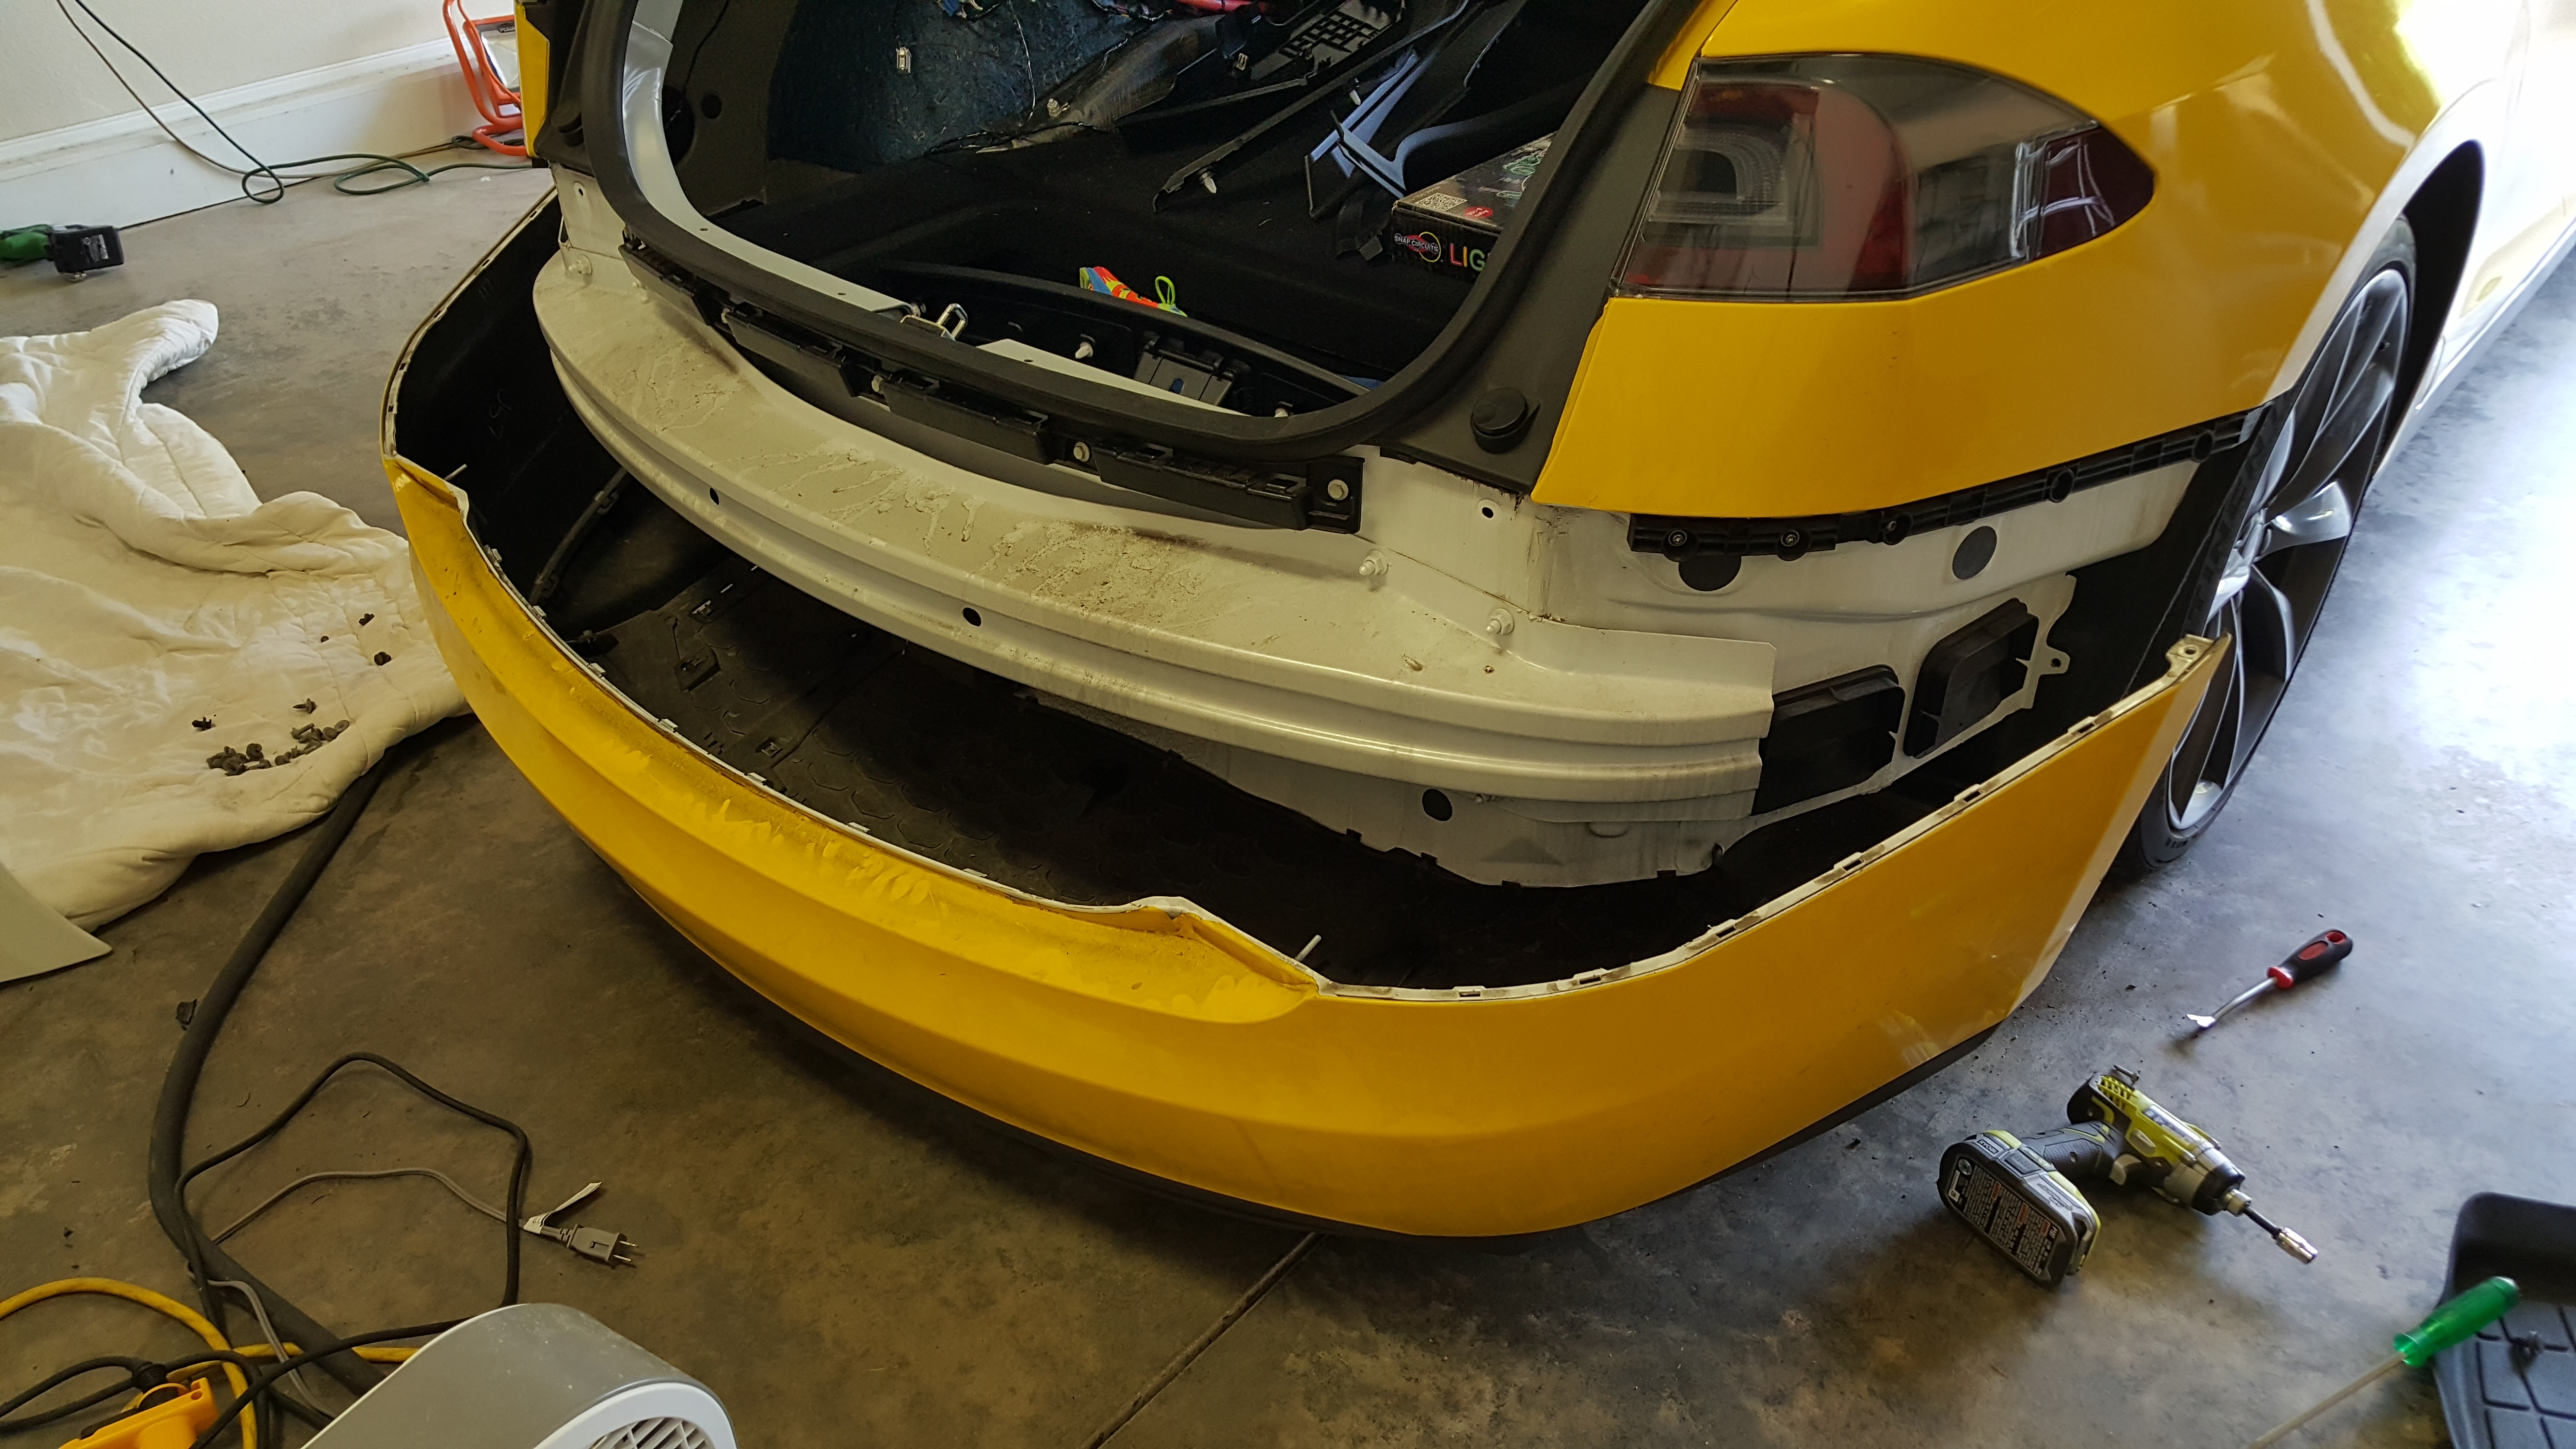
Later I removed the front bumper cover. I measured my P85D and made two new holes in the P85’s bumper cover for the two additional ultrasonic sensors that the new sensor set has. The other four sensor positions were the same, so reused those holes. I had to remove the old brackets for the old sensors from the bumper cover (3M double sided tape doesn’t like to come off). Eventually I had all six new ultrasonics in place. I changed out the front bumper wiring harness with a new one I ordered from Tesla that is for the new sensors. This included two additional wires that wouldn’t get routed through the rest of the vehicle when connected, so I connected those to the new wires I routed earlier. The two side sensors actually land inside the front wheel well. Instead of buying the new arch liners I bought the covers for those sensors and modified the arch liners so they would fit and be protected.
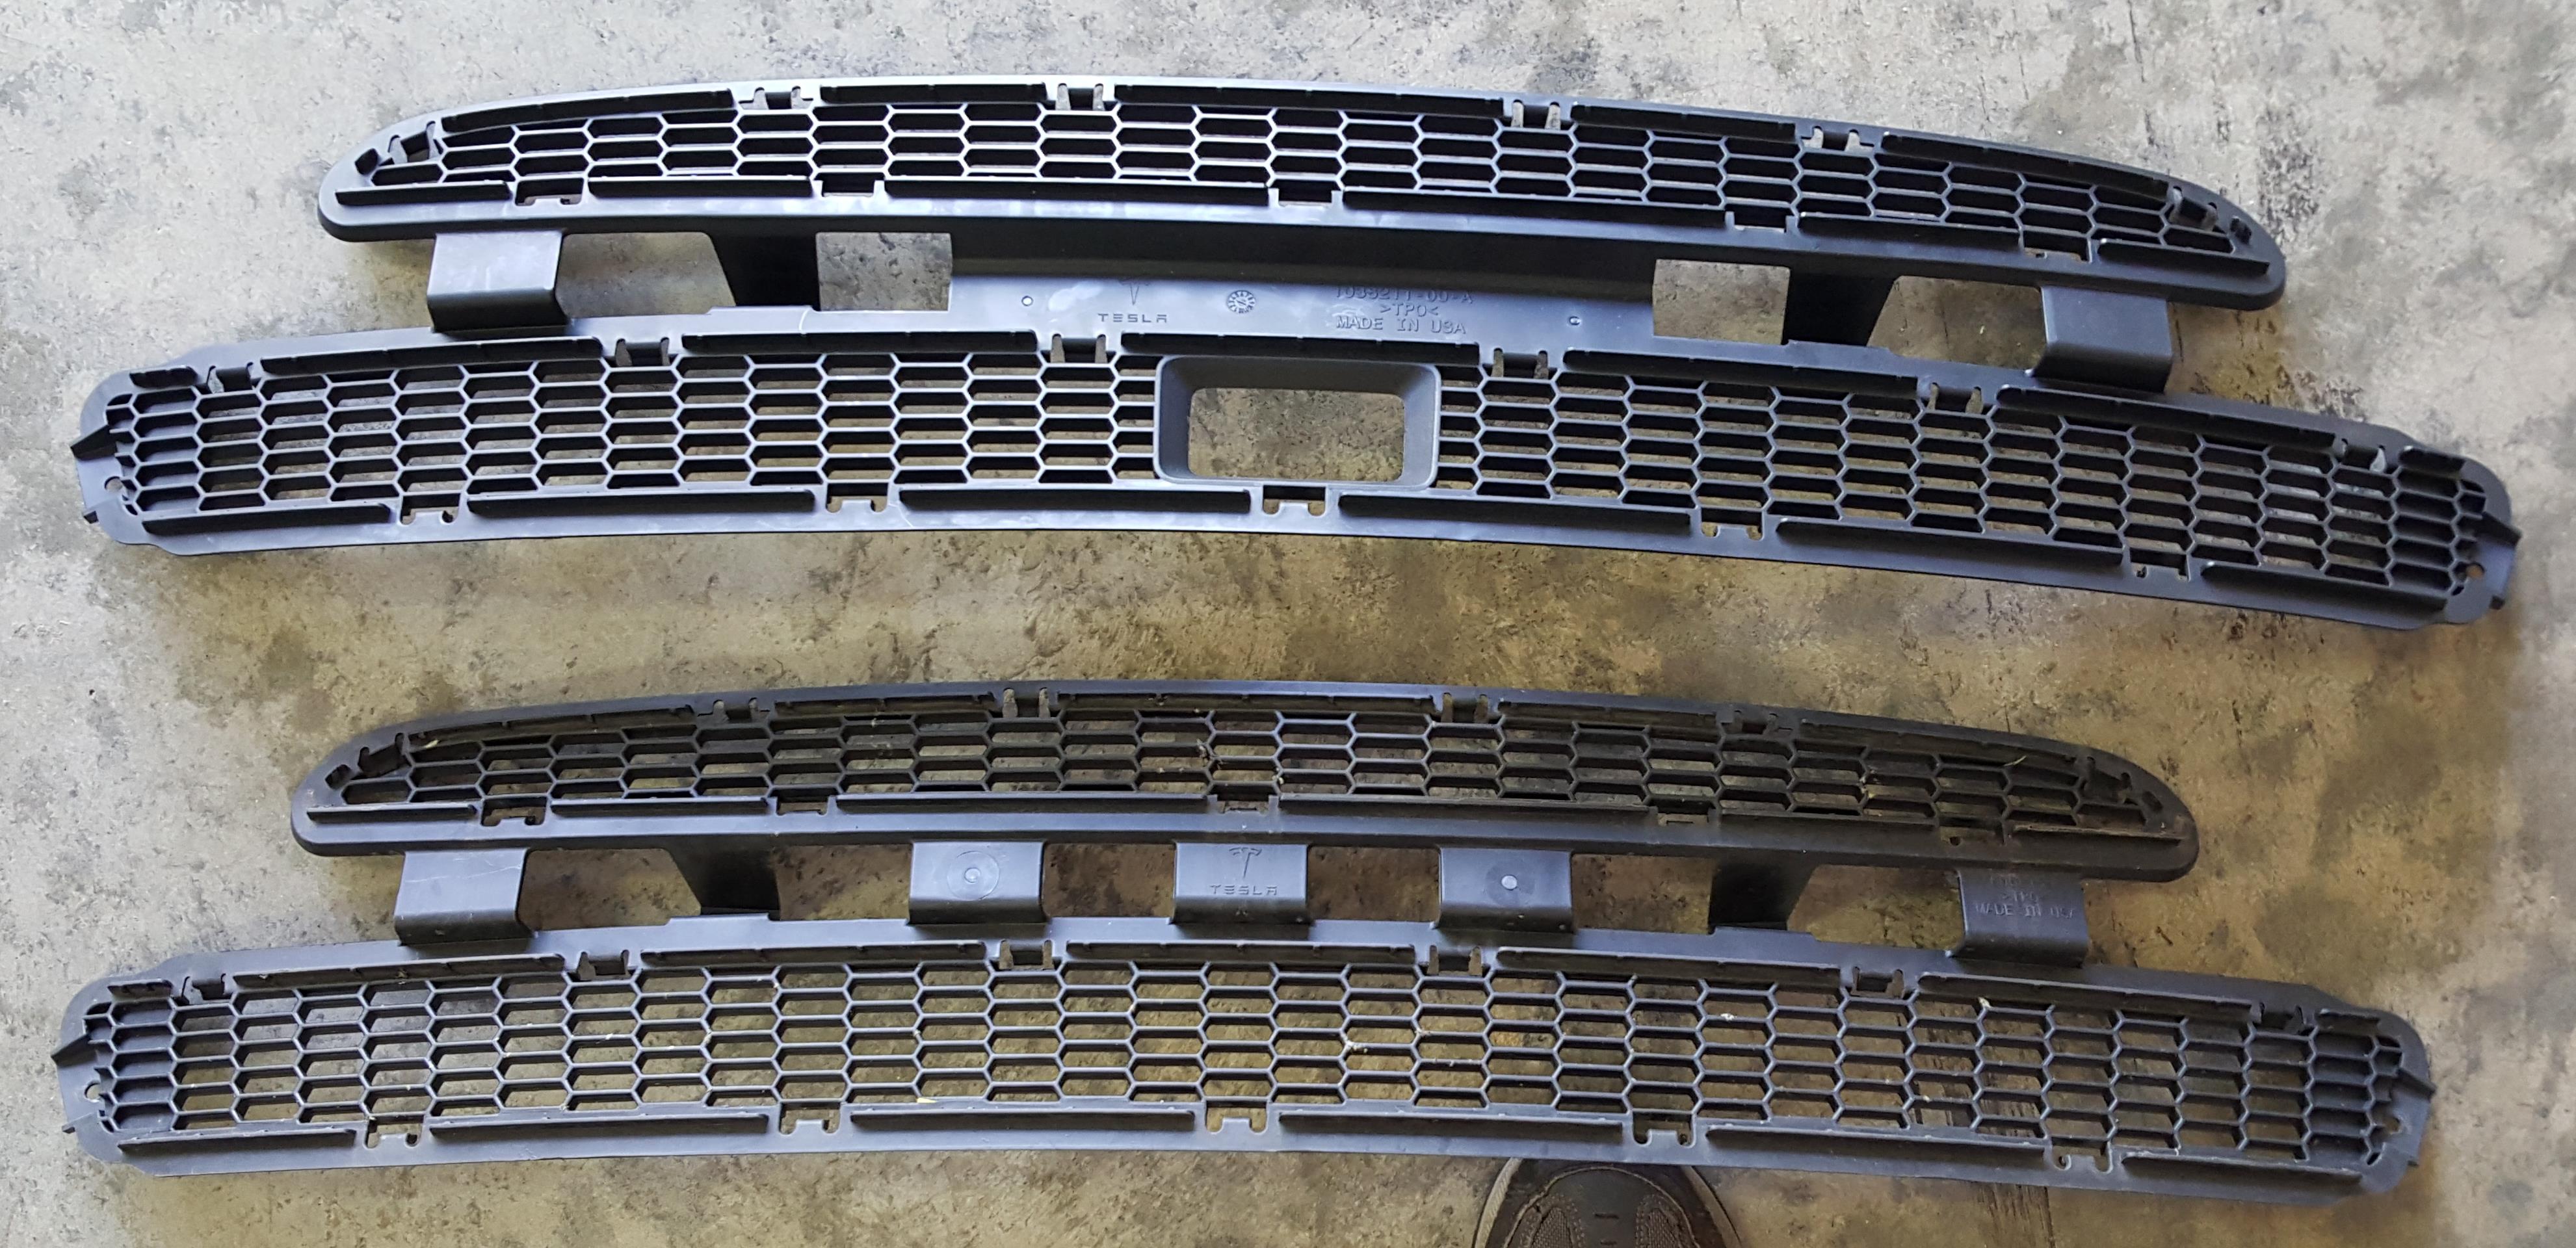
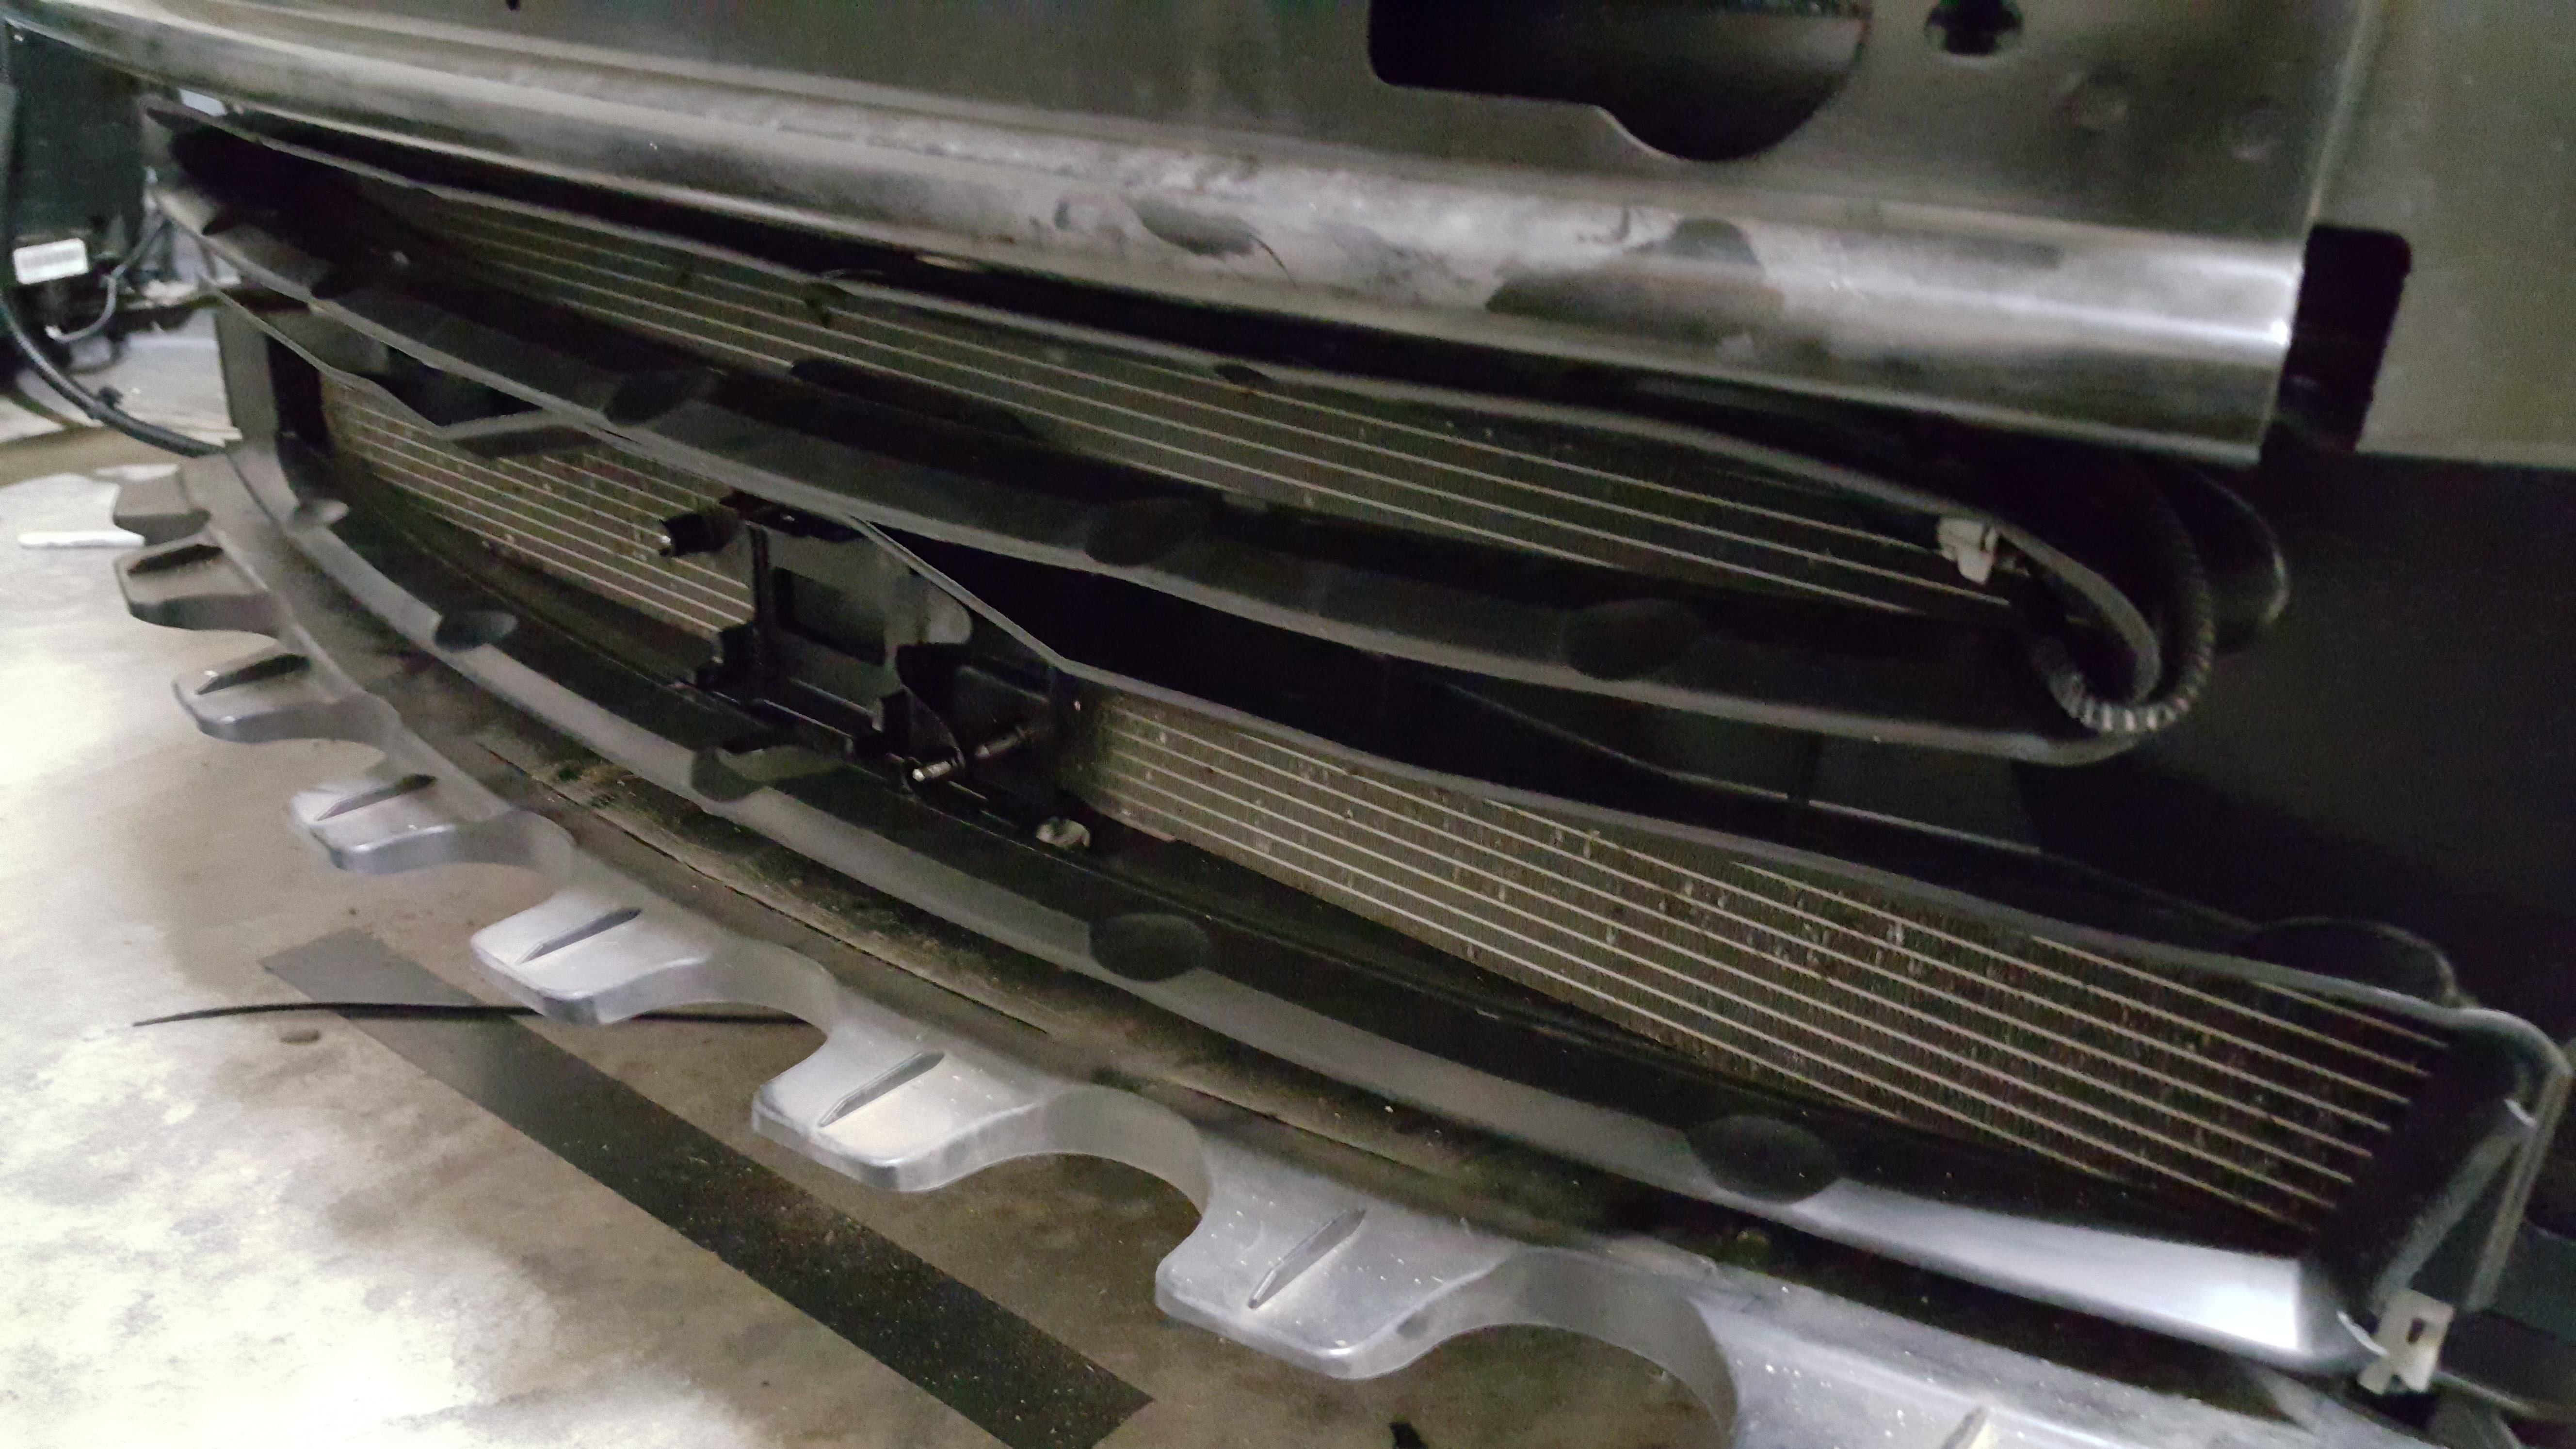
I also removed the front end ducting and replaced it with the version that included mounting holes for the forward radar mounting bracket. I also replaced the black grill piece in the bumper cover with the one that has the opening for the radar. I installed the radar and ran it’s custom harness to the frunk area where I was gathering up wires. I aligned the forward radar as well as possible (pre-calibration).


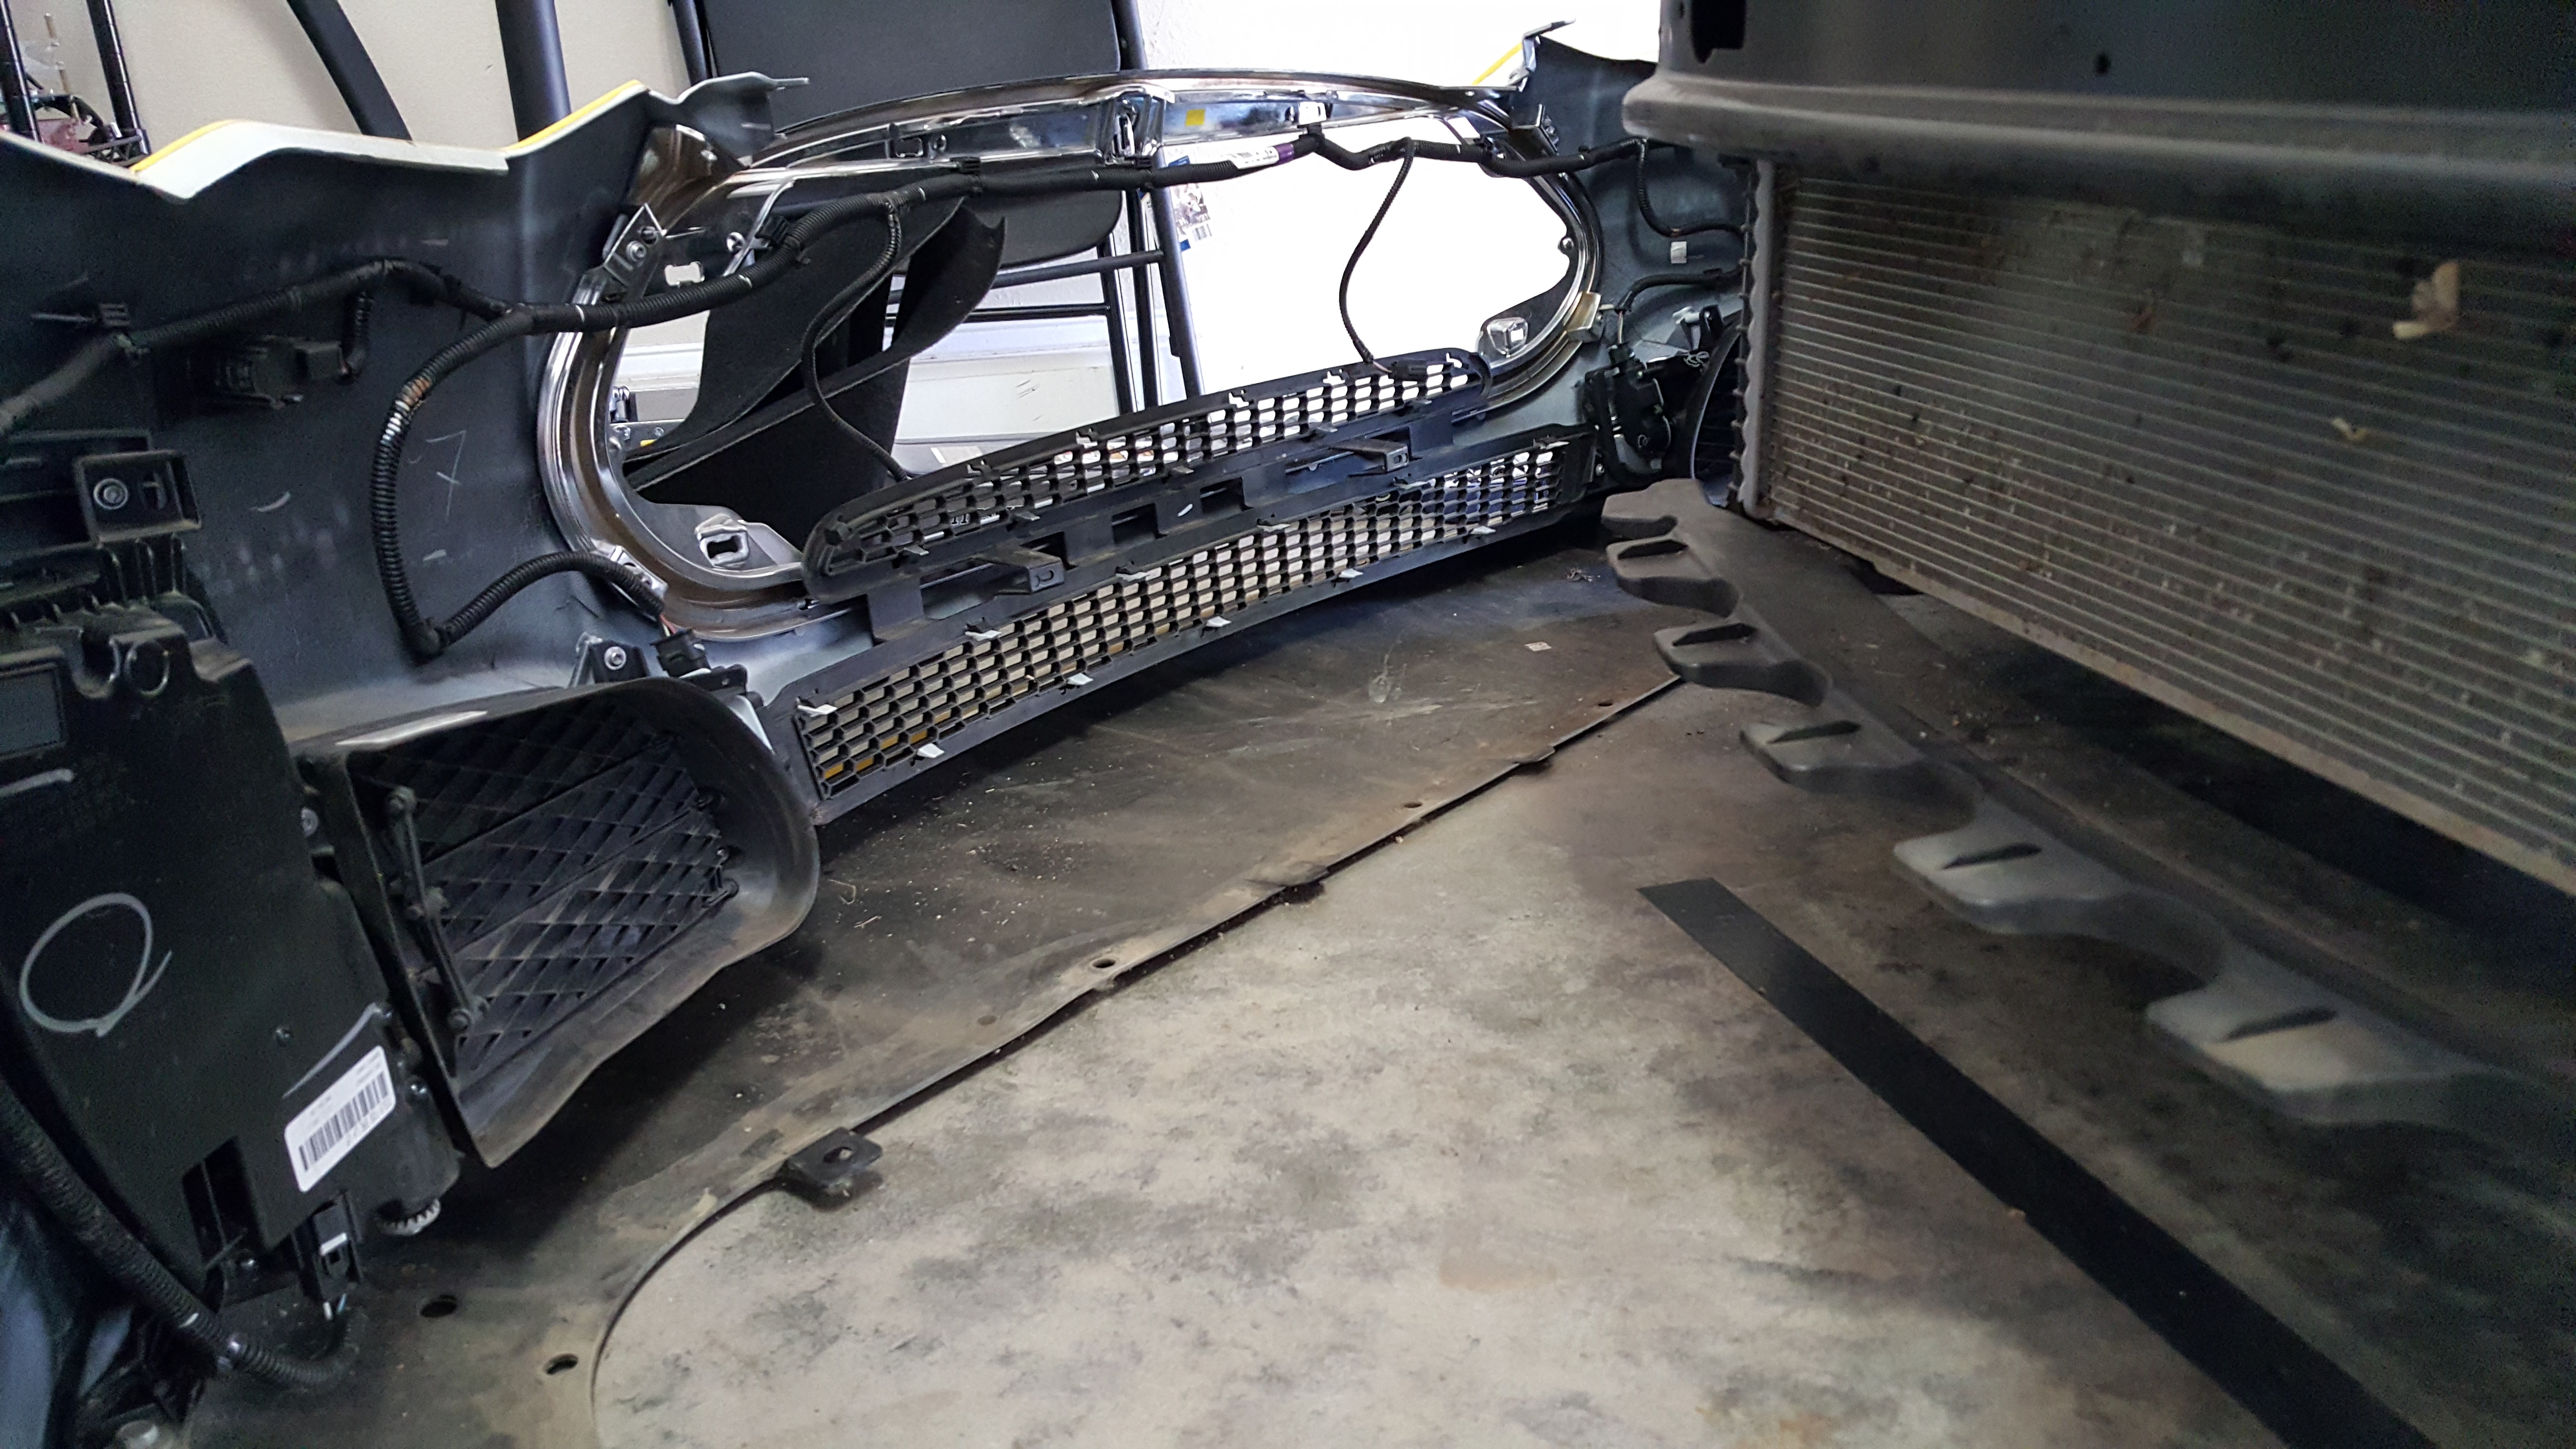


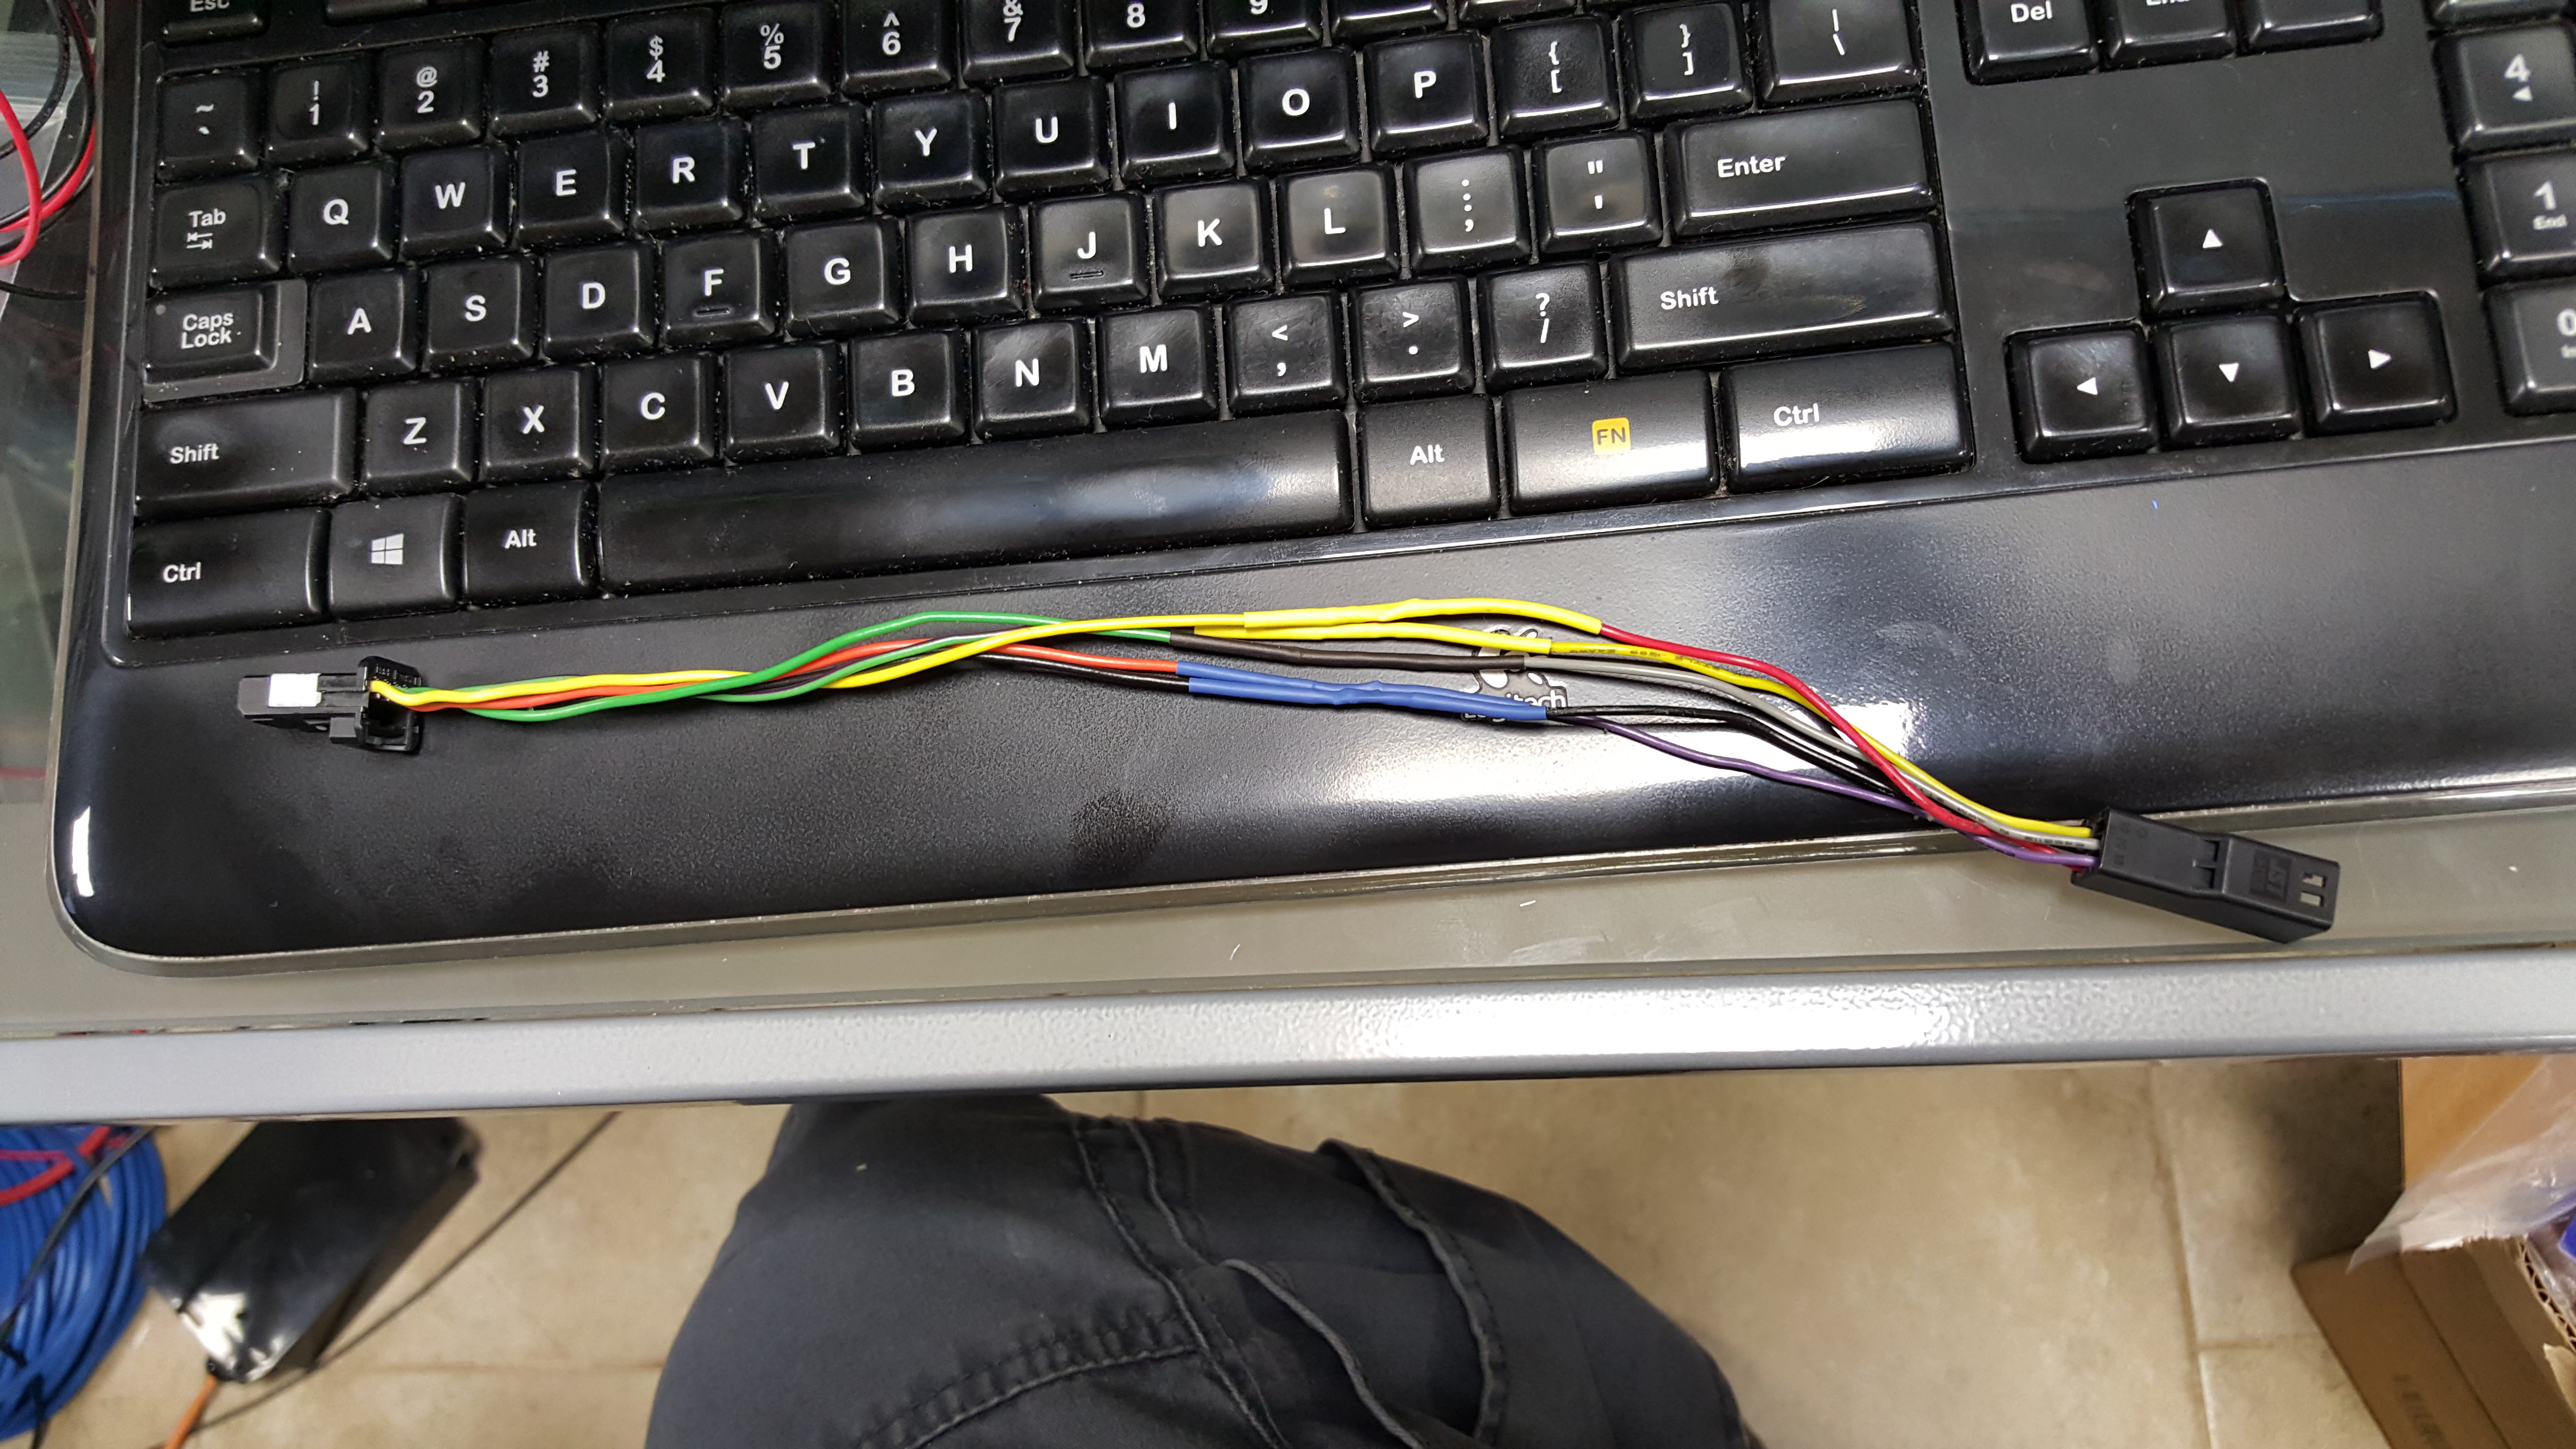
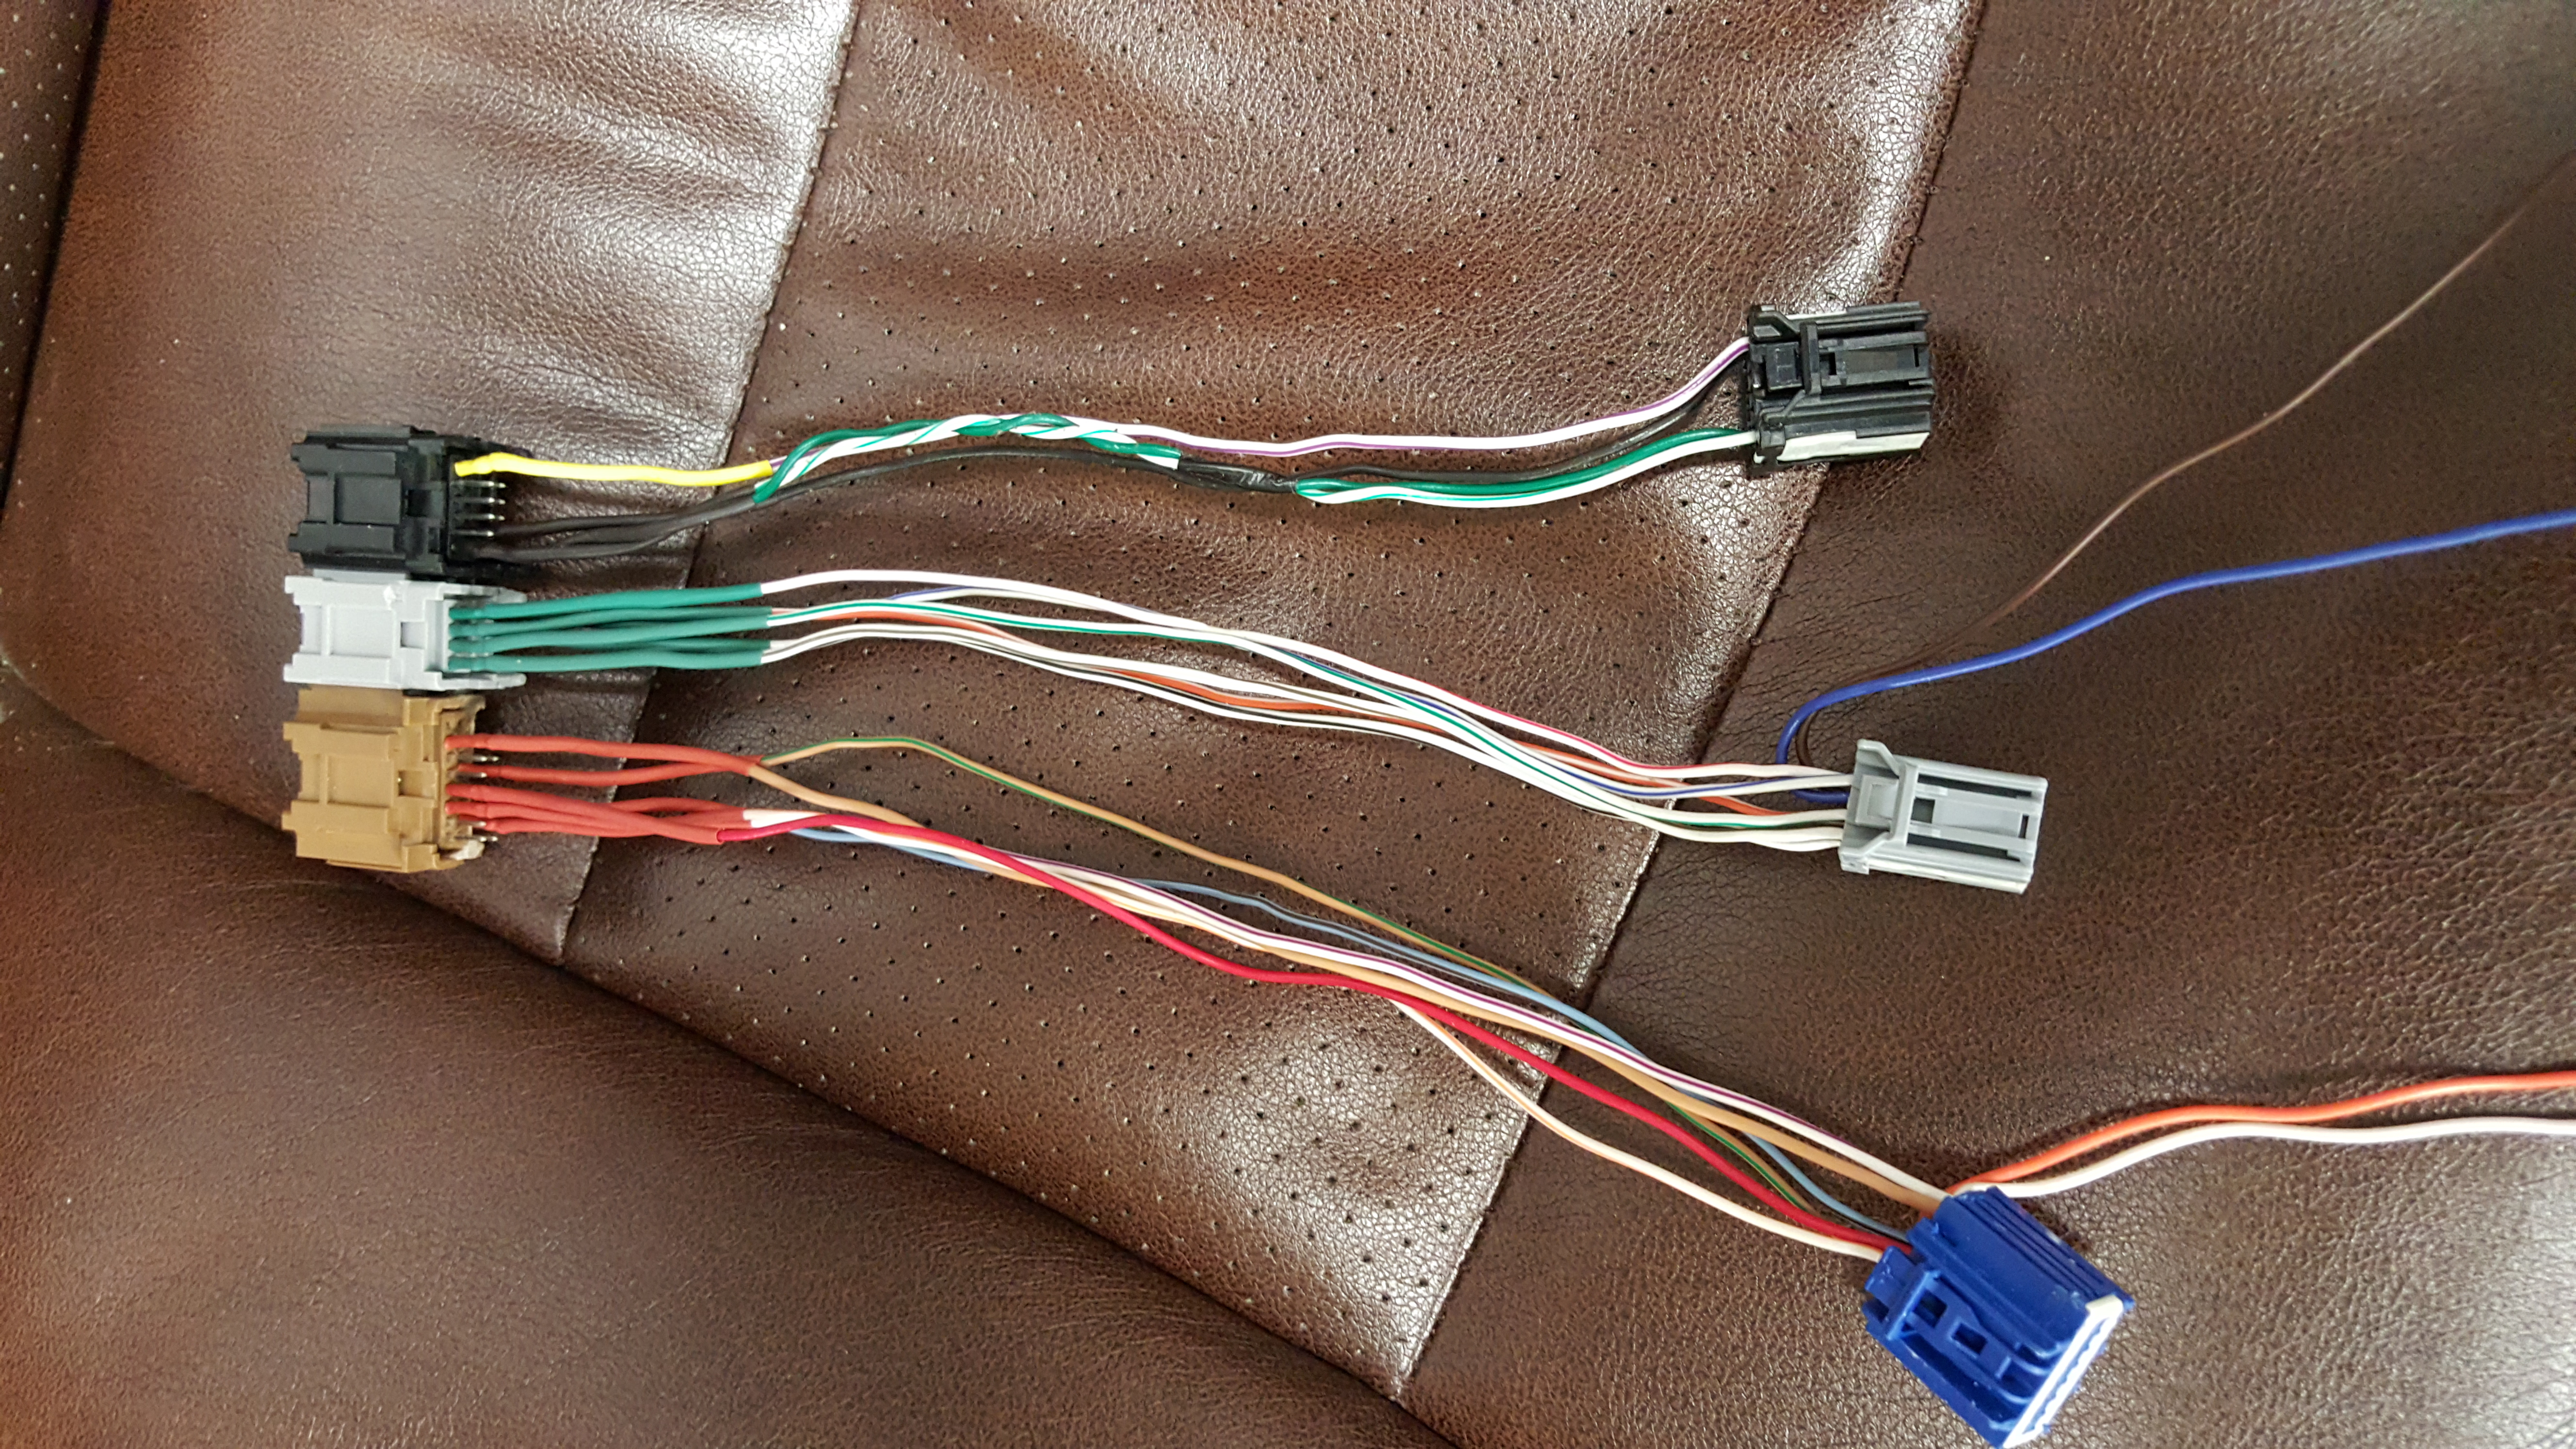
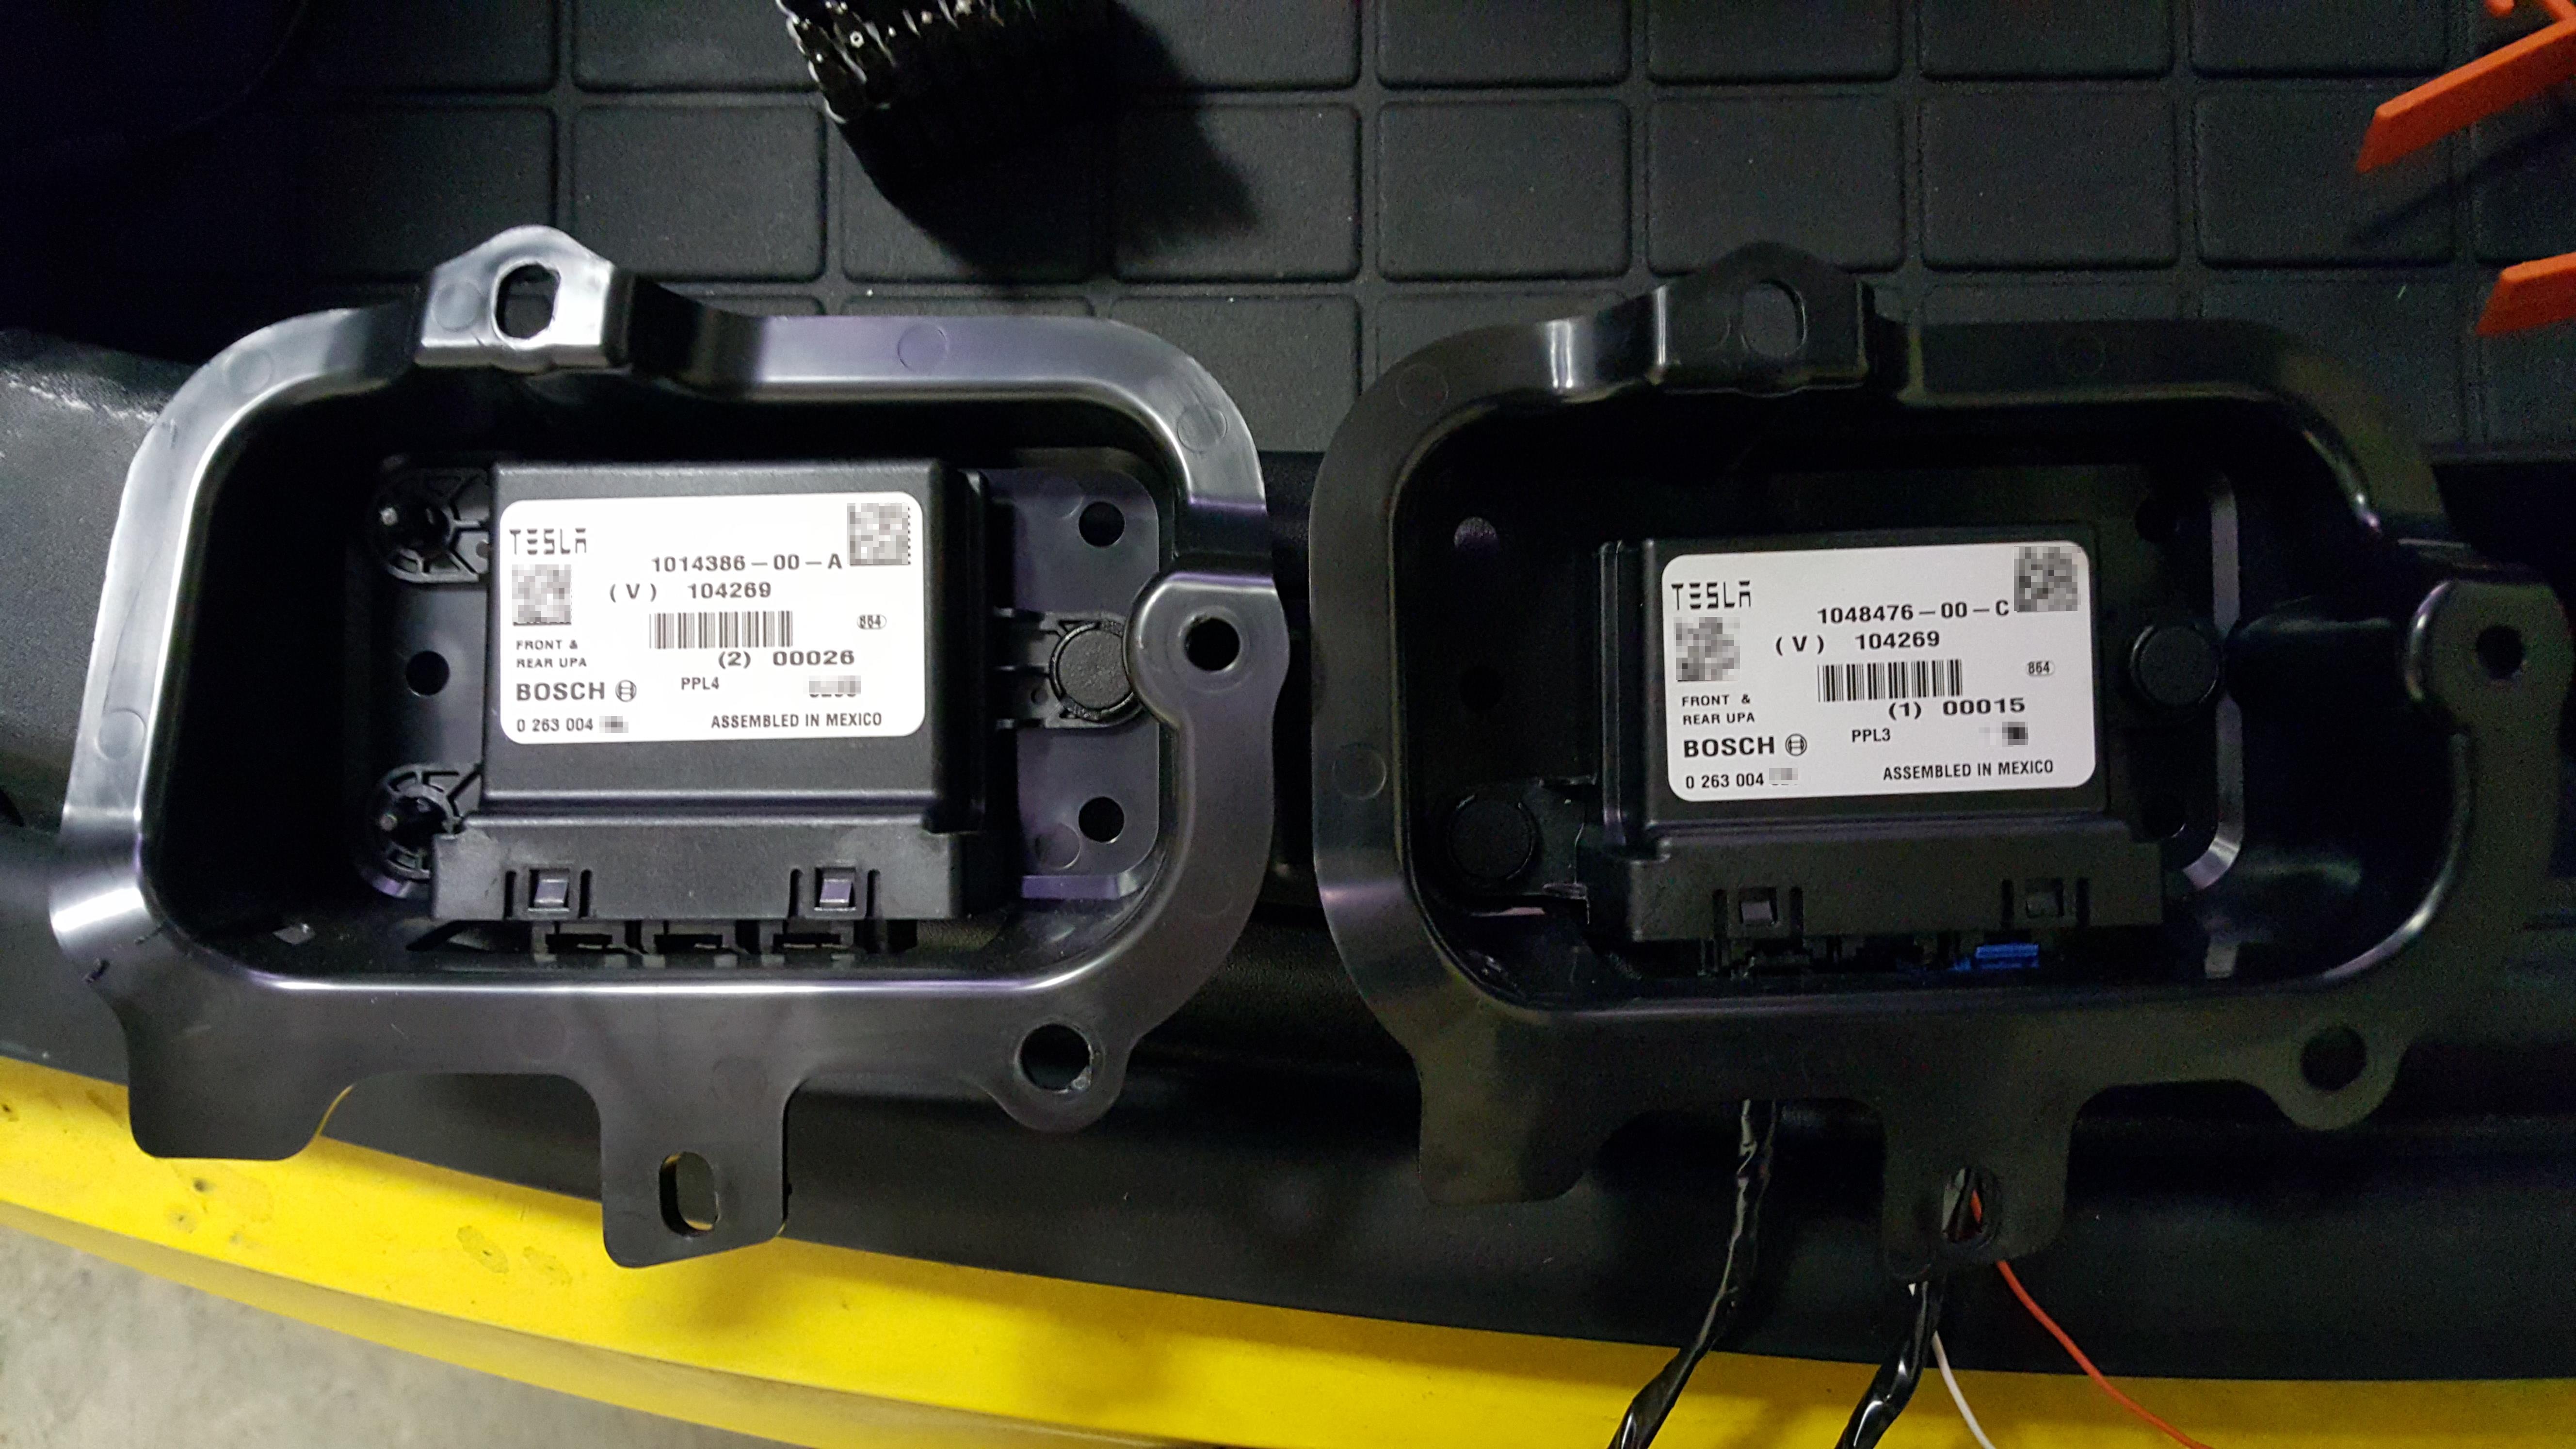
I then had to remove the old parking sensor ECU. Oddly enough, the new sensors have signal and ground swapped vs the old sensors. The wiring for the ECU is very different and includes 4 additional signal wires (one for each of the four additional sensors). So instead of modifying the harness in the car I made an adapter that the existing harness can plug into and then plug into the new parking sensor ECU. I swapped the ECUs and connected the adapter I had pre-made.
I then got my wiring together and connected for everything I hadn’t connected yet in the frunk area, I used relays for 12V sources that were not permanent. I made sure that the loads from all of my changes all went through my new junction box.
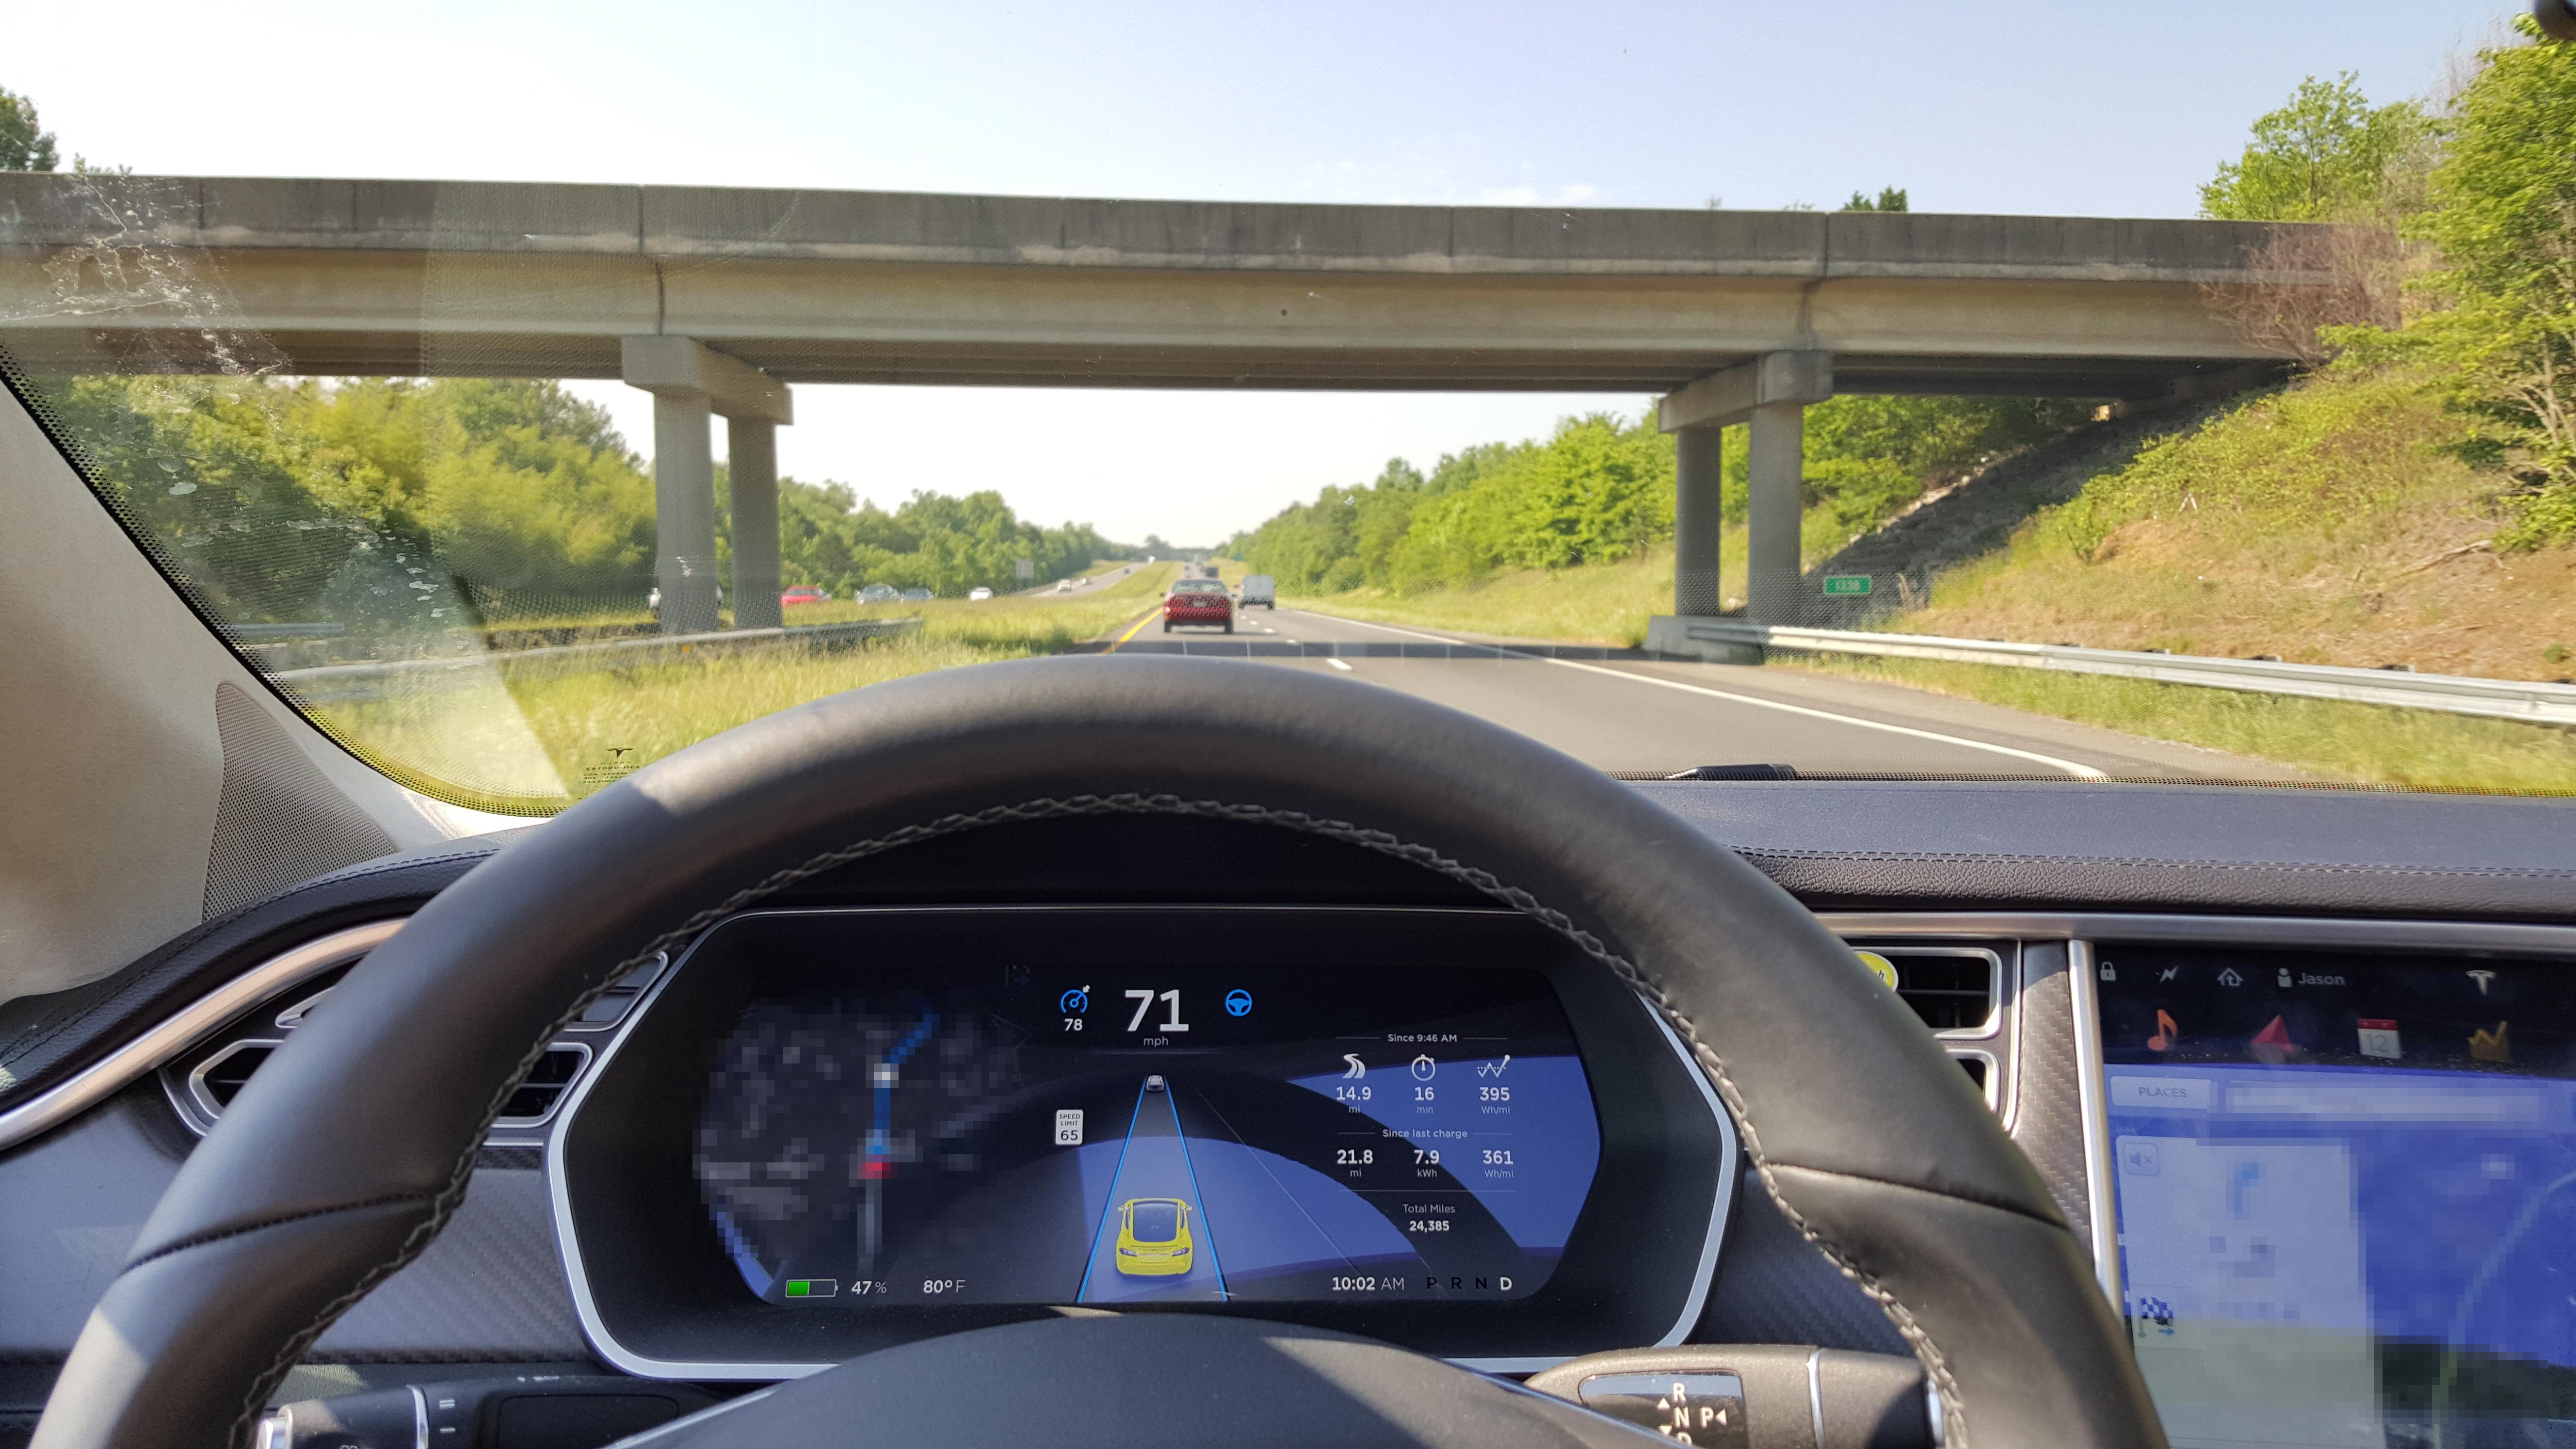
At this point I had enough to start testing things out. I knew autopilot would work without the parking sensors, mostly, since I had an issue with them on my P85D a while back.... so it was time. I spent several hours getting the firmware and calibrations working. Finally I was ready to really test things out.

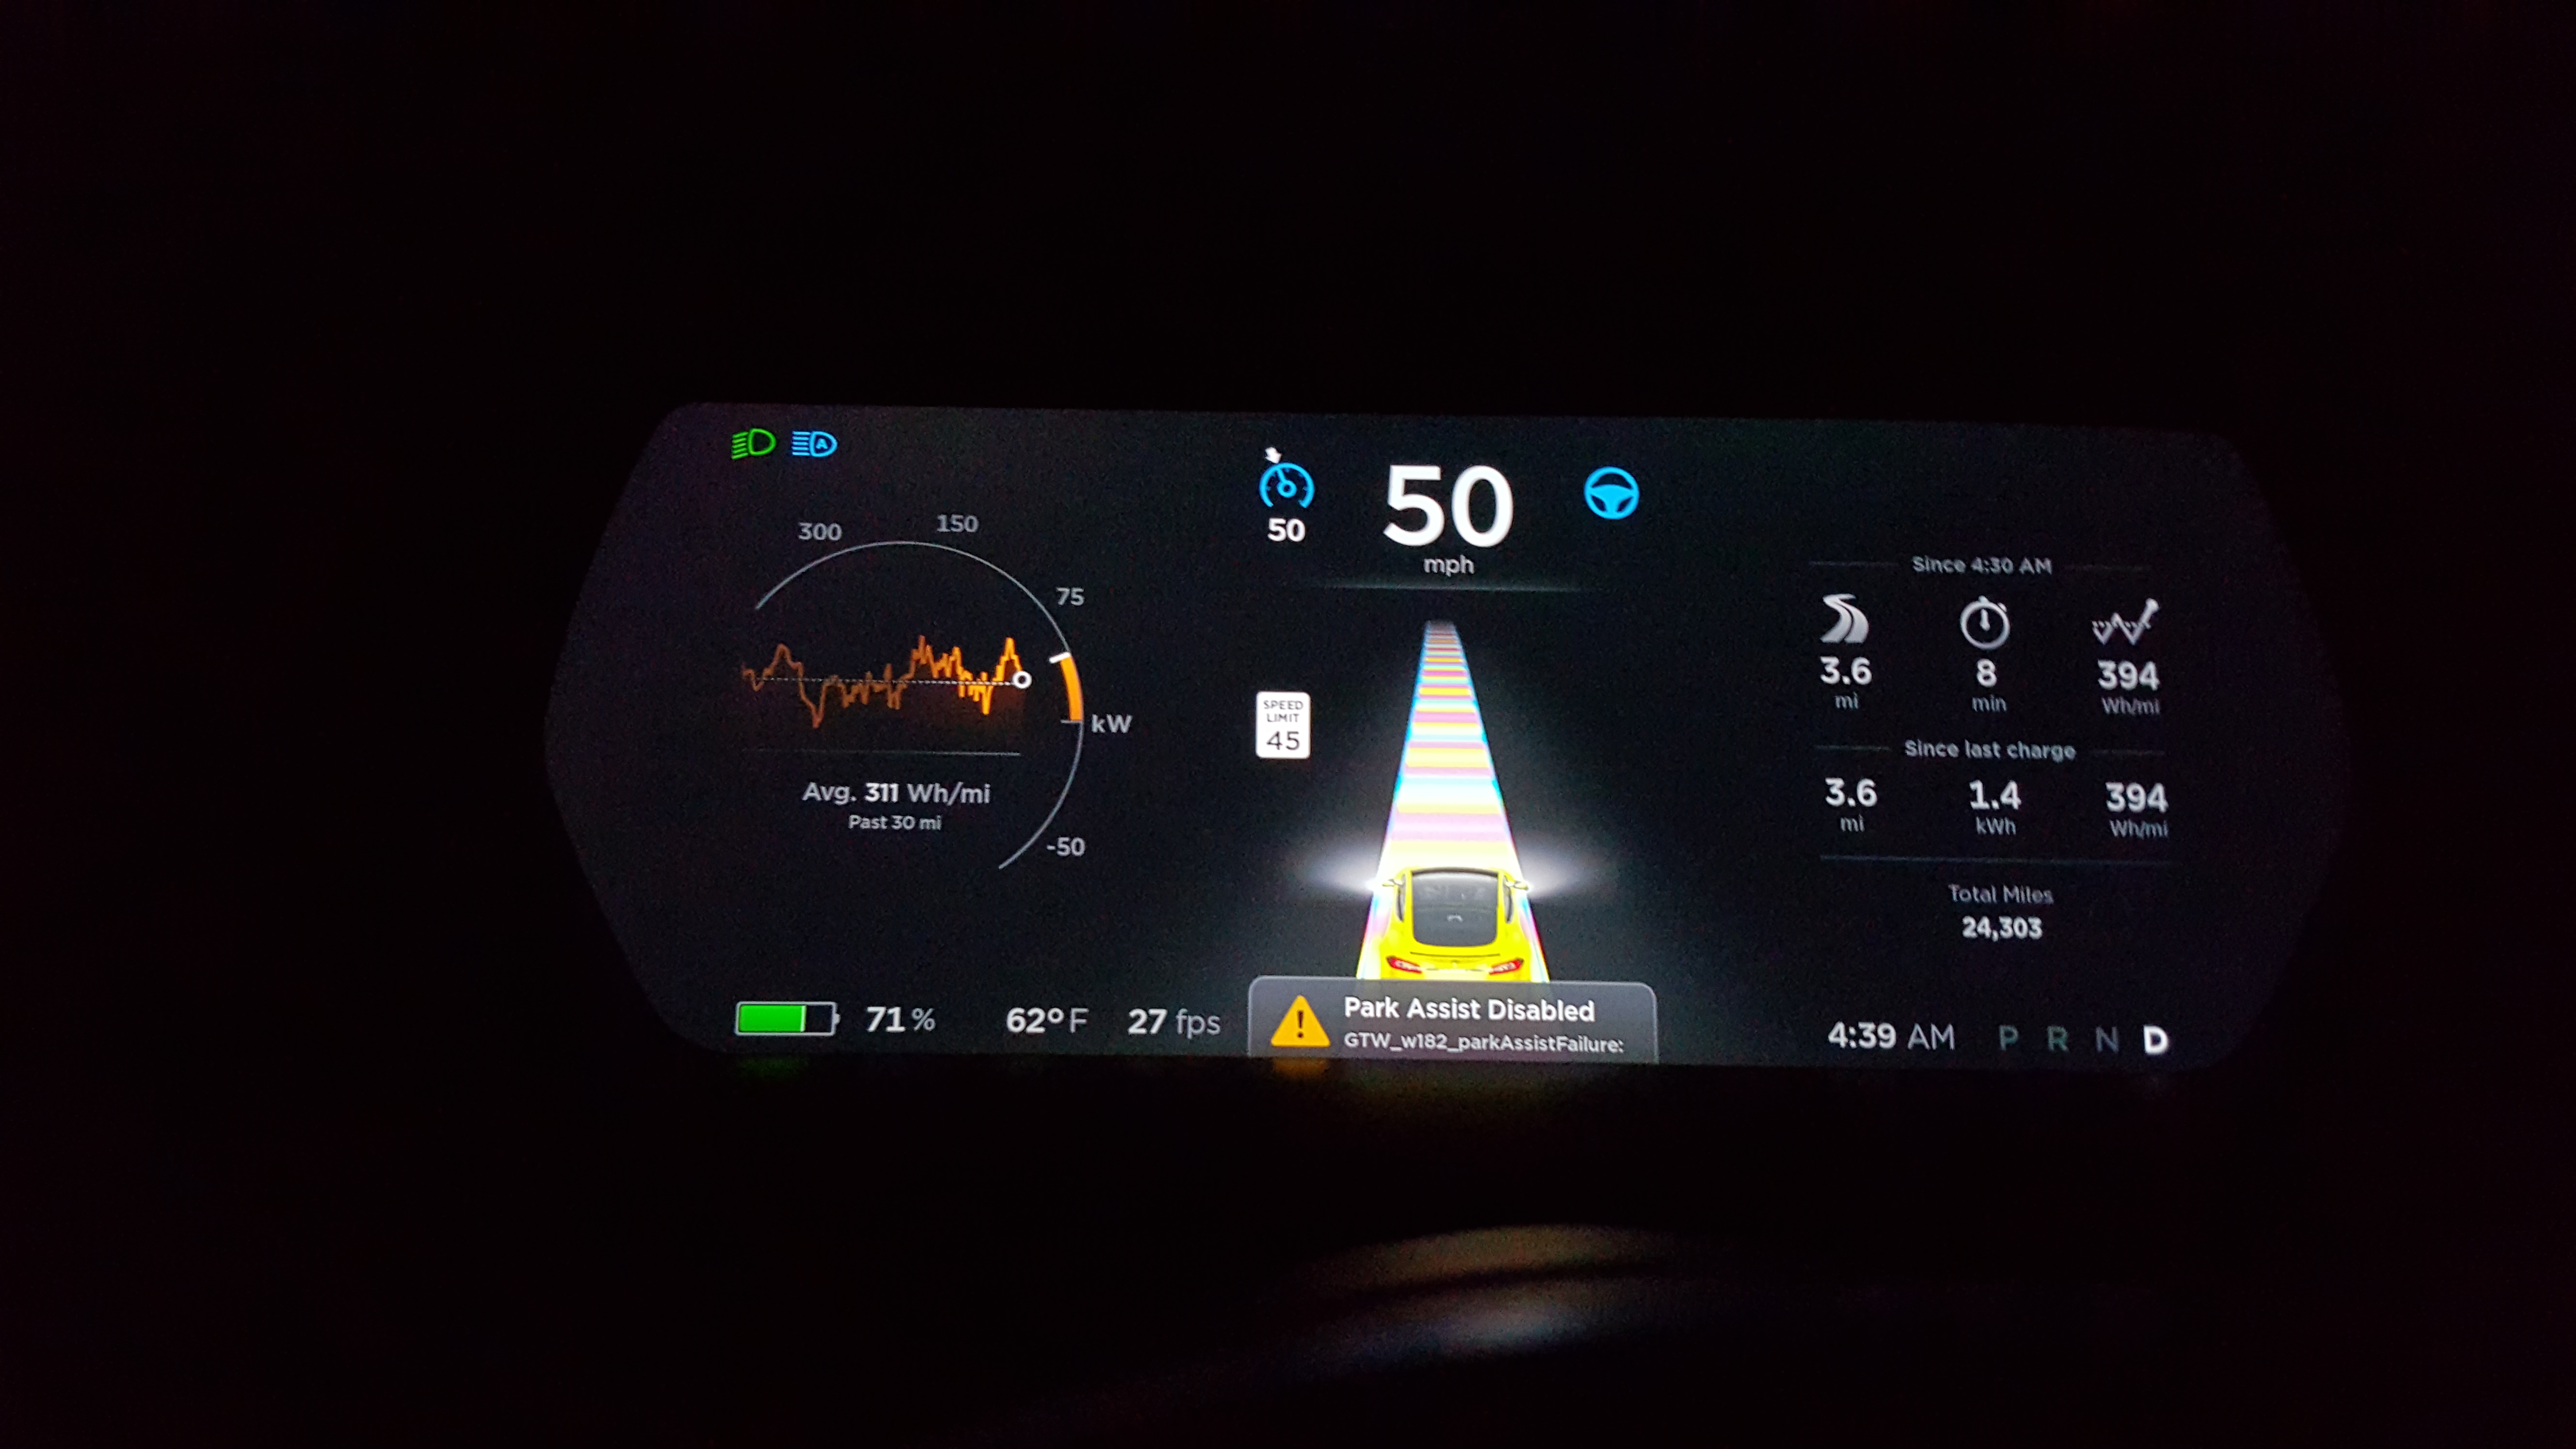

Like magic, it worked! Complaining about parking sensors, but the car was steering itself for the first time. I was too excited to sleep and didn’t end up sleeping until after 5AM.

Still a bit more to do.
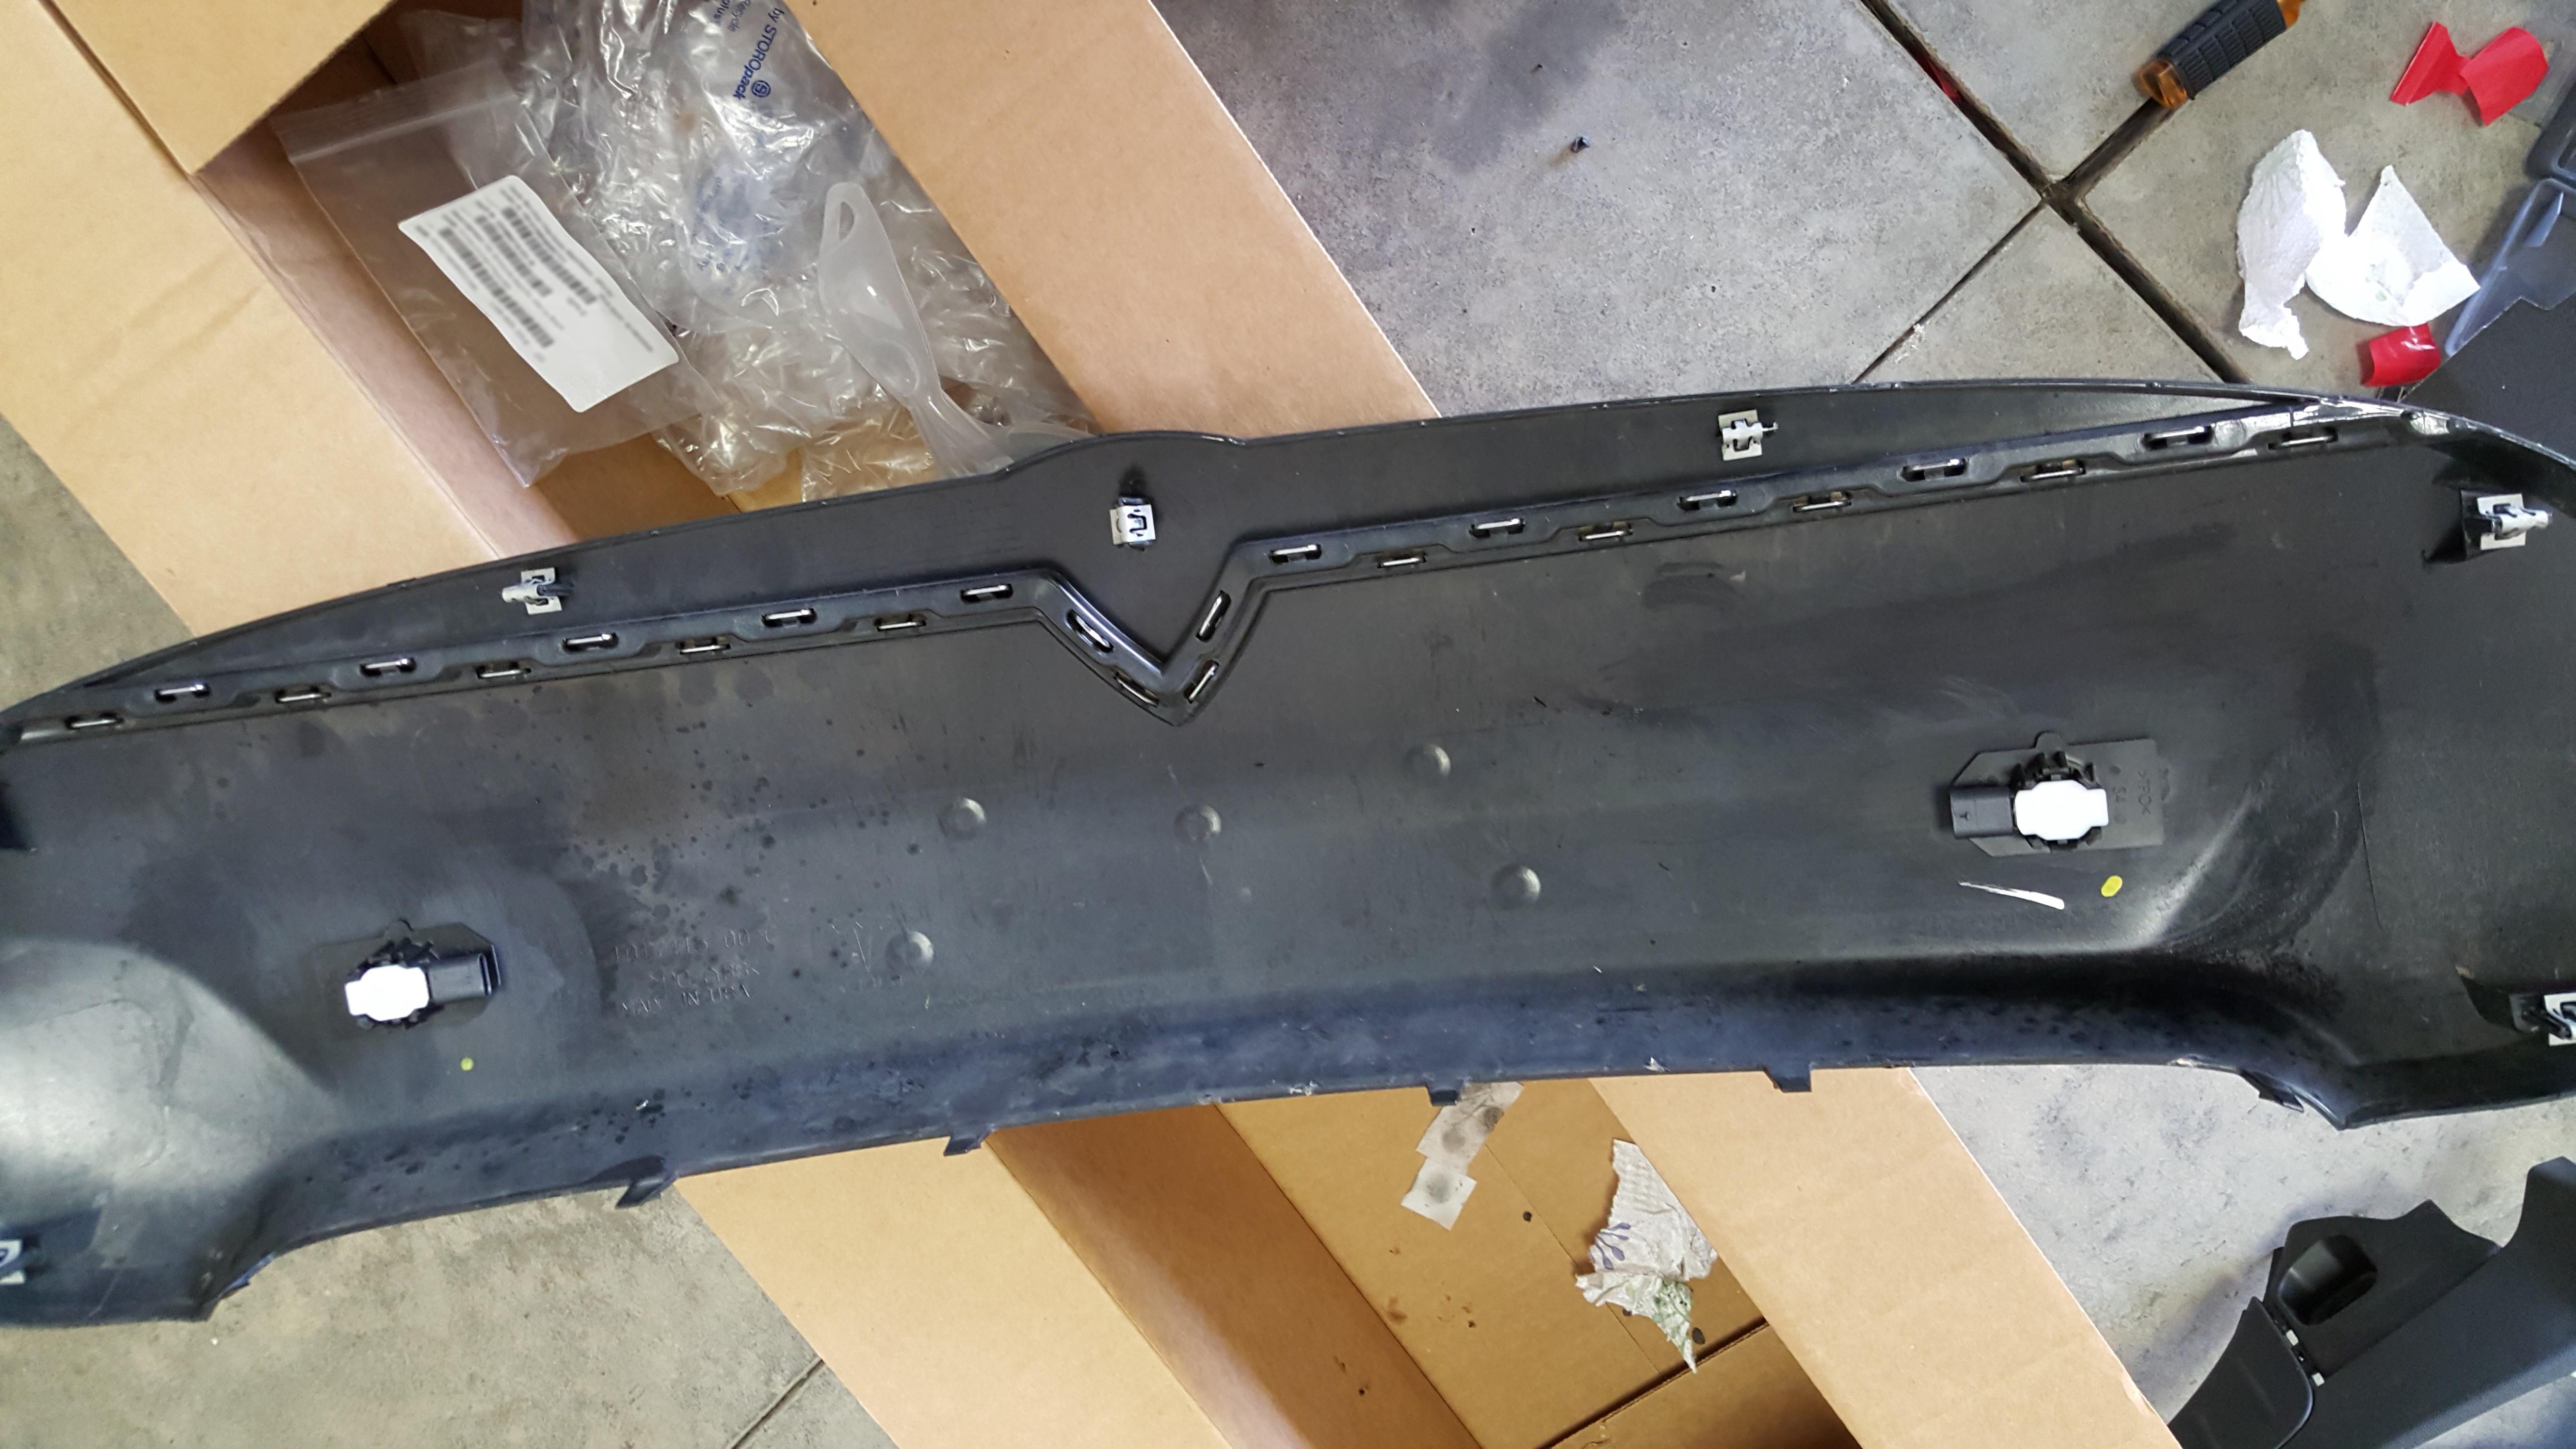
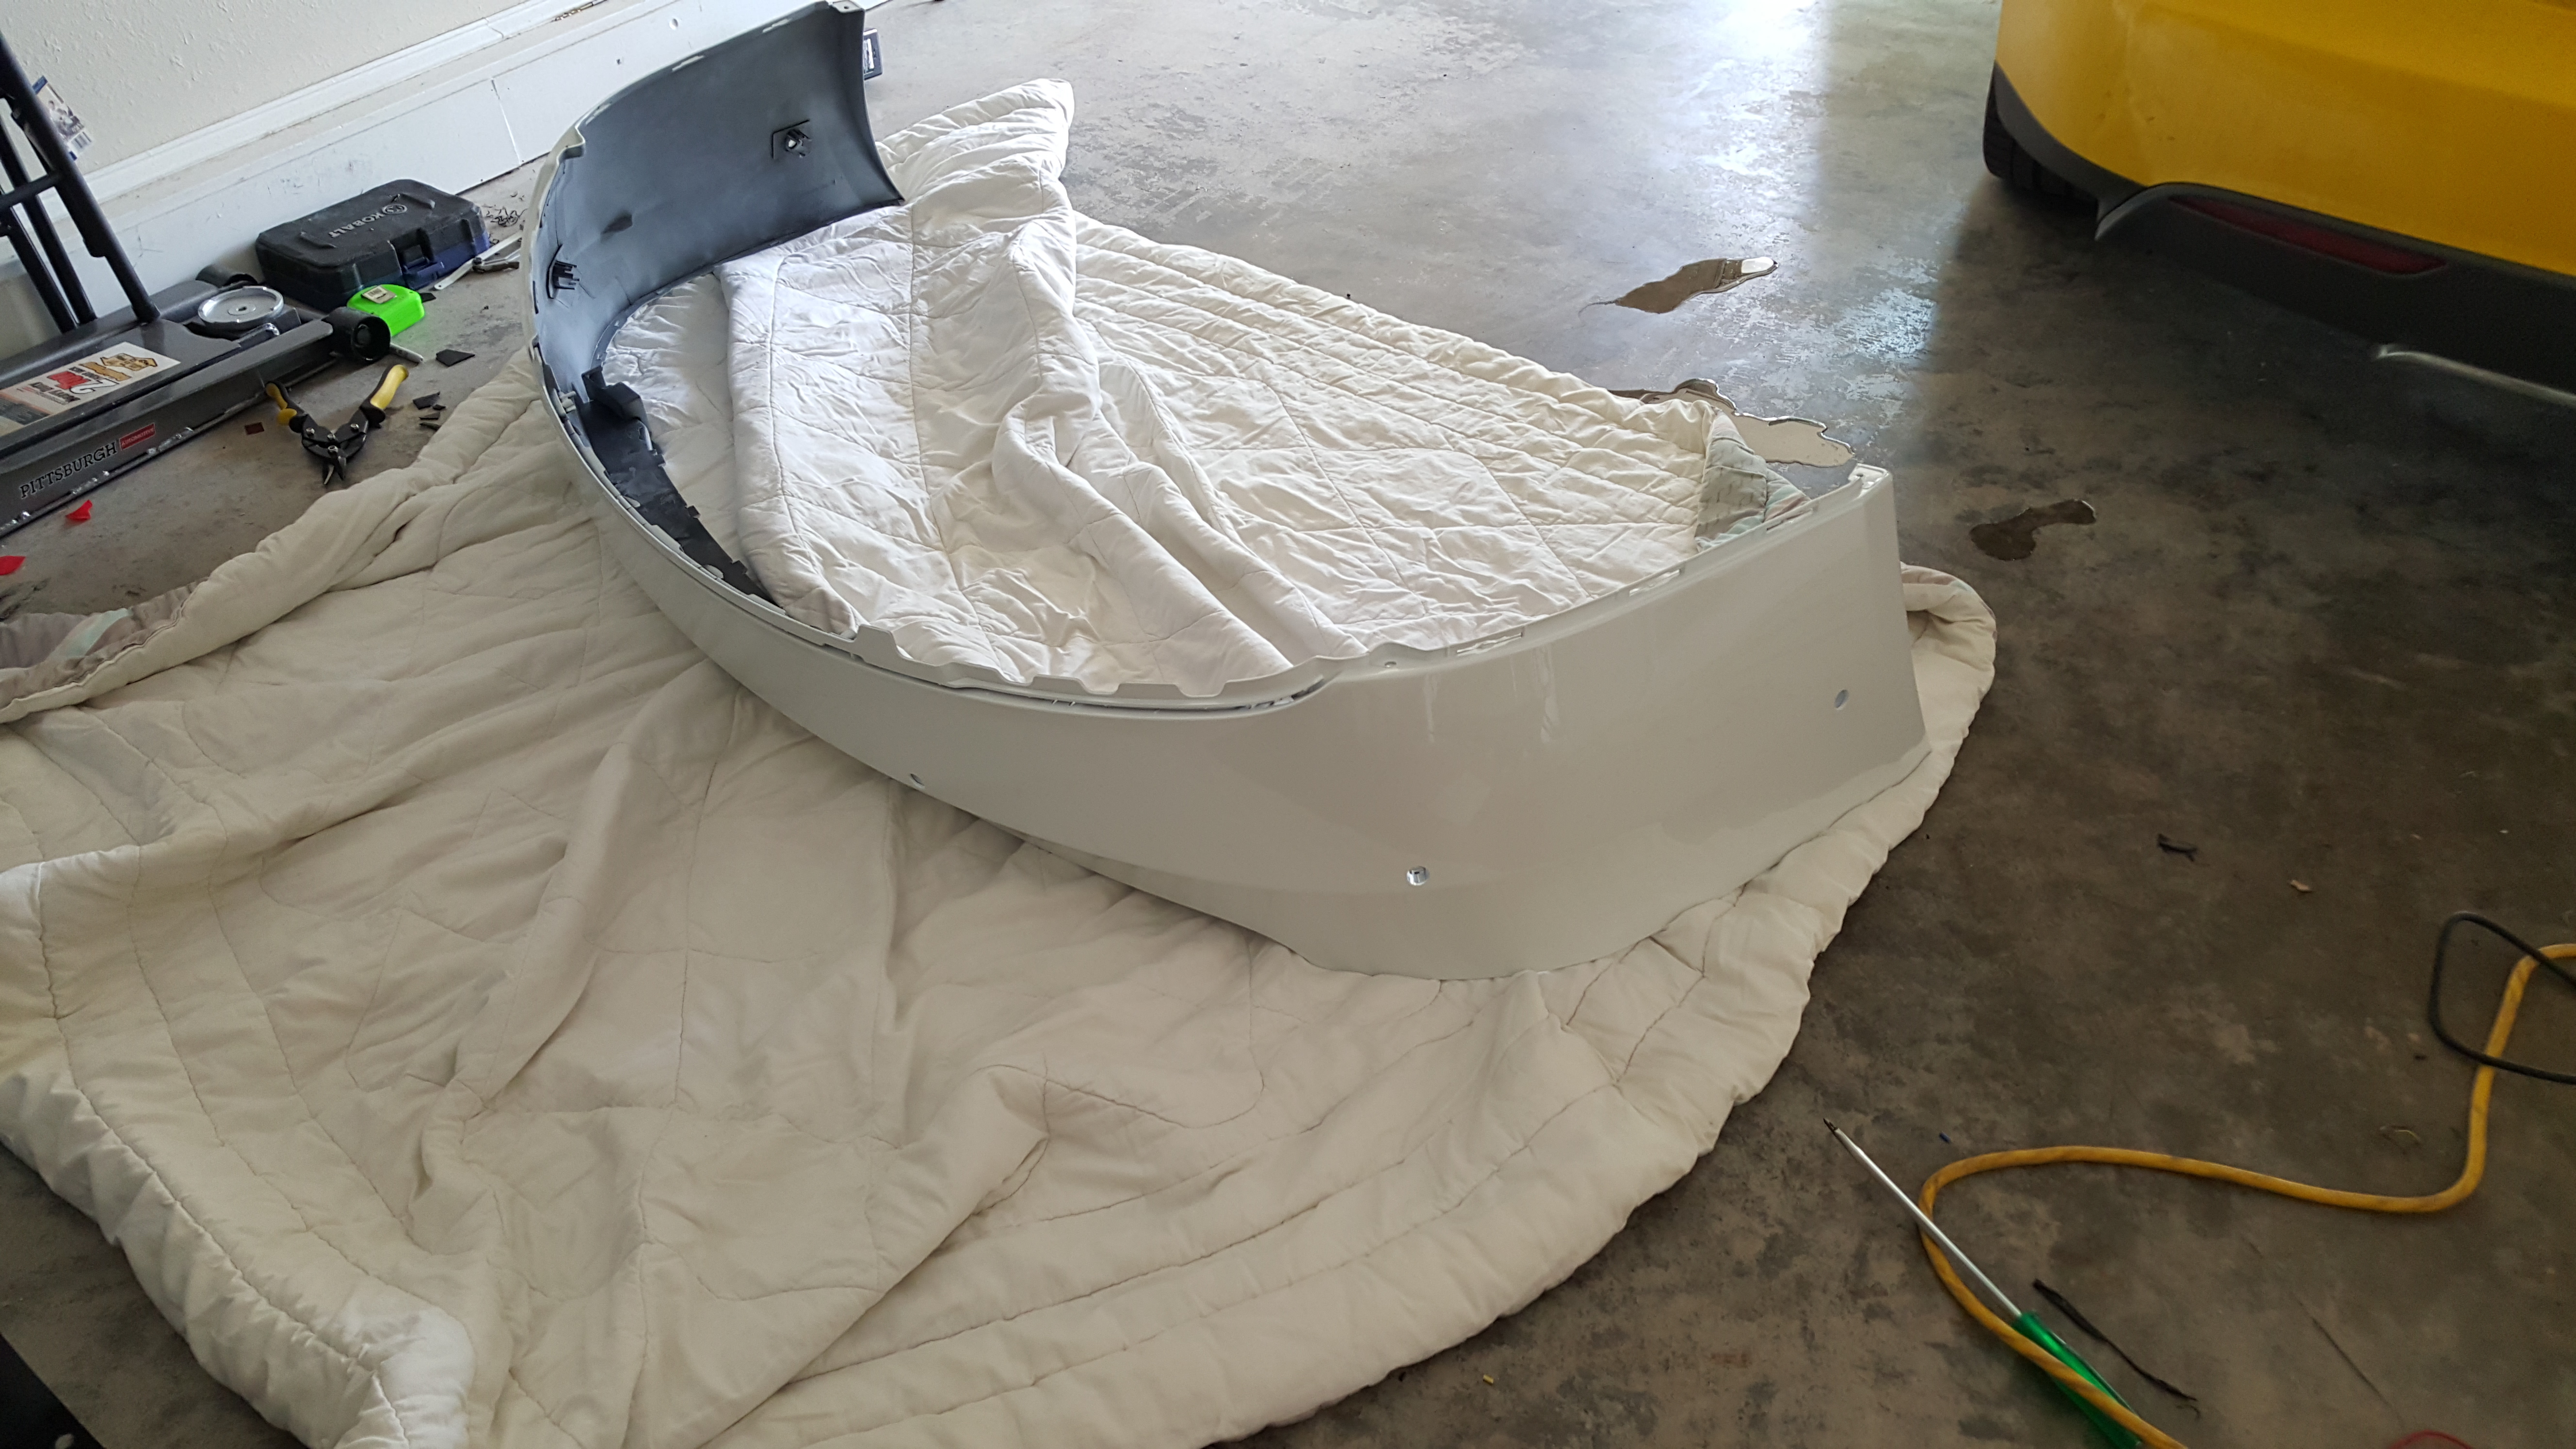
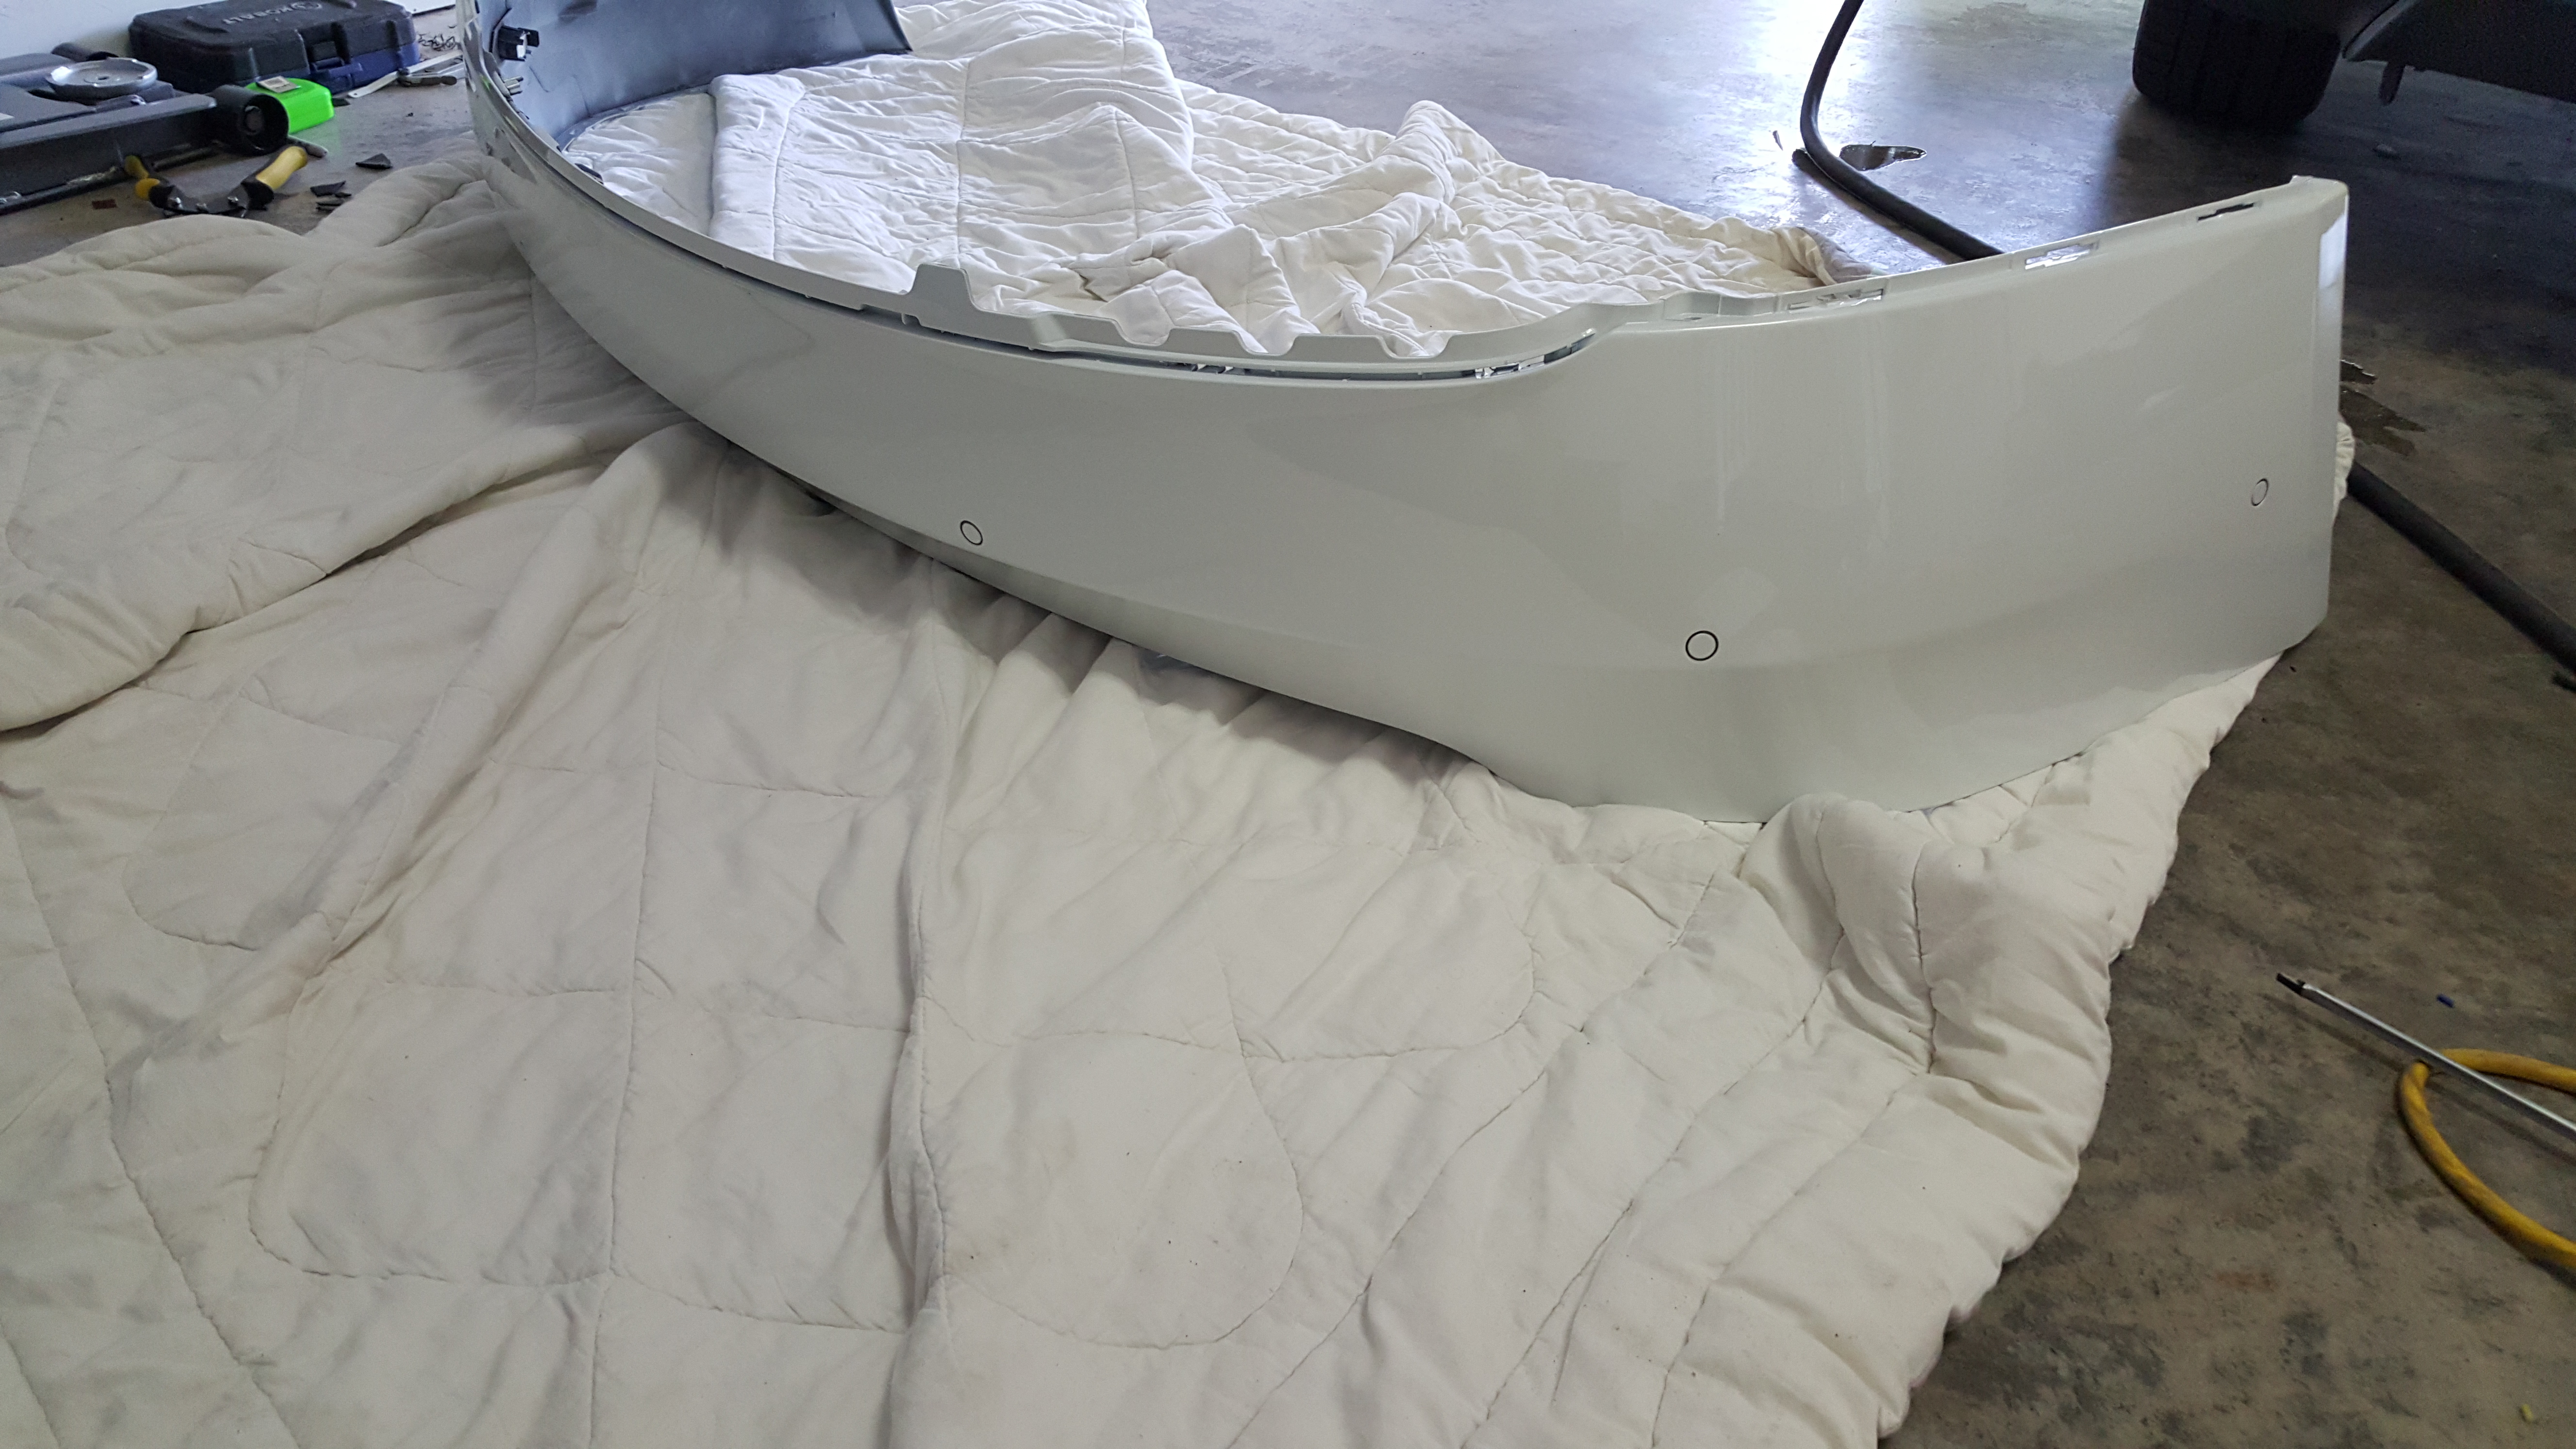
I removed the rear bumper cover. (That was a project in itself. Far more difficult than the front bumper cover.) The new rear parking sensors had completely different mounting holes. So, I ordered a new rear bumper cover from Tesla, one for an autopilot car. I then had it painted to match my wife’s car’s paint color which is Pearl White (the yellow is a wrap for those who didn’t know). I then installed the new sensors on the new bumper, along with the new harness, modified similar to the front with new wires for the two new sensor positions. It took me over an hour to get the bumper back on and aligned.

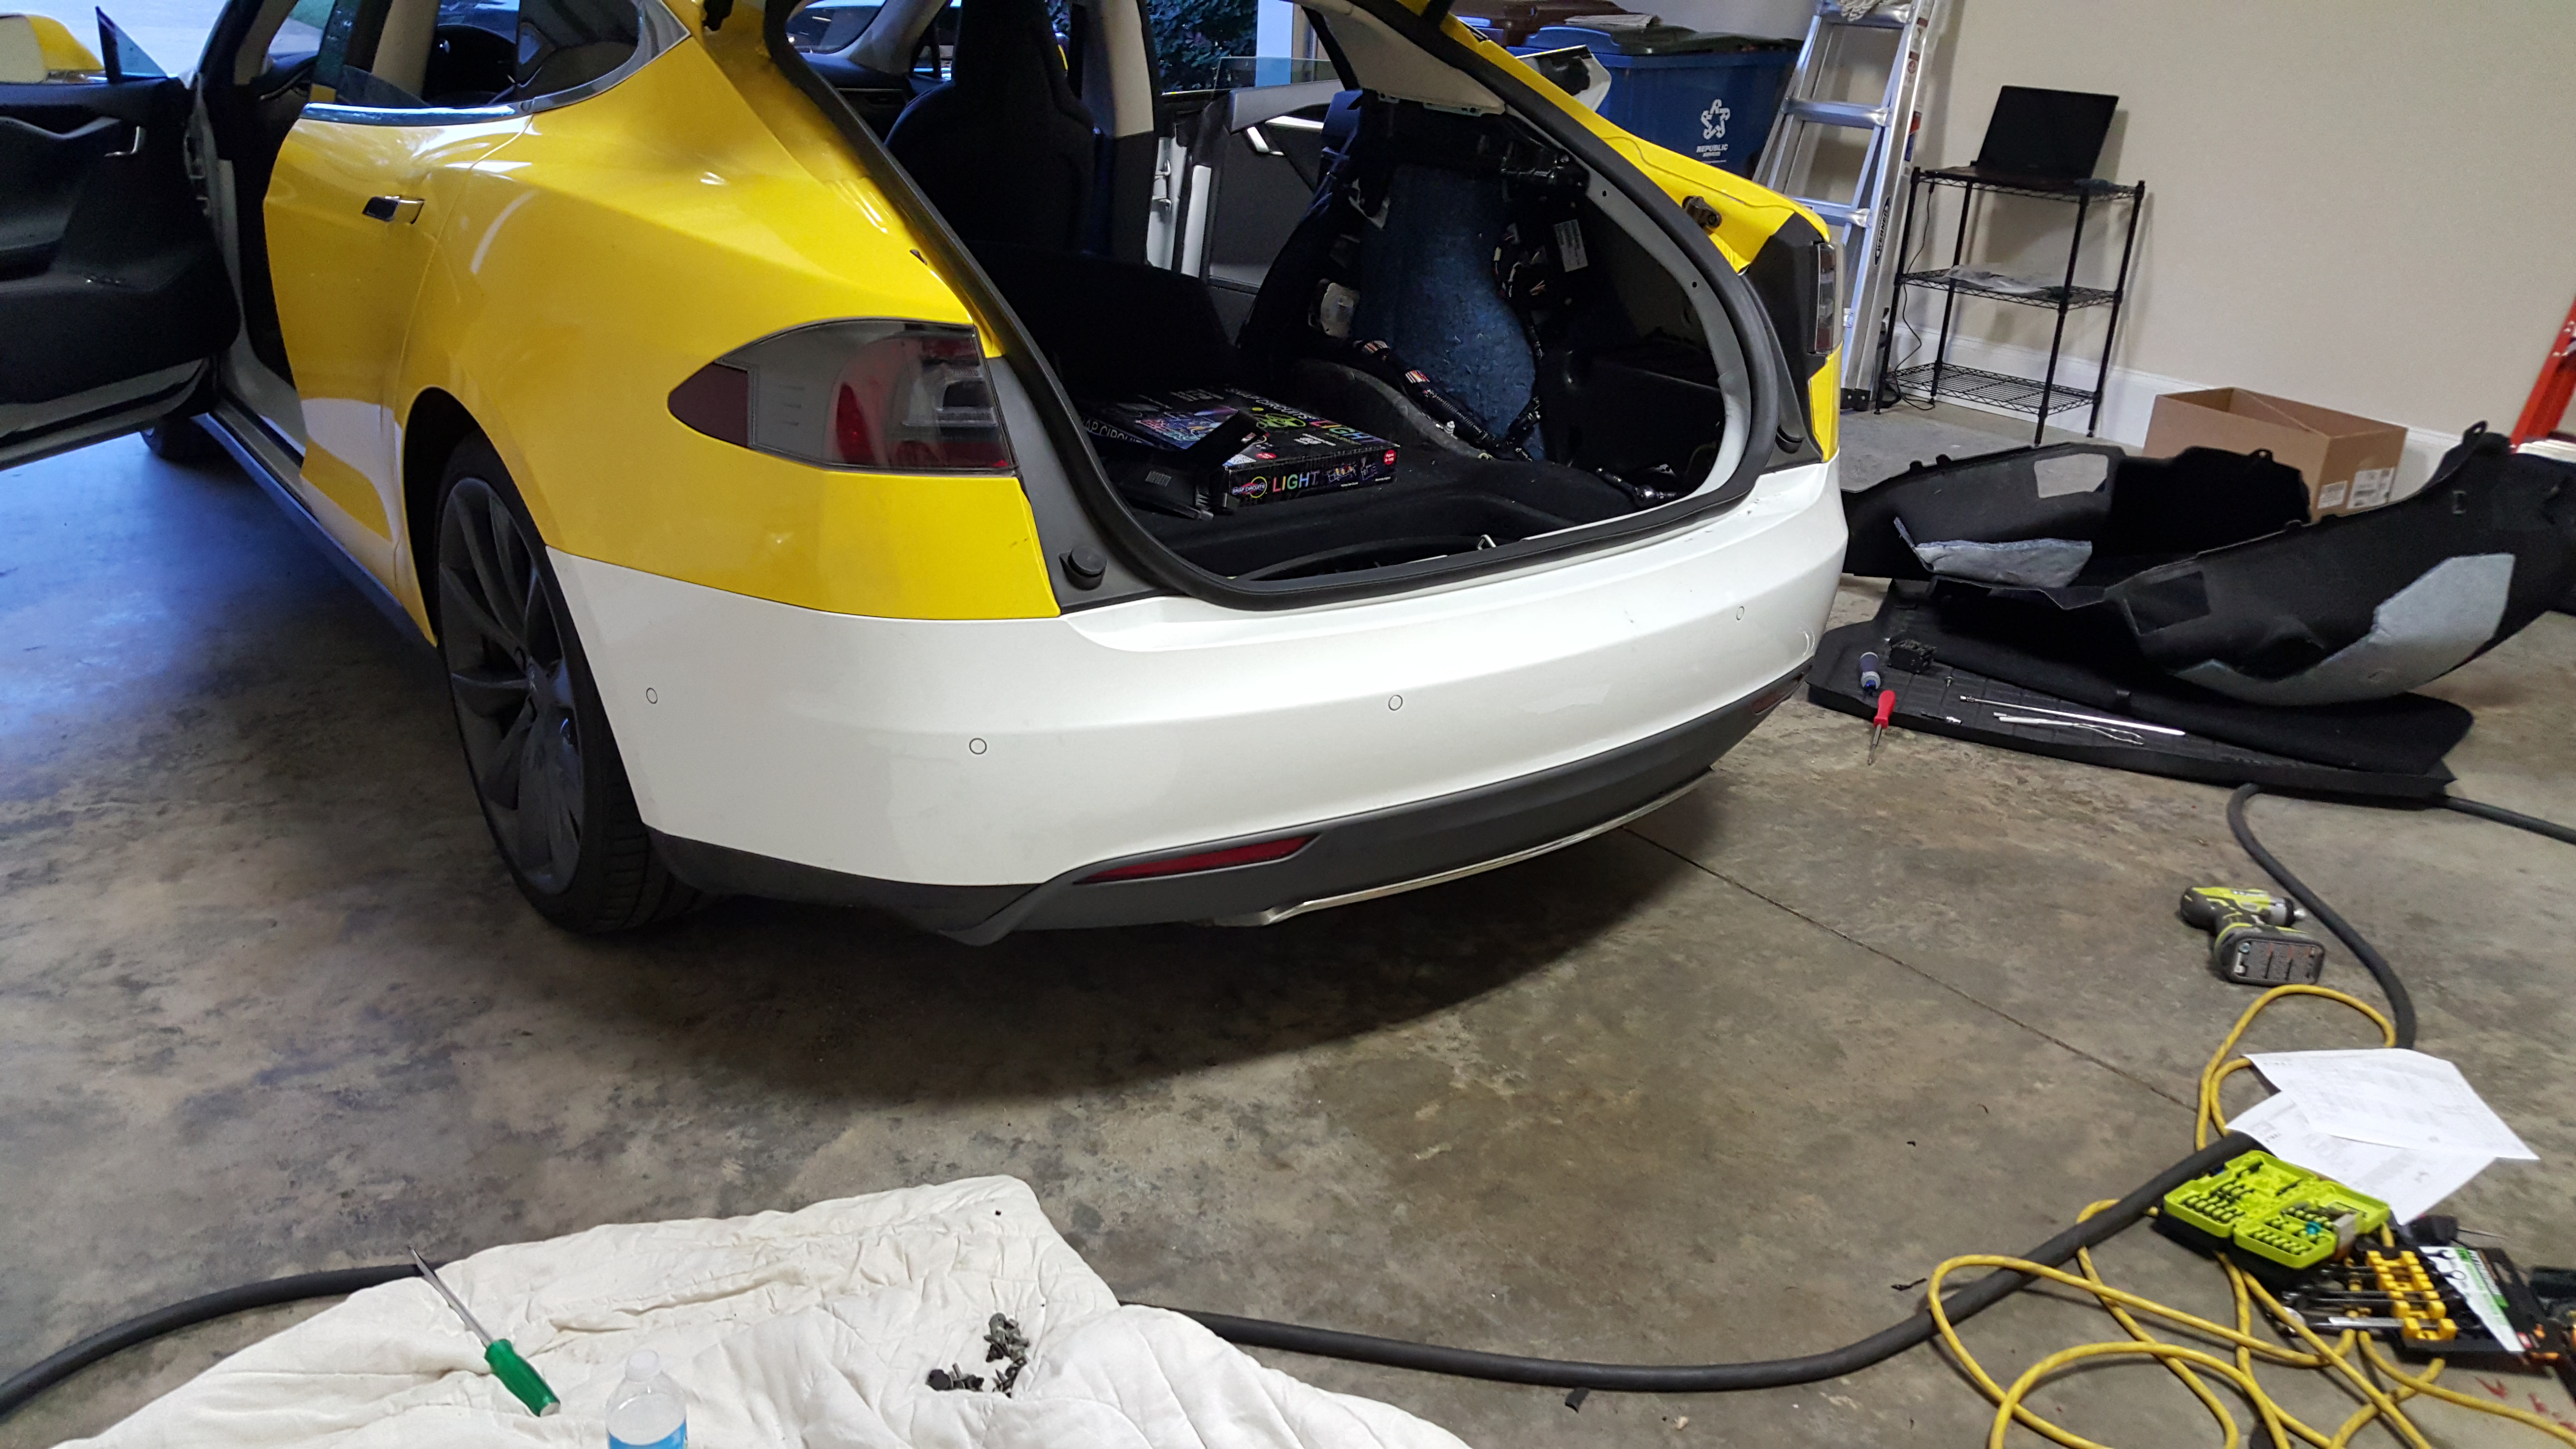
Finally, I put the entire interior and frunk areas back together. The car was finally buttoned up and ready!
After a bit more work with calibrations and firmware, everything was in order. Zero alerts, fully functional autopilot, autopilot safety features, summon, self park (working after a couple of hours of driving for sensor auto-calibration), etc etc. The car now had everything a post-autopilot car would have, feature wise. Perfect!
So there you have it. The very first autopilot full retrofit with minimal involvement of Tesla (basically just ordering some misc parts).
Now, I know the next big question: How much did it cost? Well, not counting my own labor, all together the project cost less than $9,000. That includes costs for parts from Tesla and salvage vehicles, along with getting the windshield installed, the rear bumper cover painted and re-wrapped yellow.
Again, don’t expect to go into Tesla and start demanding they retrofit autopilot. It’s not going to happen. It’s way too much work, and way too involved. Also, if Tesla were to do it they would be replacing basically every wiring harness/fuse box in the car vs. making some modifications like I did, which would be even more work and extremely expensive. I did this as a sort of proof-of-concept, and because I wanted my wife to have autopilot but didn’t want to trade her car in. It shows that it can in fact be done with substantial effort.
I hope you’ve found this interesting. When I get more time (recovering from this project running overtime still) I will tidy up and post my full parts list for this project.
-wk